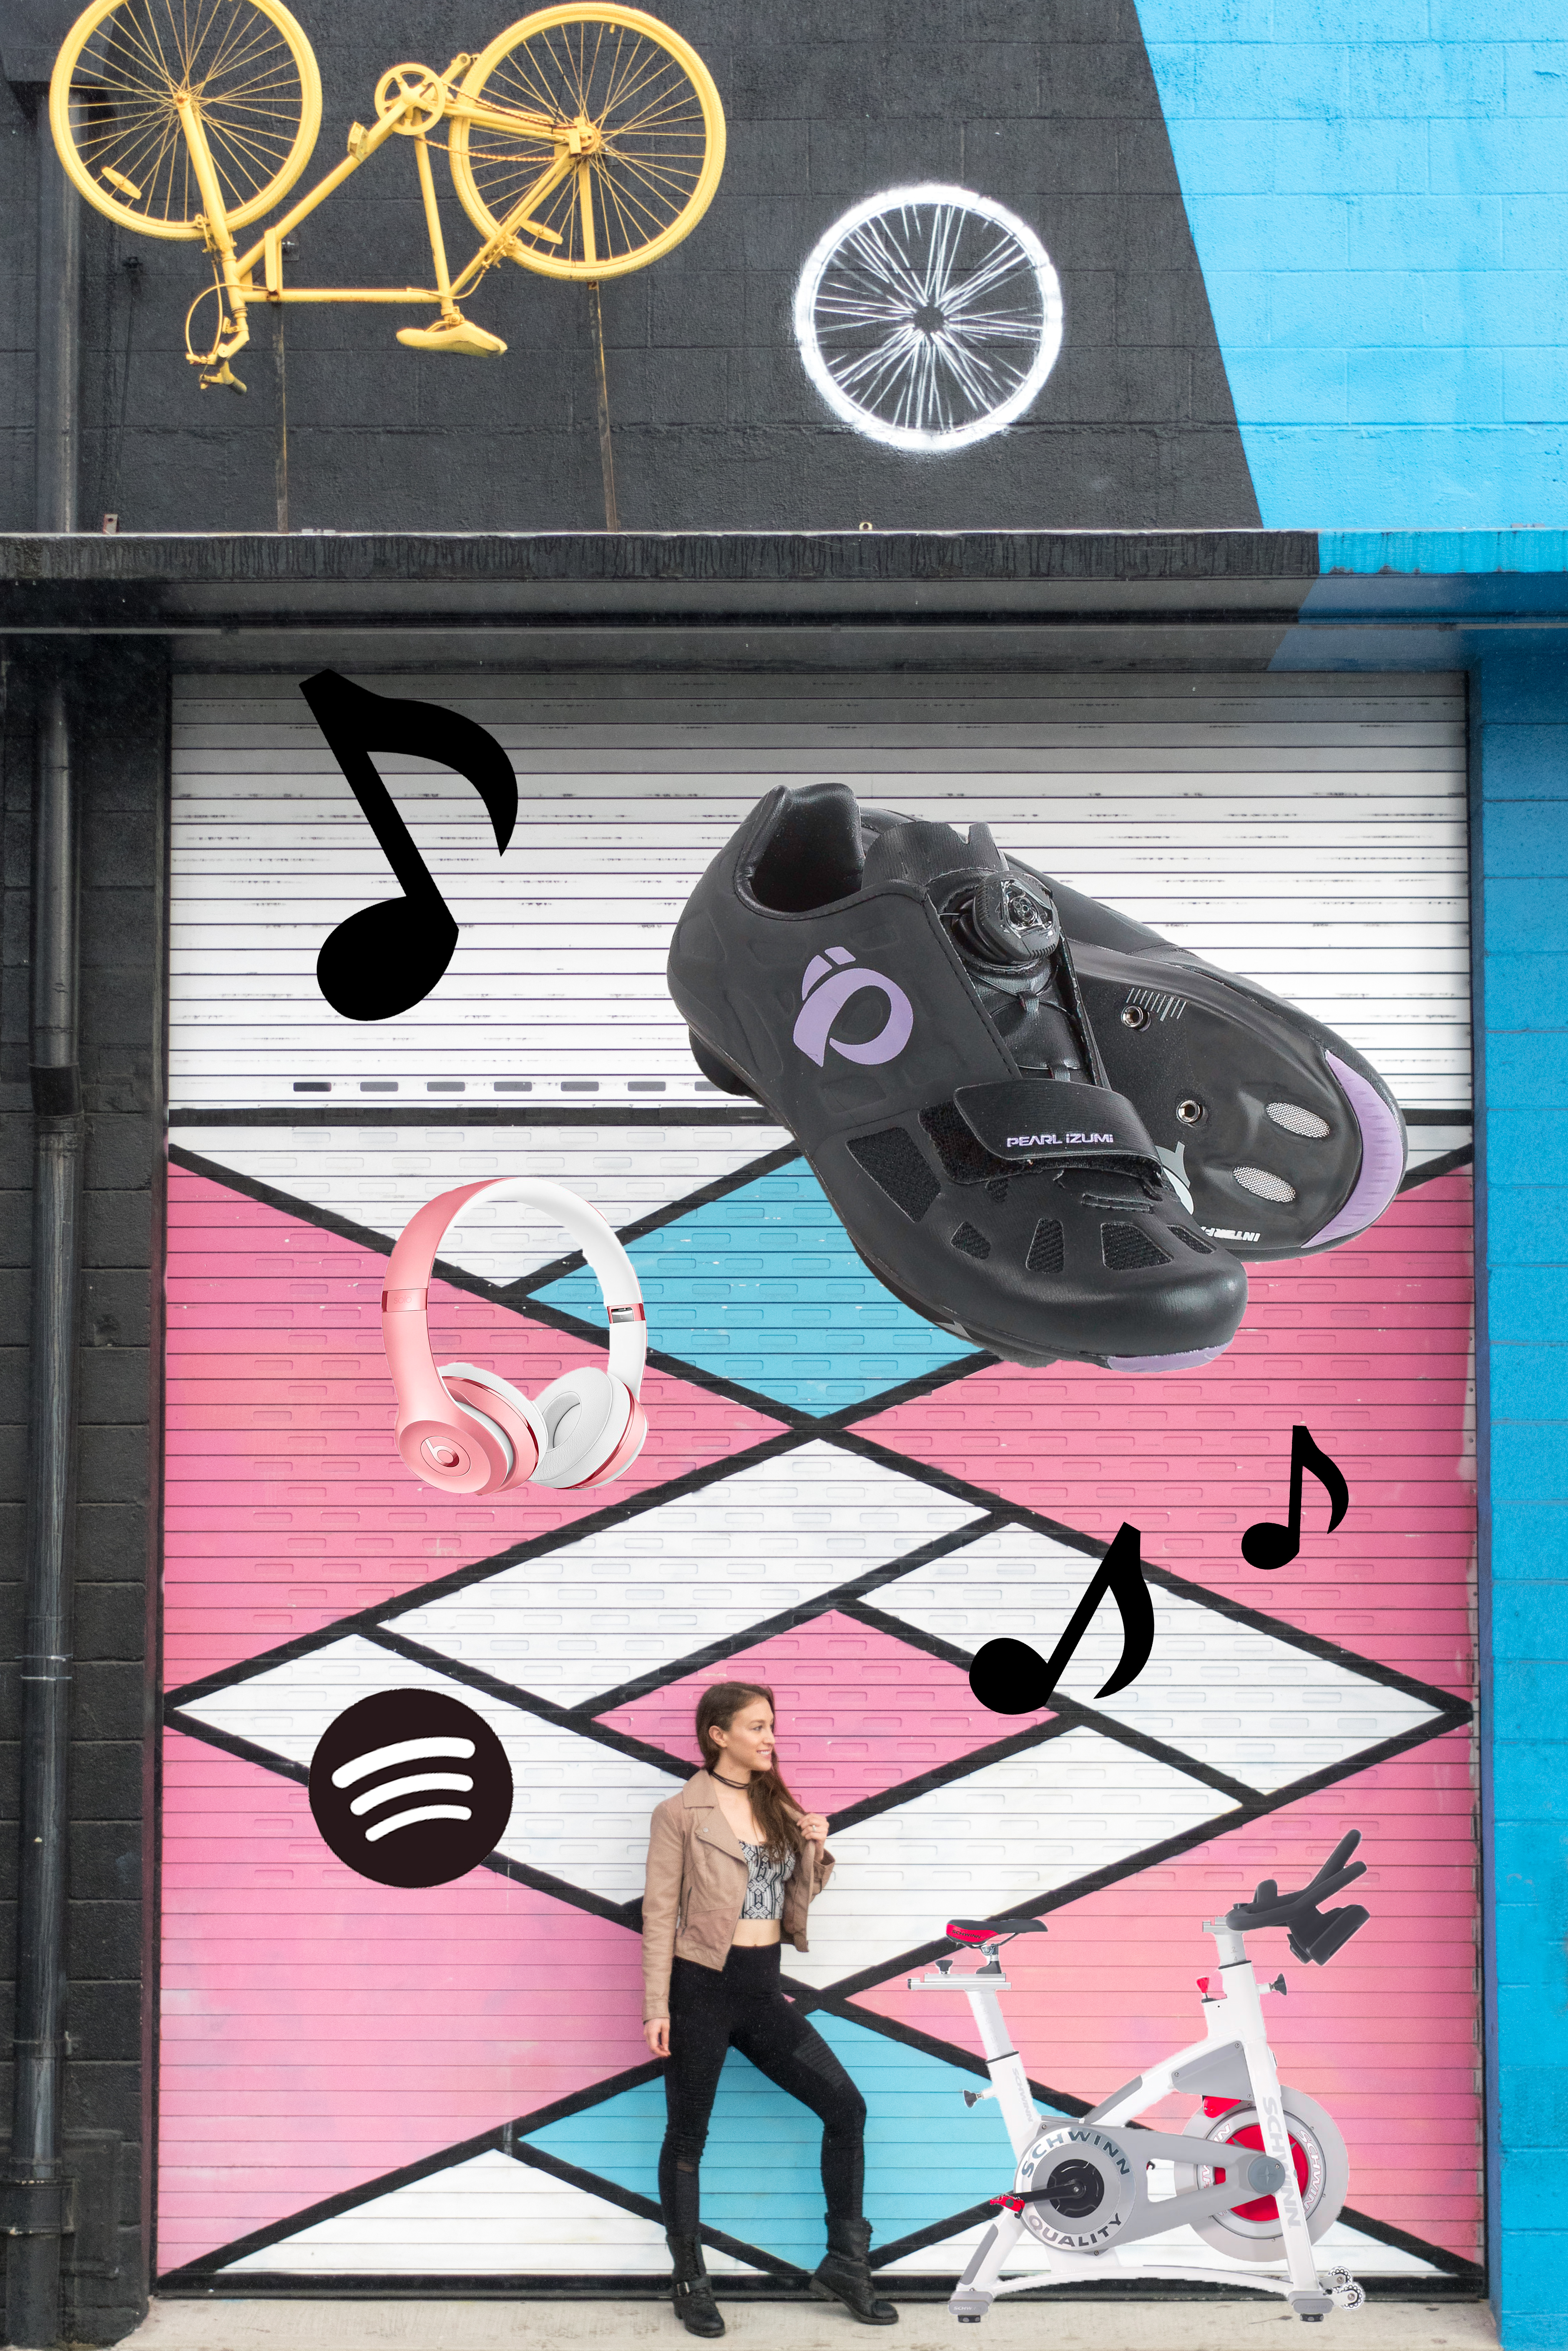
Two Fall Spin Playlists Coming Atcha
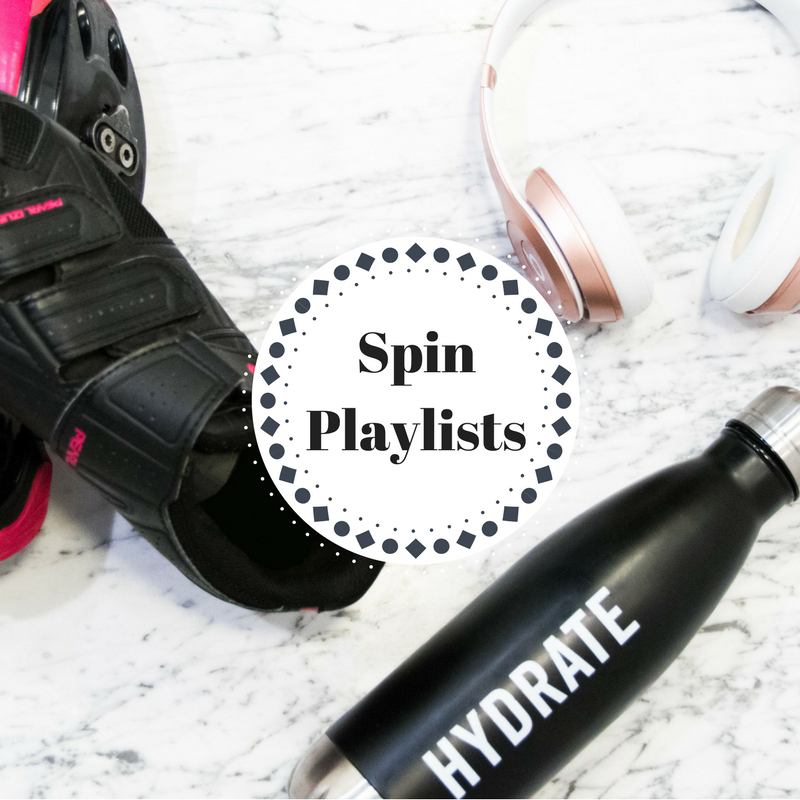
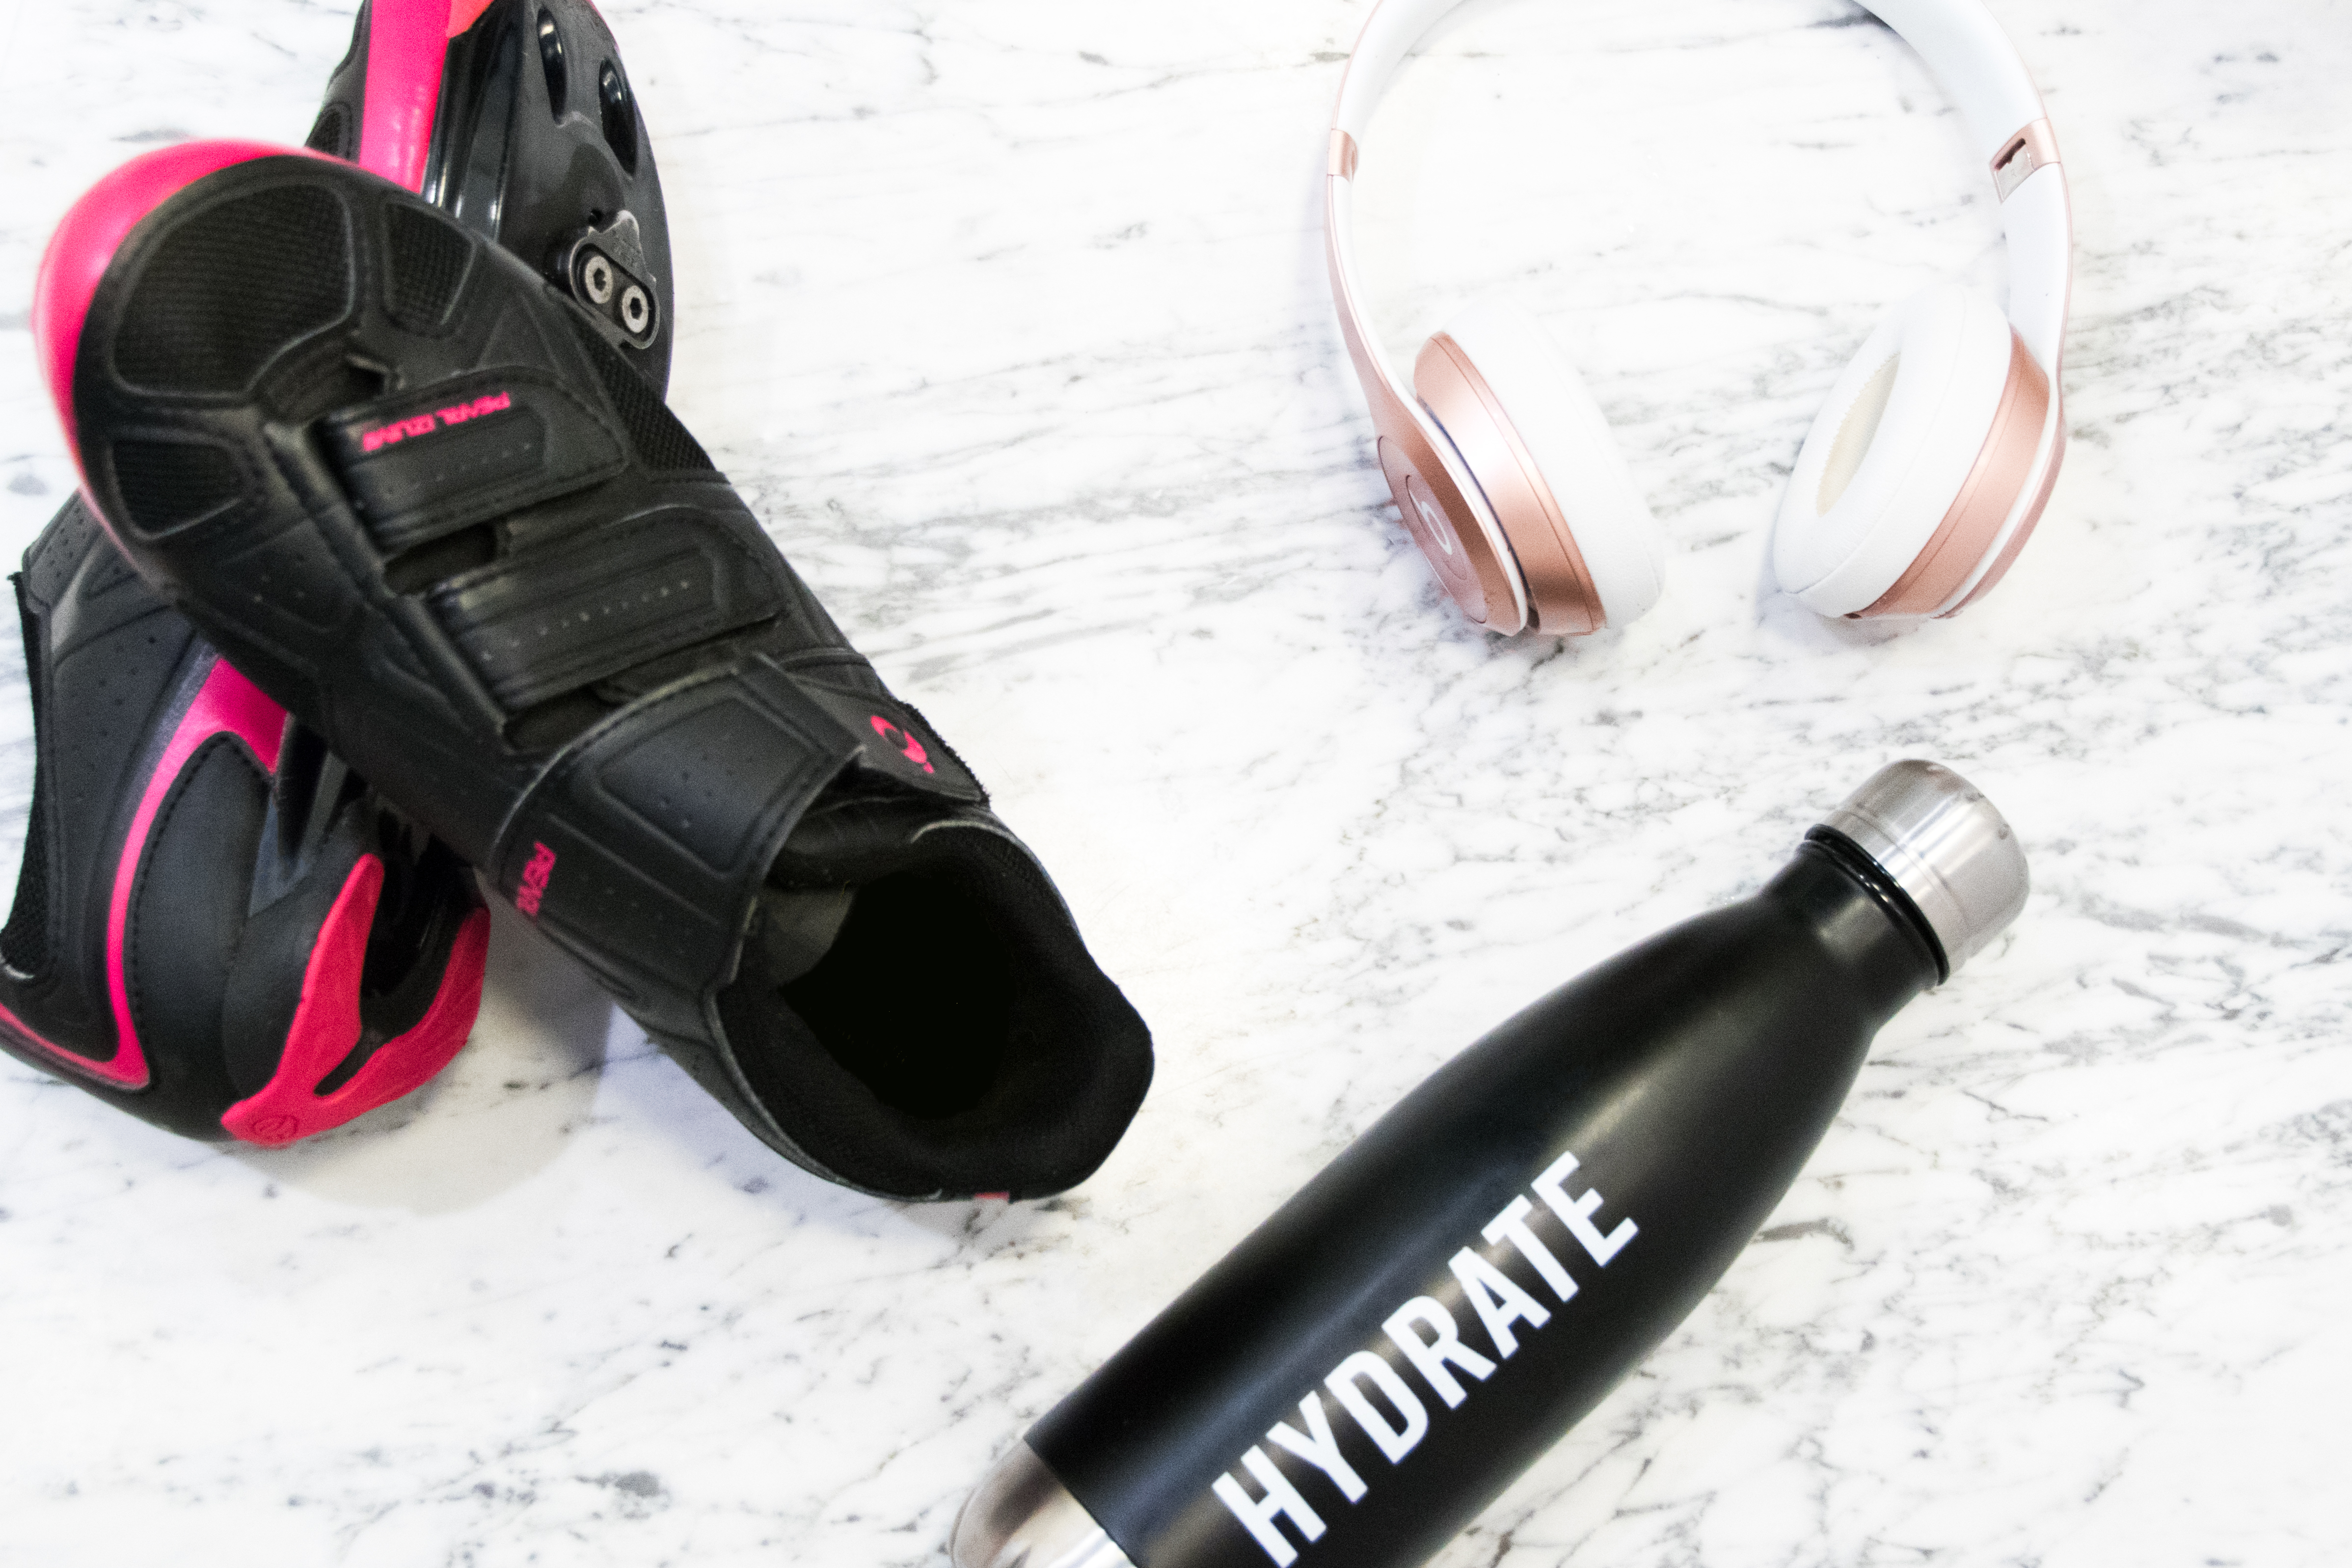
Need to spruce up your workout? Try one of these spin playlists!
If the idea of a spin workout right now makes you roll your eyes and think “yeah, right,” I get it. Now that we’re deep into the holiday season, I know it’s super easy to start to let your own health and self-care fall waaaaaay off the priority checklist. I mean, there’s so much to do, it’s cold, it’s dark at like 4 pm (although one of the best parts about being near the equator is that we avoid those short days here in Hawaii — just needed to rub that in for a sec), and basically everyone’s shoving cookies at you. But it’s up to you to remember that you have to put yourself first.
Make working out a non-negotiable item on your to-do list. Block off whatever time you need in your calendar and make sure you stick to it like you would any other appointment. I don’t know about you, but the shorter days always make me depressed as hell, and I promise that working out will help shake you out of that funk.
When working out is the last thing you want to do, it’s usually the thing you need to do the most.
Seriously. Here’s a little trick for the days when you feel the least motivated: make a deal with yourself that you’ll work out for just 15 minutes. That’s it. And even if you start out silently cursing and feeling like you’re made of lead, by the end of those 15 minutes I promise you’ll be powered up and wanting more. But don’t take my word for it — just do it and see for yourself! And I’m pretty much positive that if you do 15 min of spin specifically, you’ll end up doing the entire class.
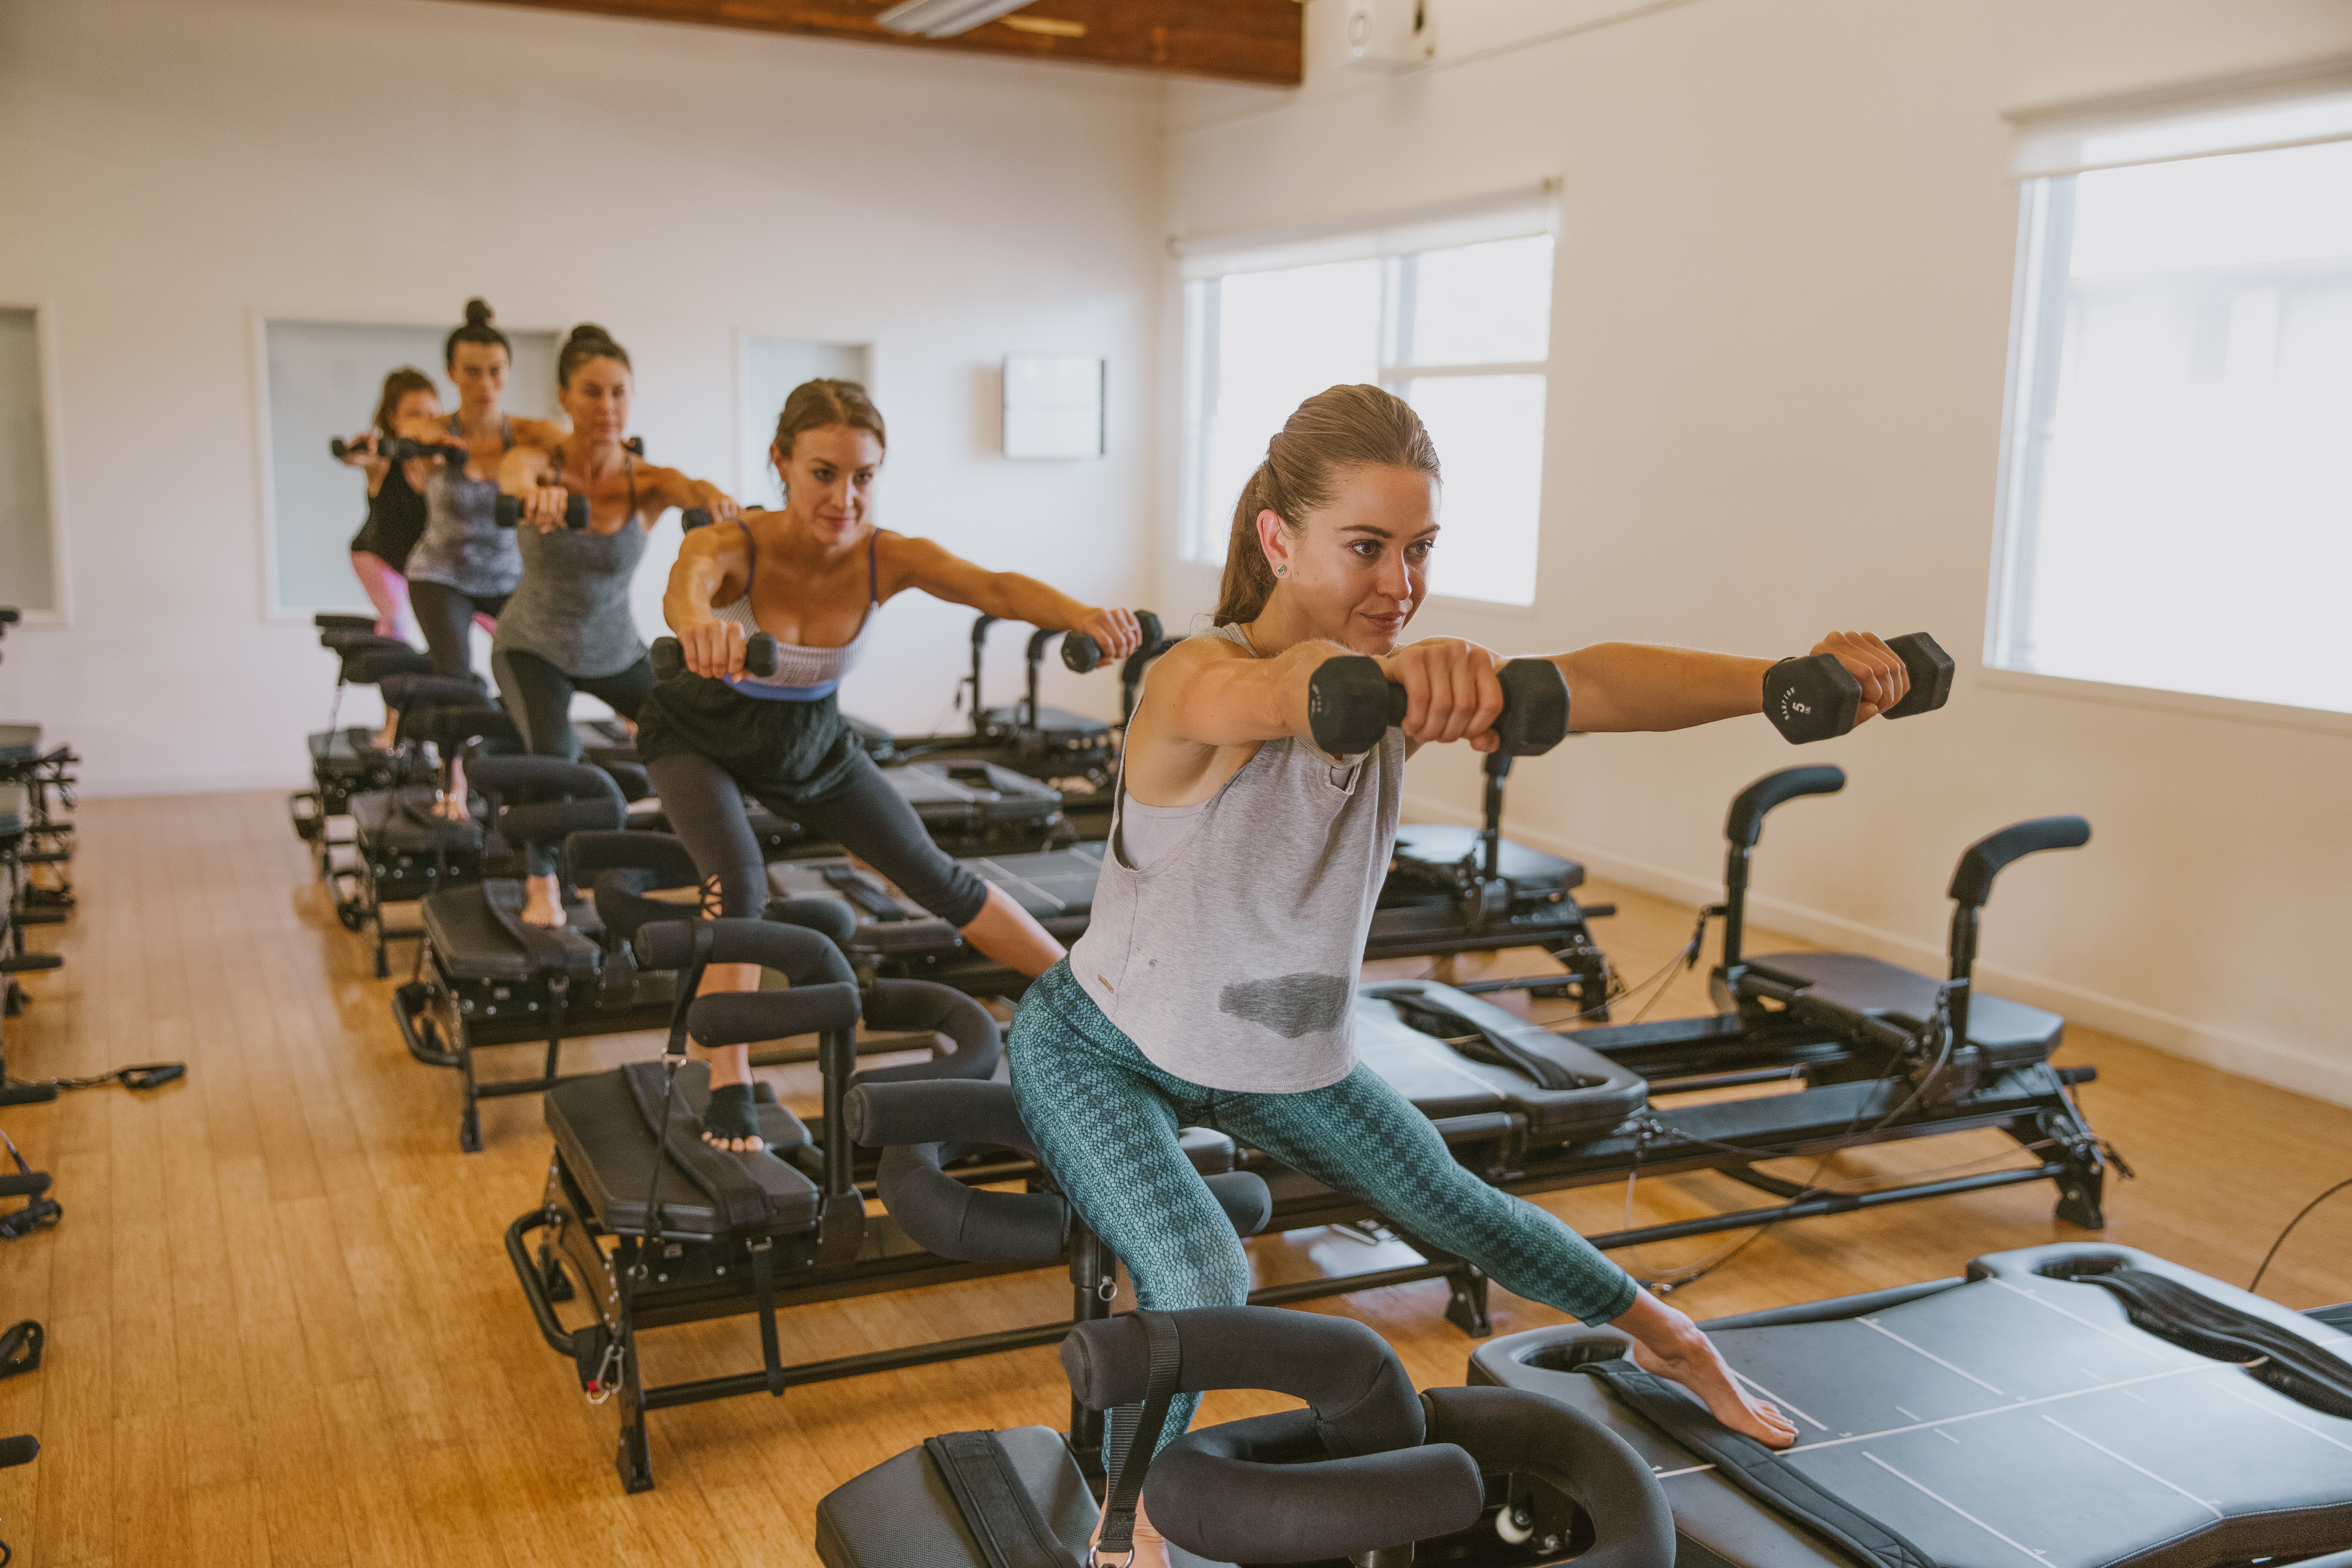
The best part about these spin playlists is that they make working out super time-efficient. In just 45 minutes you’ll get your ass handed to you (in the best, endorphin-flooding, spirit-lifting way possible) along with some heart-healthy cardio and even a sprinkling of upper-body strength-training. The time speeds by because you’re basically just dancing and jamming to some awesome (in my opinion, anyway) music. And then you’re done for the day! In less than an hour!
Talk about no excuses.
Let’s talk about the latest spin playlists I made for you guys.
Well, I made them for myself (and Matt), too, if I’m being honest. You see, there aren’t any spin studios on Oahu yet (anyone want to open one? let’s talk), so I currently only get to teach spin when I’m visiting back home in San Diego. I miss it every day. BUT I make do by rocking out solo on the spin bike I bought off Craigslist. It’s actually an amazing time to go internal, turn up the volume on my home speakers, and just have fun. It feels more like therapy or meditation than a workout.
These spin playlists are for my fellow independent workout warriors. Or, you know, just anyone looking for some badass new music.
In case you missed it, be sure to check out my September 2017 spin playlists, too! And don’t worry, if you guys like them, I’ll keep the playlists coming. I mean, I’m always building one at any given moment, so whenever you want to discover some new music, I’m your gal. Be sure to follow me on Instagram, Facebook, and Twitter, where I like to share all the new tunes I’m currently rocking out to. The November playlist has the song “Lemon” in it, which is my current fave. I think I annoy my husband with how much I play it. Haha
If you’re a fellow spin instructor, I hope these spin playlists give you some inspiration for your classes! And if you don’t go to spin class and want a cheaper + more convenient option, you can do these workouts on any spin bike — most gyms have at least one tucked away somewhere for you to use, so make sure to ask if you’re not sure if you have access to one!
How To Do These Spin Workouts
- Ride to the beat of the music. If you can’t find the beat (and that’s ok, you’ll gain the musicality with practice), just do your best. If you can’t figure something out, reach out to me and I’ll walk you through it. (Really!)
- Use as much resistance as you can handle. Keeping the beat of the song should feel challenging, but not impossible. You definitely don’t want to be going too fast — when in doubt, slower with more resistance is better.
- Always have at least 2 turns of resistance on your bike.
- Do the moves listed below during the chorus of the songs. Most have a pretty obvious beat drop, but it might be easier if you listen to the songs beforehand just so you’re kind of familiar with them. Or, you know, just do the moves whenever the spirit moves you.
- Listen to your body and do as much as you can, with wherever you’re at today. Remember you’re responsible for your own health + safety, and consult your doctor before beginning any workout regimen.
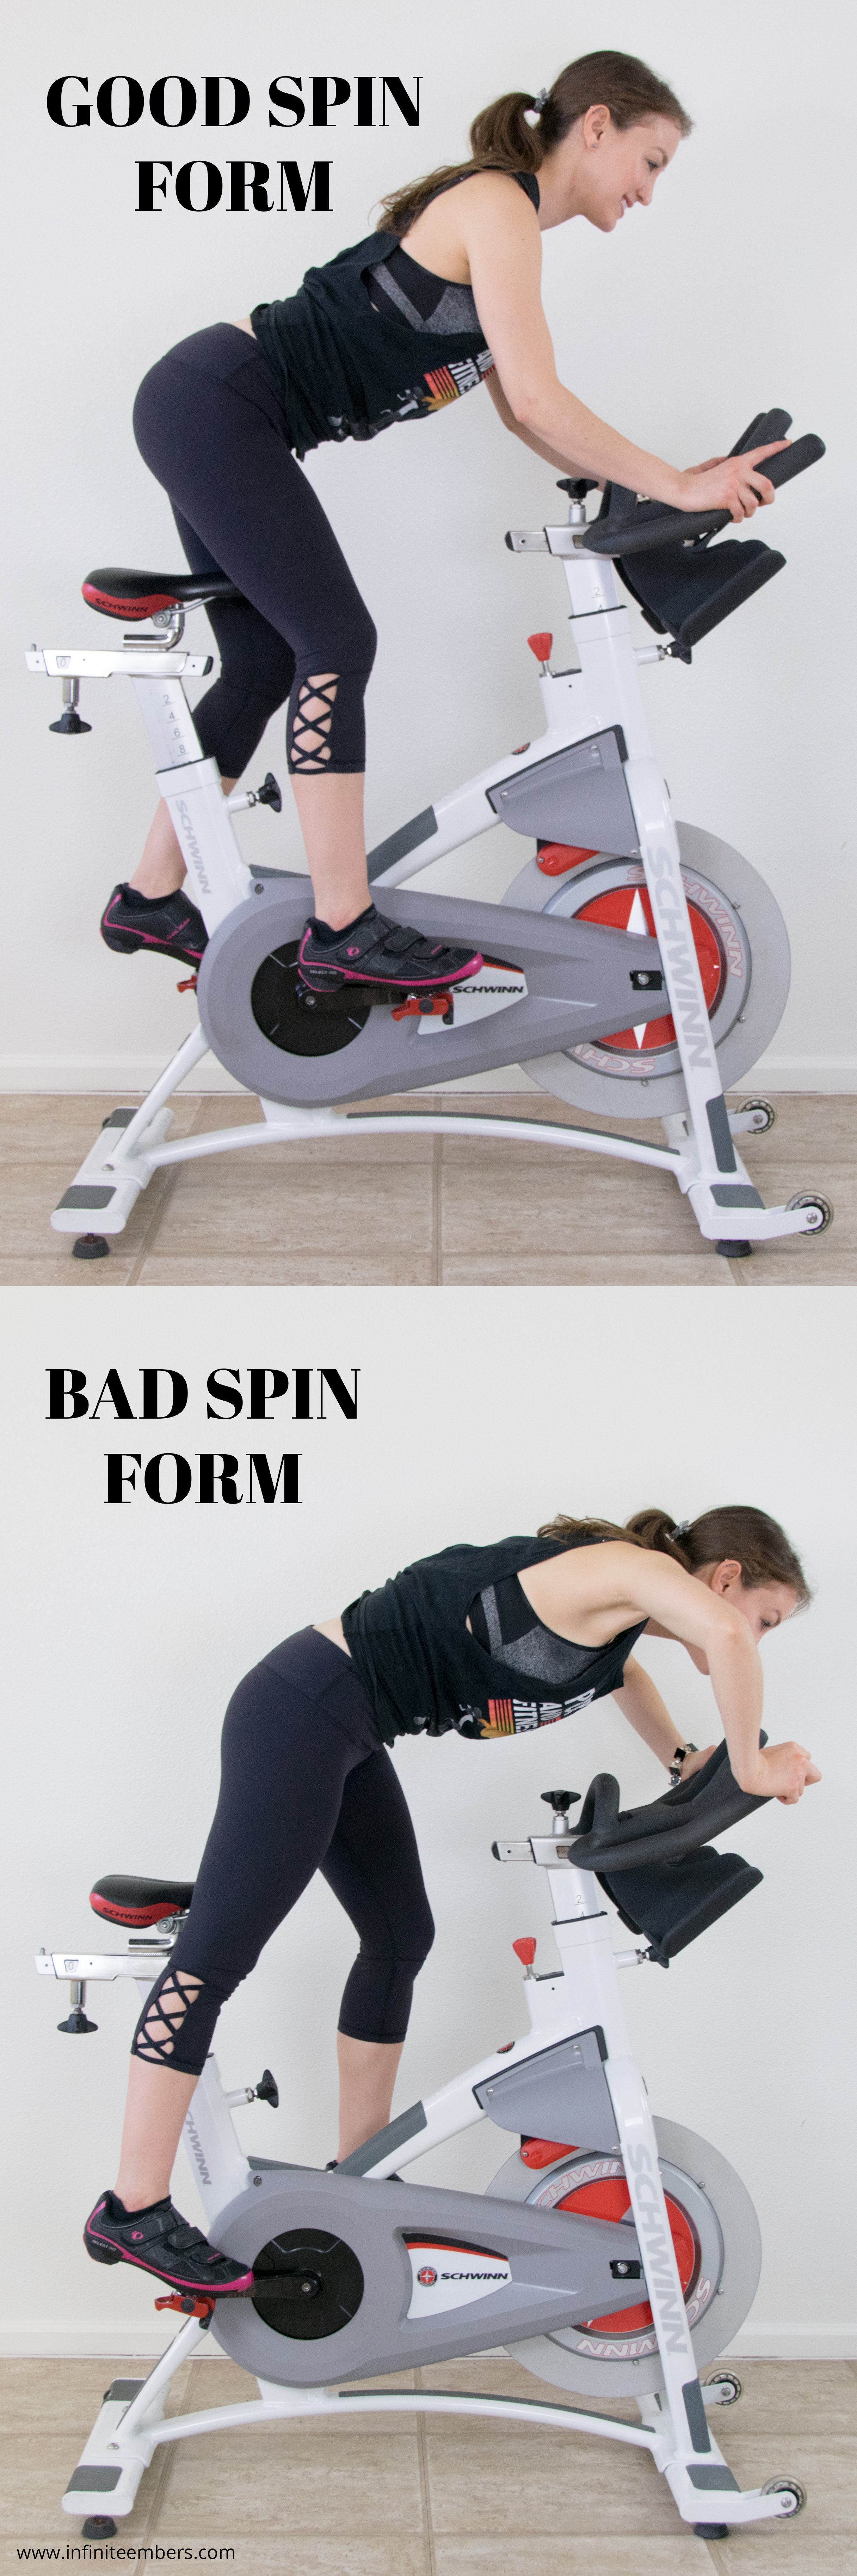
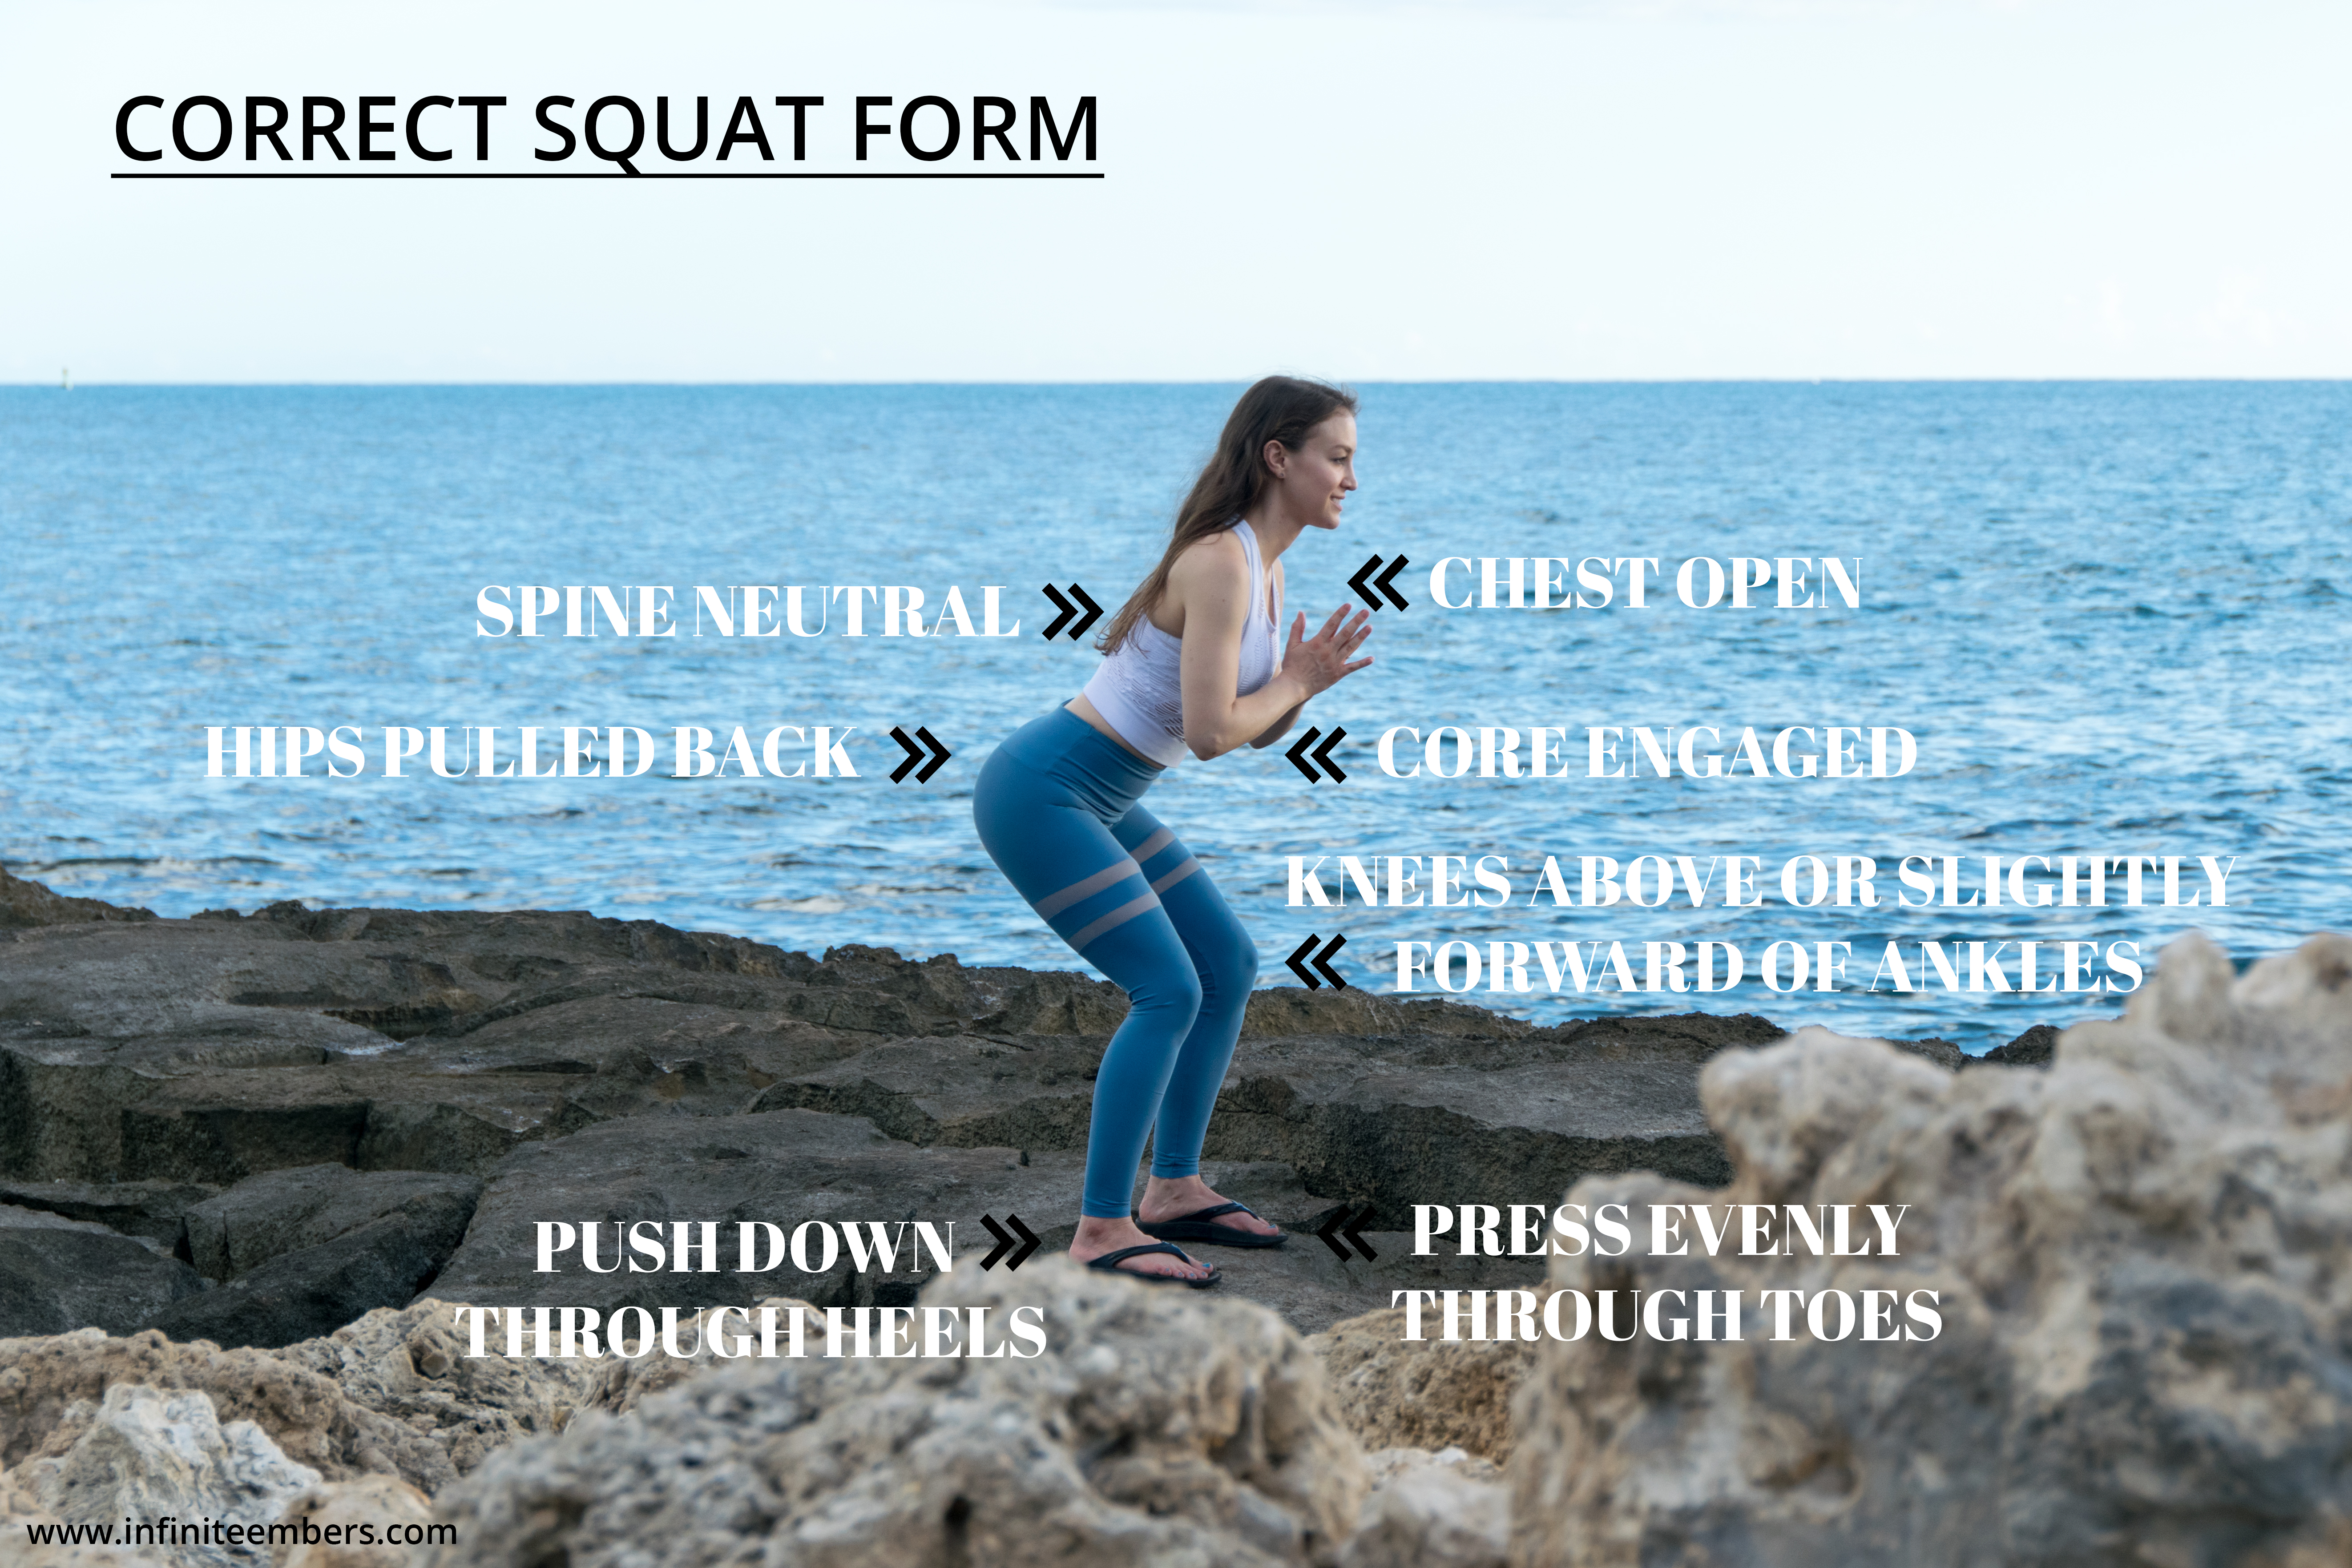
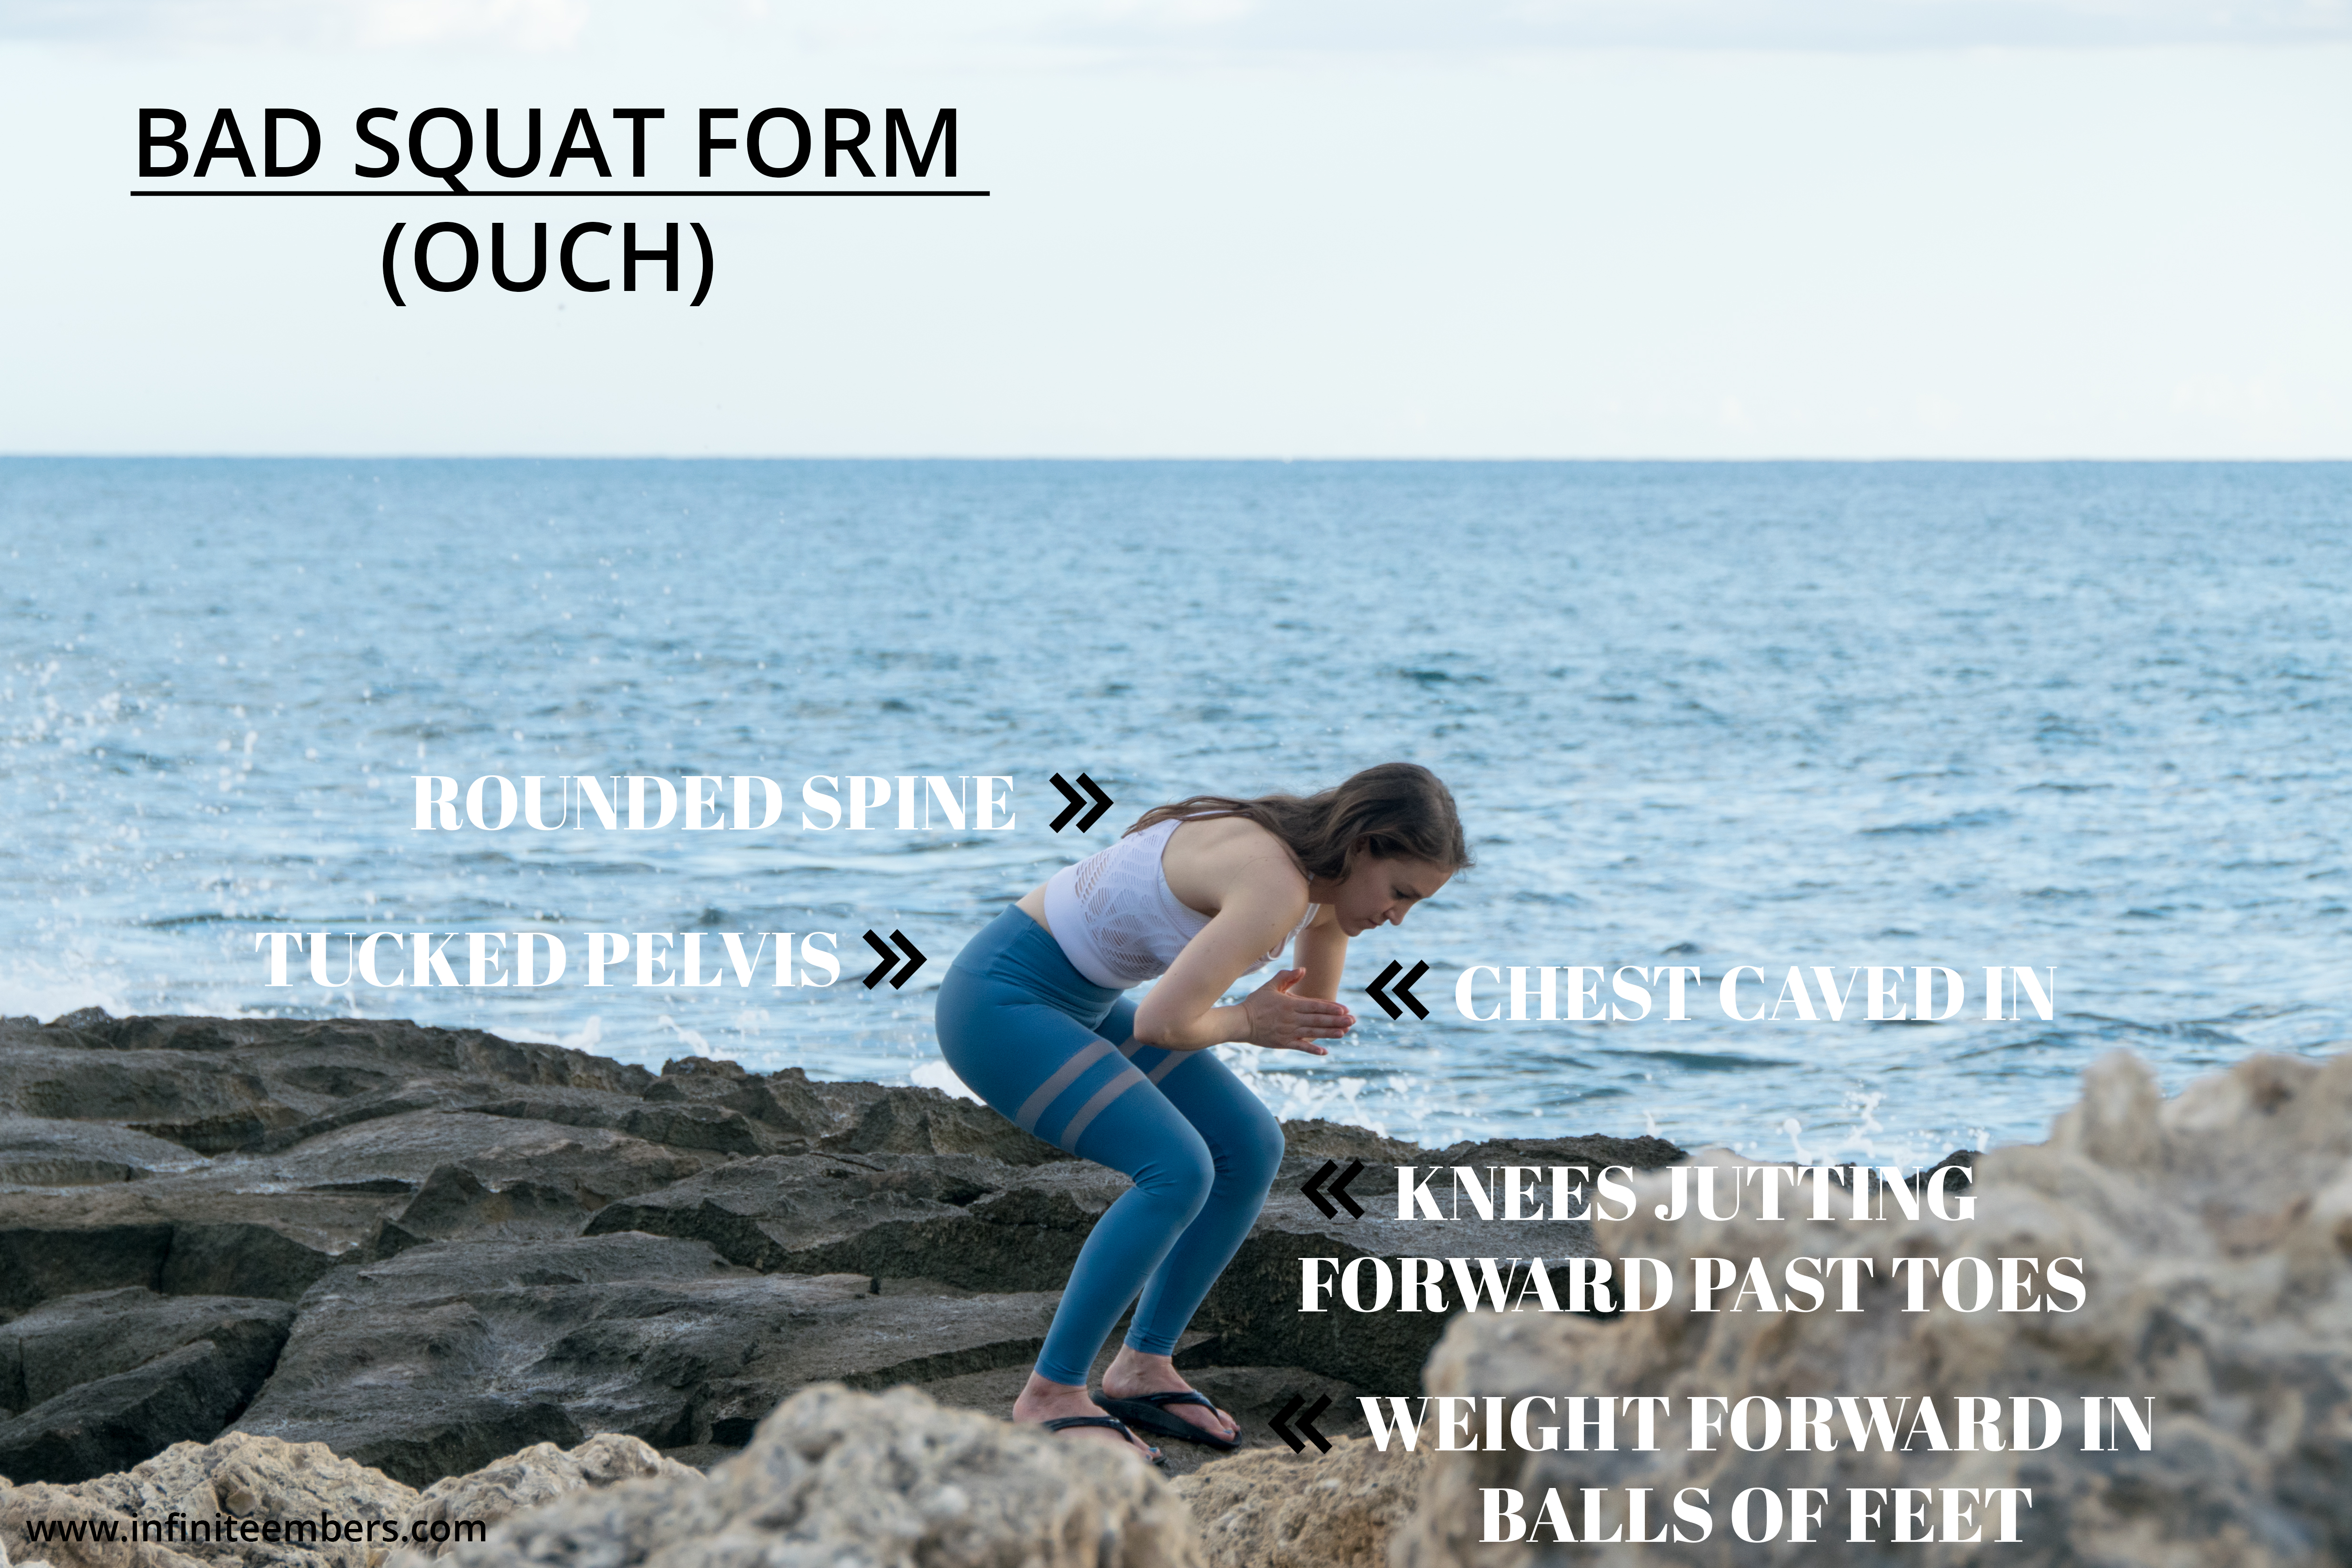
- Watch your form!!!
October 2017 Spin Playlist
Click here to open the playlist in Spotify.
1 » Silence » Drop Elbows Straight Down
2 » Praying Remix » Push Elbows Out then In
3 » Without You Remix » 2 30 second Sprints (1:43-2:13 + 3:14-3:44)
4 » Burn Baby Burn » Travels (move hips to back of saddle for two counts then forward to the front of the saddle for two counts)
5 » Obsession Remix » Push-Up/Tap-Backs (push elbows out then slightly lunge hips back until you lightly tap the back of the saddle with your booty)
6 » Feels Great » Tap-Backs (if out of the saddle) OR Triceps Crunches (drop elbows straight down while in the saddle)
7 » Da Da Ding » Figure 8s (move your hips to back of your saddle, then the front, moving your torso side to side like you’re tracing a figure 8)
8 » Get Low Remix » 1 30 second Sprint (1:00-1:30), followed by 1 45 second Sprint (2:15-3:00)
9 » The Future Remix » Weights (grab a couple hand weights and do whatever upper body exercises you like – you can get off the bike or stay on, sitting upright in the saddle)
10 » One Foot » Just ride. (no fancy moves – just reflect)
11 » Thriller Remix » 3 30 second Sprints (1:16-1:46, 2:56-3:26, 3:57-4:27)
12 » Yours » Stretch (seriously – take a couple minutes and DO IT)
13 » Turn Me Down Remix » A song to make sure you walk away from your workout feeling like the badass you are.
November 2017 Spin Playlist
Click here to open the playlist in Spotify.
1 » Pitch Black » A quick song to help you get settled. Take a breath and prepare to slay.
2 » Turn Me Down Remix » Drop Elbows Straight Down
3 » HUMBLE. Remix » Push Elbows Out then In
4 » Dusk Till Dawn Remix » 2 30 second Sprints (1:08-1:38 + 2:48-3:18)
5 » Uh Huh » Travels (move hips to back of saddle for two counts then forward to the front of the saddle for two counts)
6 » Dirty Sexy Money » Push-Up/Tap-Backs (push elbows out then slightly lunge hips back until you lightly tap the back of the saddle with your booty)
7 » Lemon » Tap-Backs (if out of the saddle) OR Triceps Crunches (drop elbows straight down while in the saddle)
8 » Sexy Dirty Love » Figure 8s (move your hips to back of your saddle, then the front, moving your torso side to side like you’re tracing a figure 8)
9 » Tip Toe » Move Hands to 2nd Position for 4 Counts, then 3rd Position for 4 Counts, and Repeat (when in 2nd position your body should be more straight up and down, as if you were on a stair master, and then 3rd is just right at the end of the handles in your normal out-of-the-saddle spin form)
10 » Silence Remix »2 30 second Sprints (1:11-1:41 + 2:44-3:14)
11 » Perfect Strangers Remix » Weights (grab a couple hand weights and do whatever upper body exercises you like – you can get off the bike or stay on, sitting upright in the saddle)
12 » Come Together » Just ride. (no fancy moves – just reflect)
13 » Mi Gente Remix » 2 45 second Sprints (1:01-1:46, 2:55-3:40)
14 » Magnets » Stretch (seriously – take a couple minutes and DO IT)
15 » shedontknowbutsheknows » A song to make sure you walk away from your workout feeling like the badass you are.
Happy spinning!
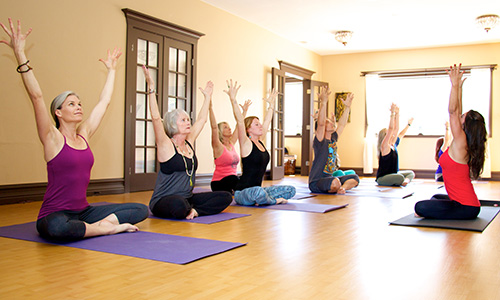
ALSO — if you want to be extra, I highly recommend you stretch even more than just a couple of minutes after you’re done with your workout. Check out my post on the yoga poses you should be doing post-spin for active recovery.
Okay, I’m all hyped now. I’m gonna go (you guessed it!) spin. And then we really need to get our Christmas tree up.
Here’s to keeping our sanity through the end of the year!