6 Yoga Stretches For Tight Outer Hips
We all got some tight outer hips.
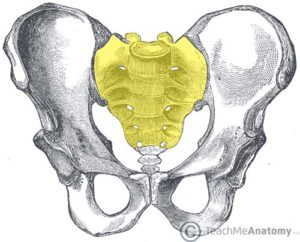
As a yoga instructor, I’ve noticed a lot of my clients ask for help with stretching their outer hips. Also known as your adductors, this area includes the gluteus medius, gluteus minimus, and tensor fasciae latae (TFL). It’s common to be so tight there because in our everyday lives we’re moving primarily in one plane: front and back, not side to side. Plus common actions like running or sitting for long periods of time can tighten your outer hips.
Tight muscles are weak muscles, and vice versa. Tight outer hips can lead to low back pain and poor posture (you know that’s important to me). By loosening the muscles back up, we free them to move through their full range of motion and start generating enough power to become stronger, as well as more flexible.
It’s so important to stretch your outer hips to prevent injury.
Think about it: your hips are the hinge point for your body. If you have issues in this region, tension will travel either up your spine or down your legs, or both! Mobile hips keeps both halves of your body operating properly.
Don’t worry: I’ve got 6 yoga stretch poses that will loosen up your outer hips!
Hold each of these poses for about 1 minute (longer if desired or shorter if needed).
Remember, go slow. Listen to your body. Breathe deeply and try to soften into each asana (“pose”). The goal, as always with yoga, is to move mindfully so you can feel better.
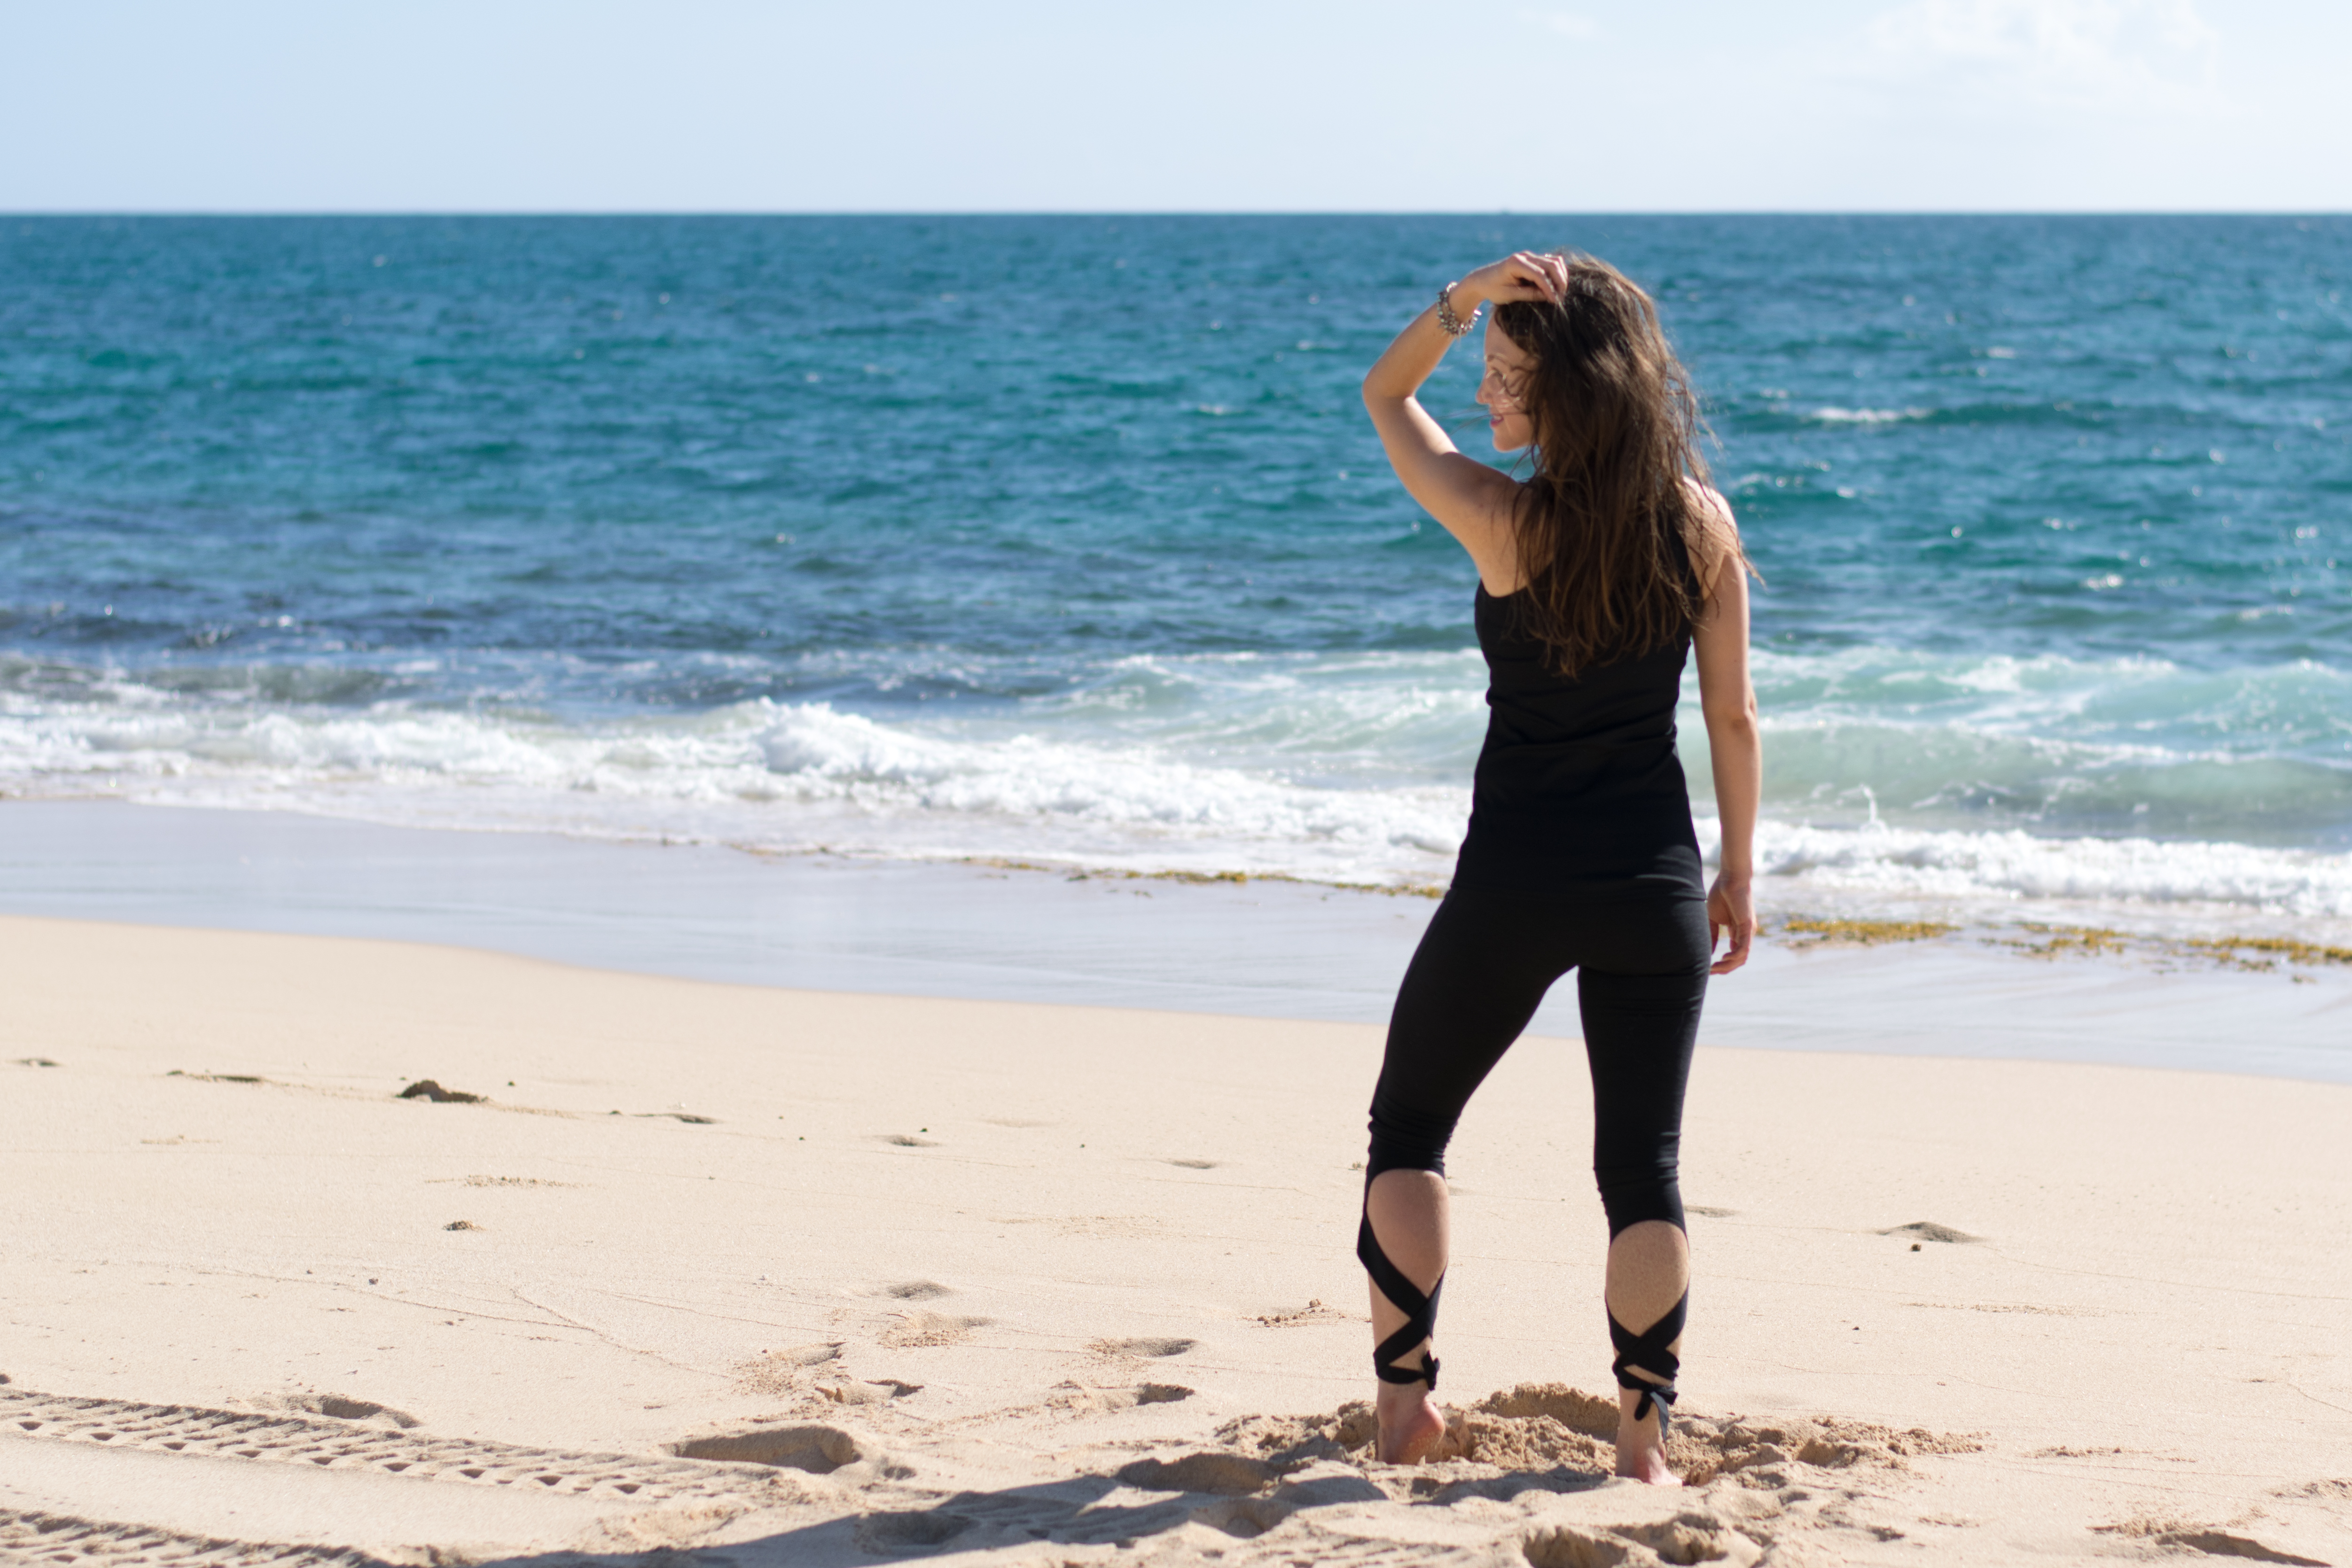
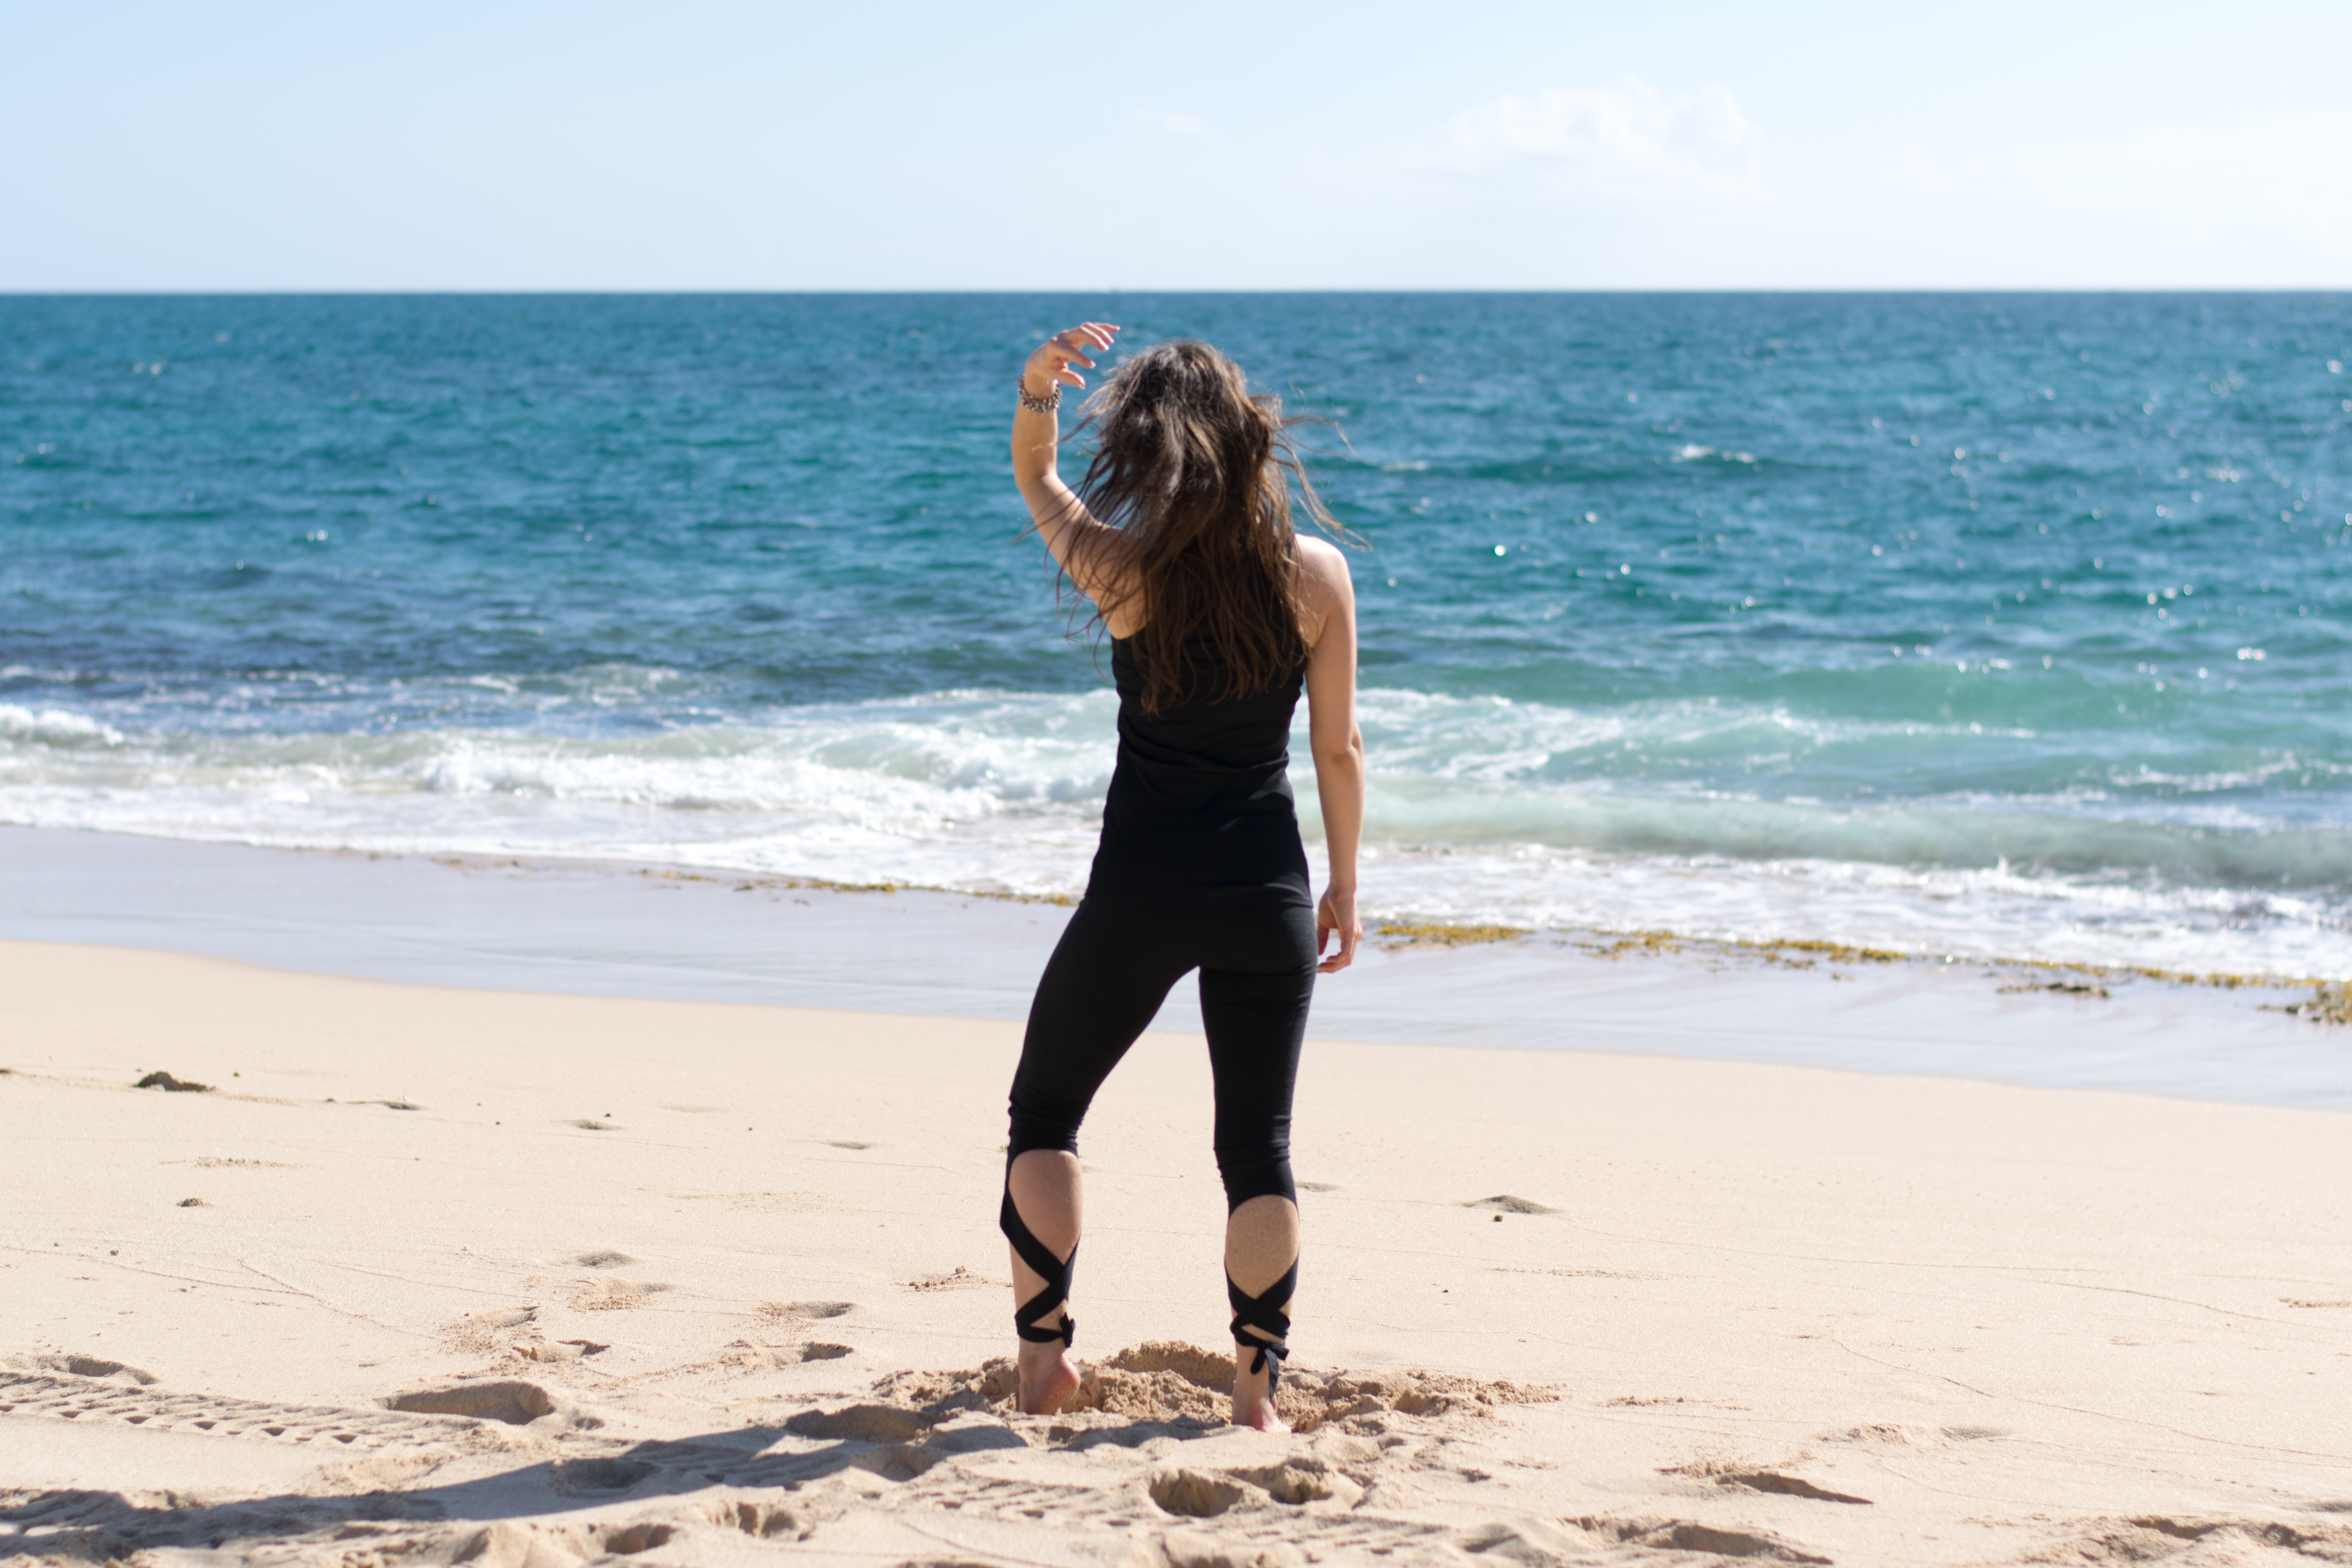
» Side note: I LOVE the leggings I’m wearing in these photos. They were gifted to me by my friend and mentor Elka Haeckel of Elka Yoga & Wellness. They’re FFIT Apparel, a Brazilian active wear line. I love them so much I wanted to give them a shoutout. If you click on any of the photos to zoom in, you can see this pair has this super cute mesh detailing on the outside. I keep getting compliments on them! (The bra is Victoria’s Secret, their most supportive model, another favorite of mine.)
Let’s do this:
1 » Half Chair Pose, aka Ardha Utkatasana
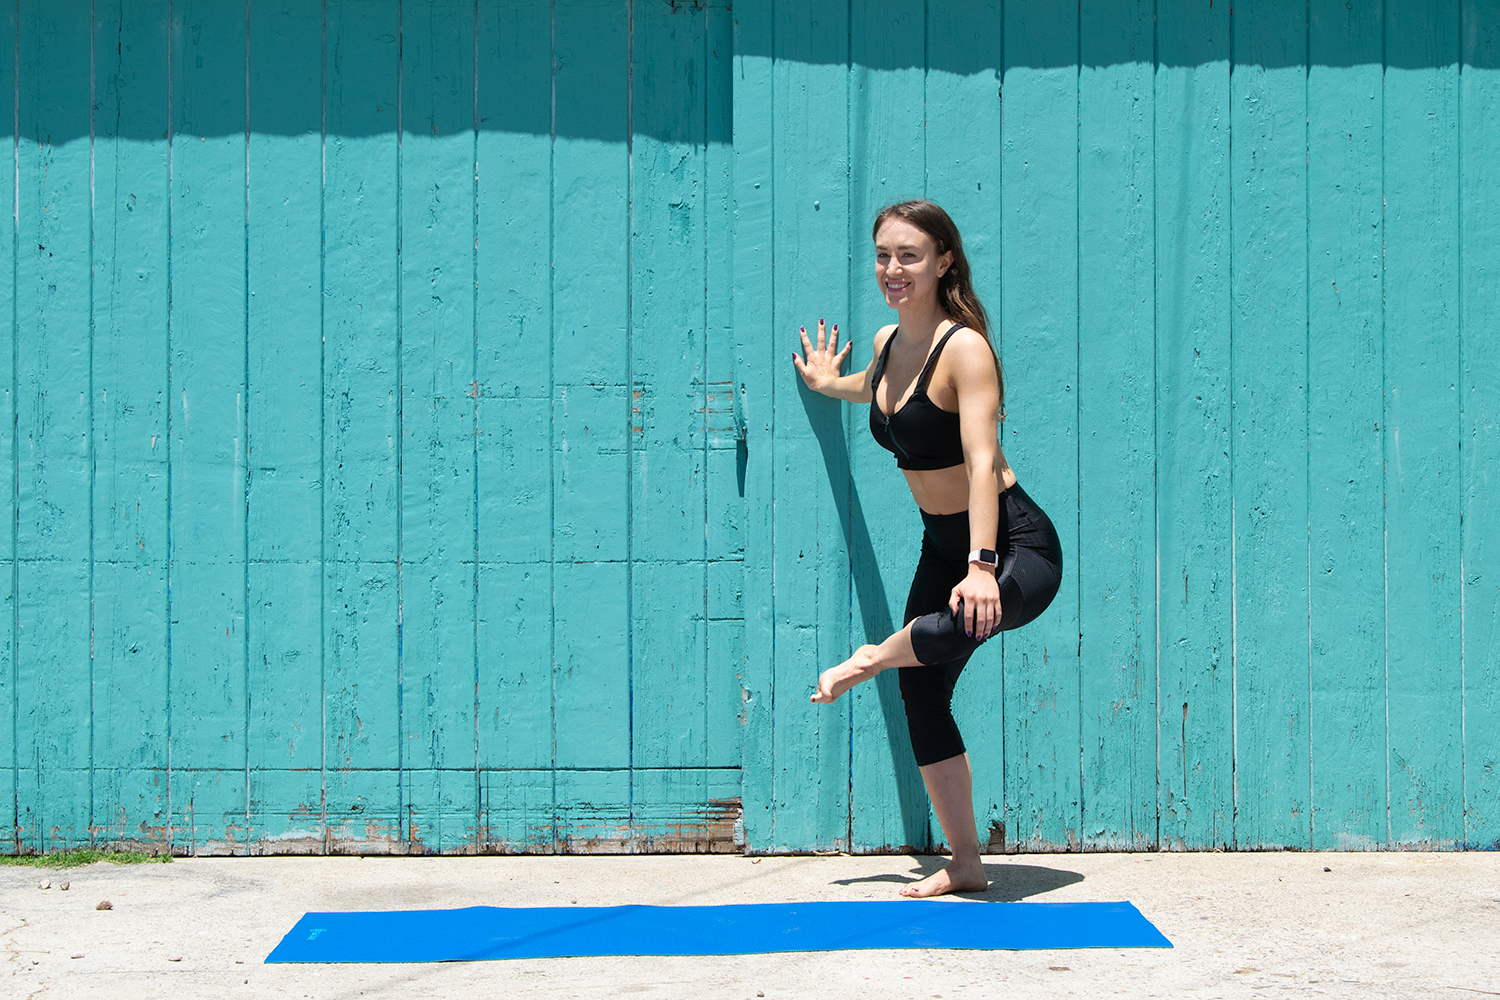
- Start standing. Holding onto a sturdy surface is ideal, like a counter, or you can stabilize yourself against the wall like me.
- Flex your Right (R) foot and cross it over your Left (L) ankle.
- Pull your hips back and bend your standing leg into a squat, or chair pose.
- Be mindful to keep your back straight and upright, and your standing leg’s knee stacked directly over your ankle (don’t let it jut forward).
- Repeat on the other side.
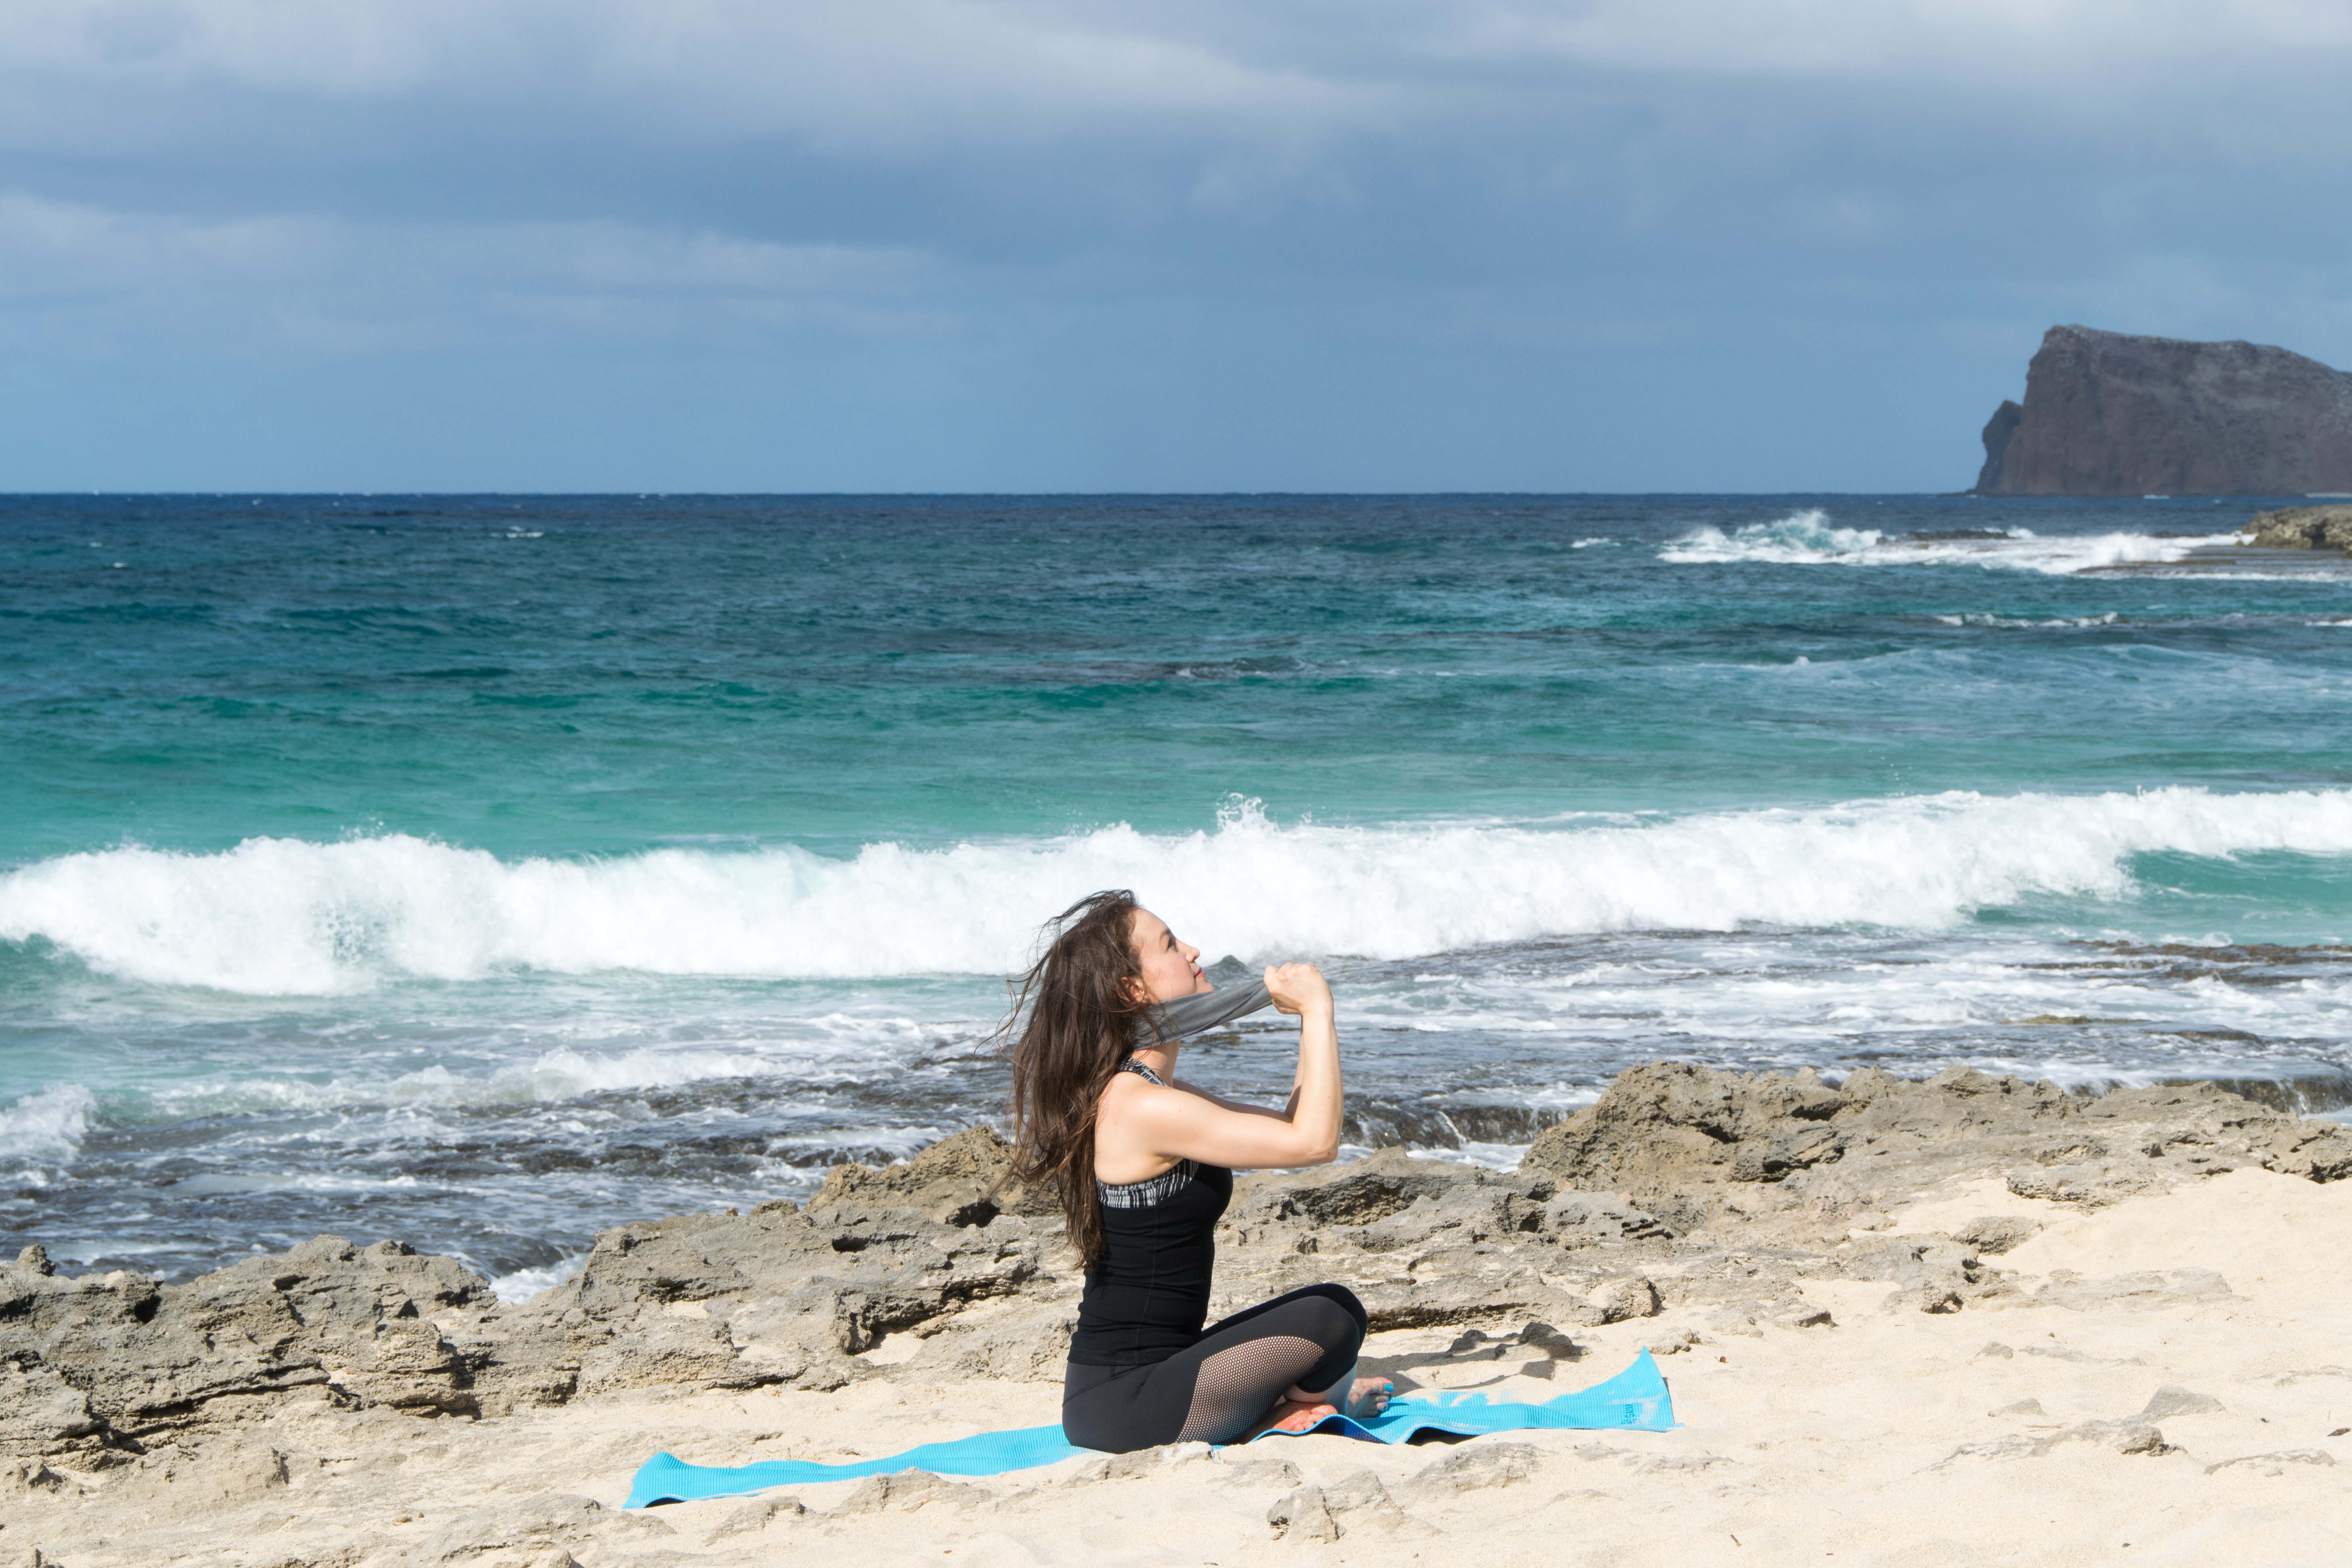
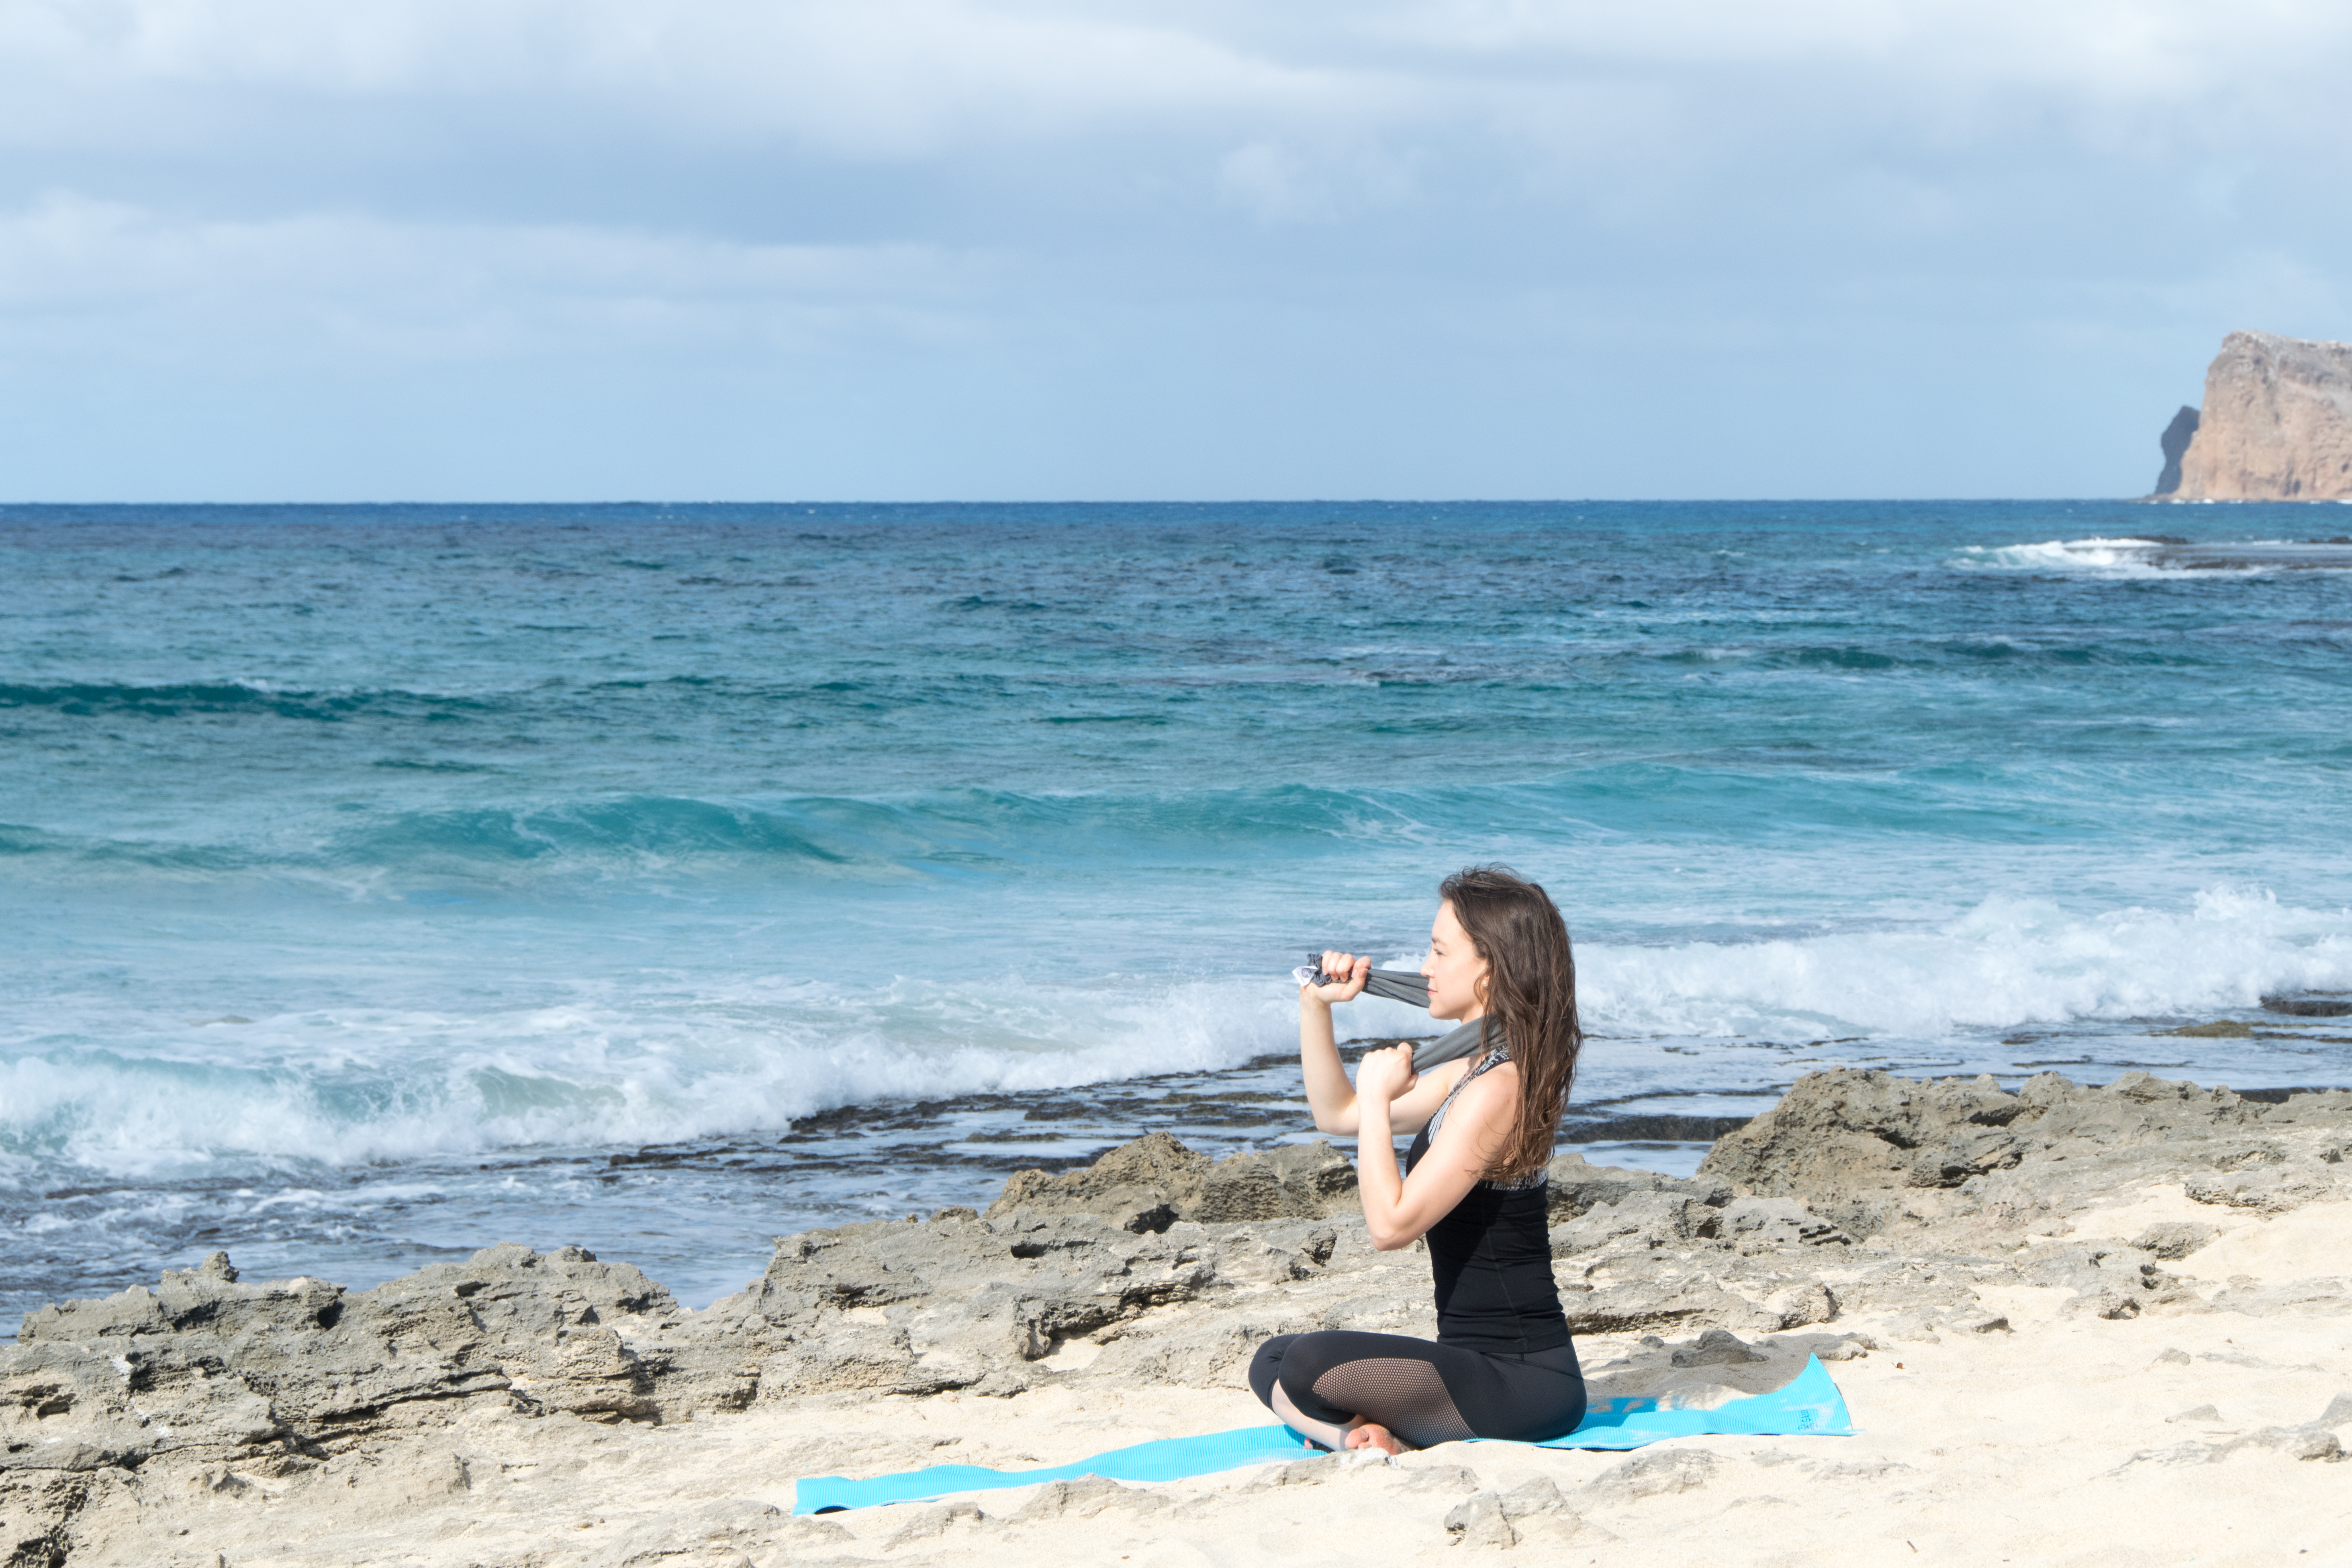
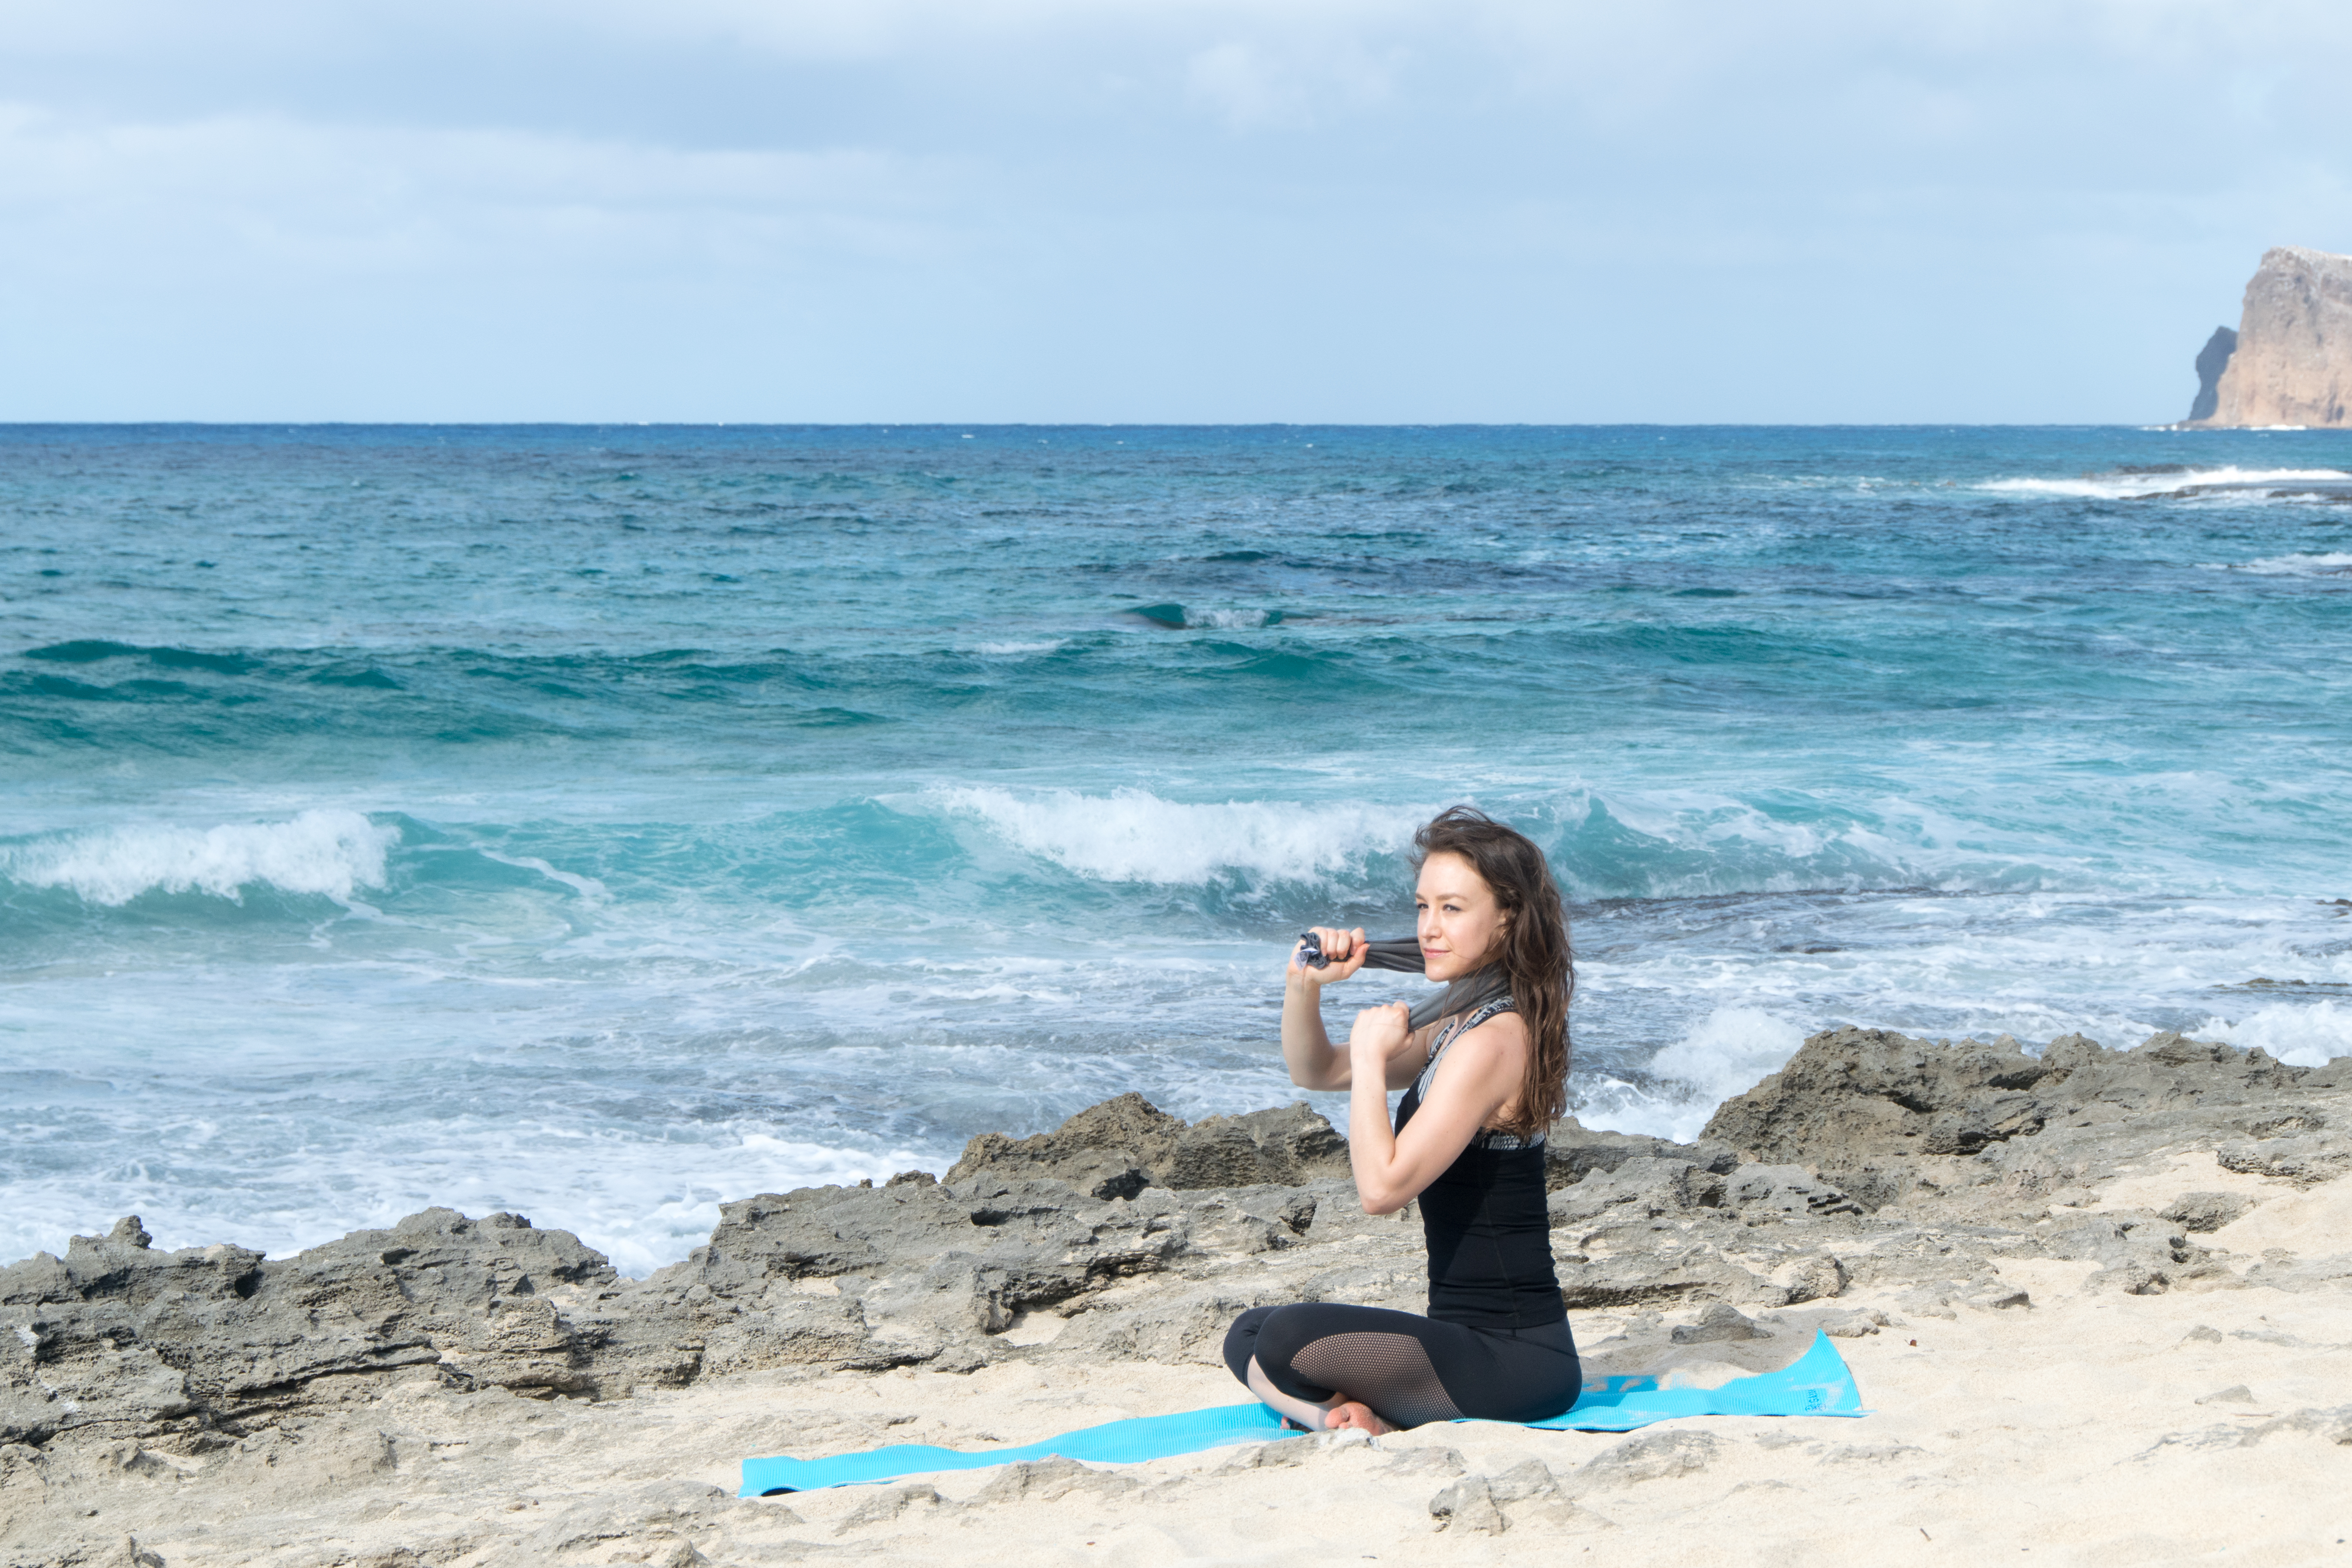
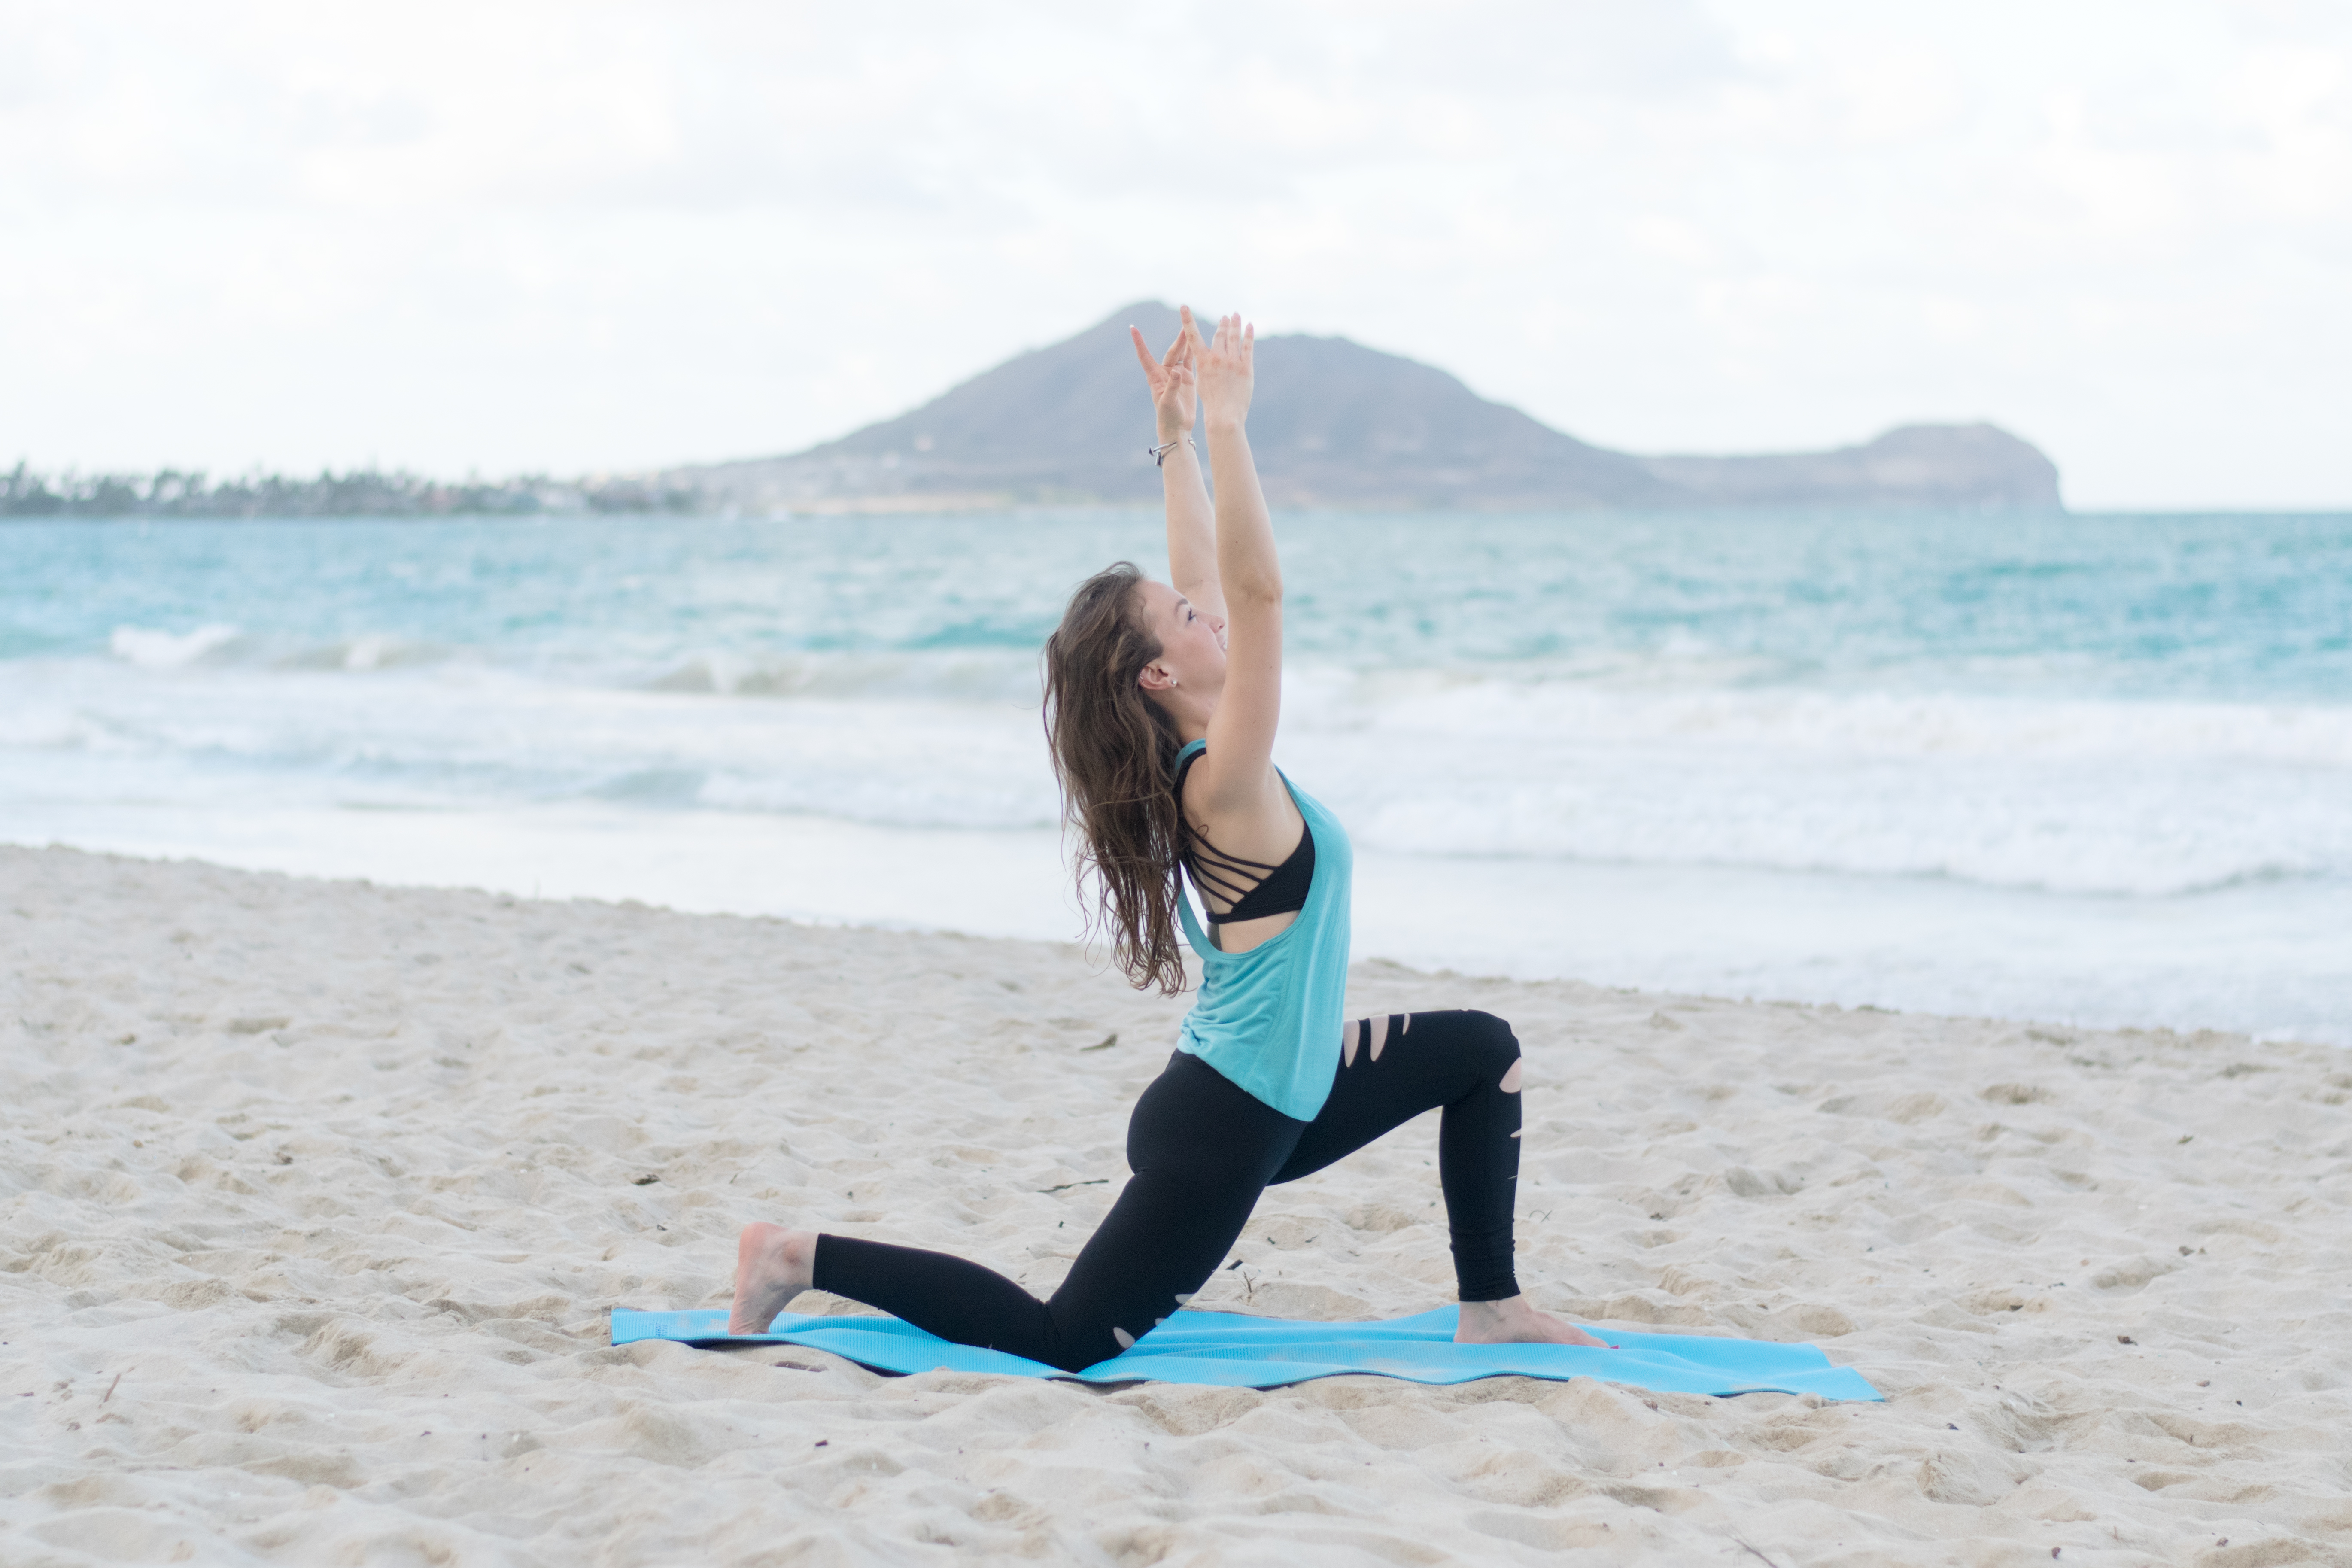
2 » Sidebending Mountain Pose, aka Parsva Tadasana
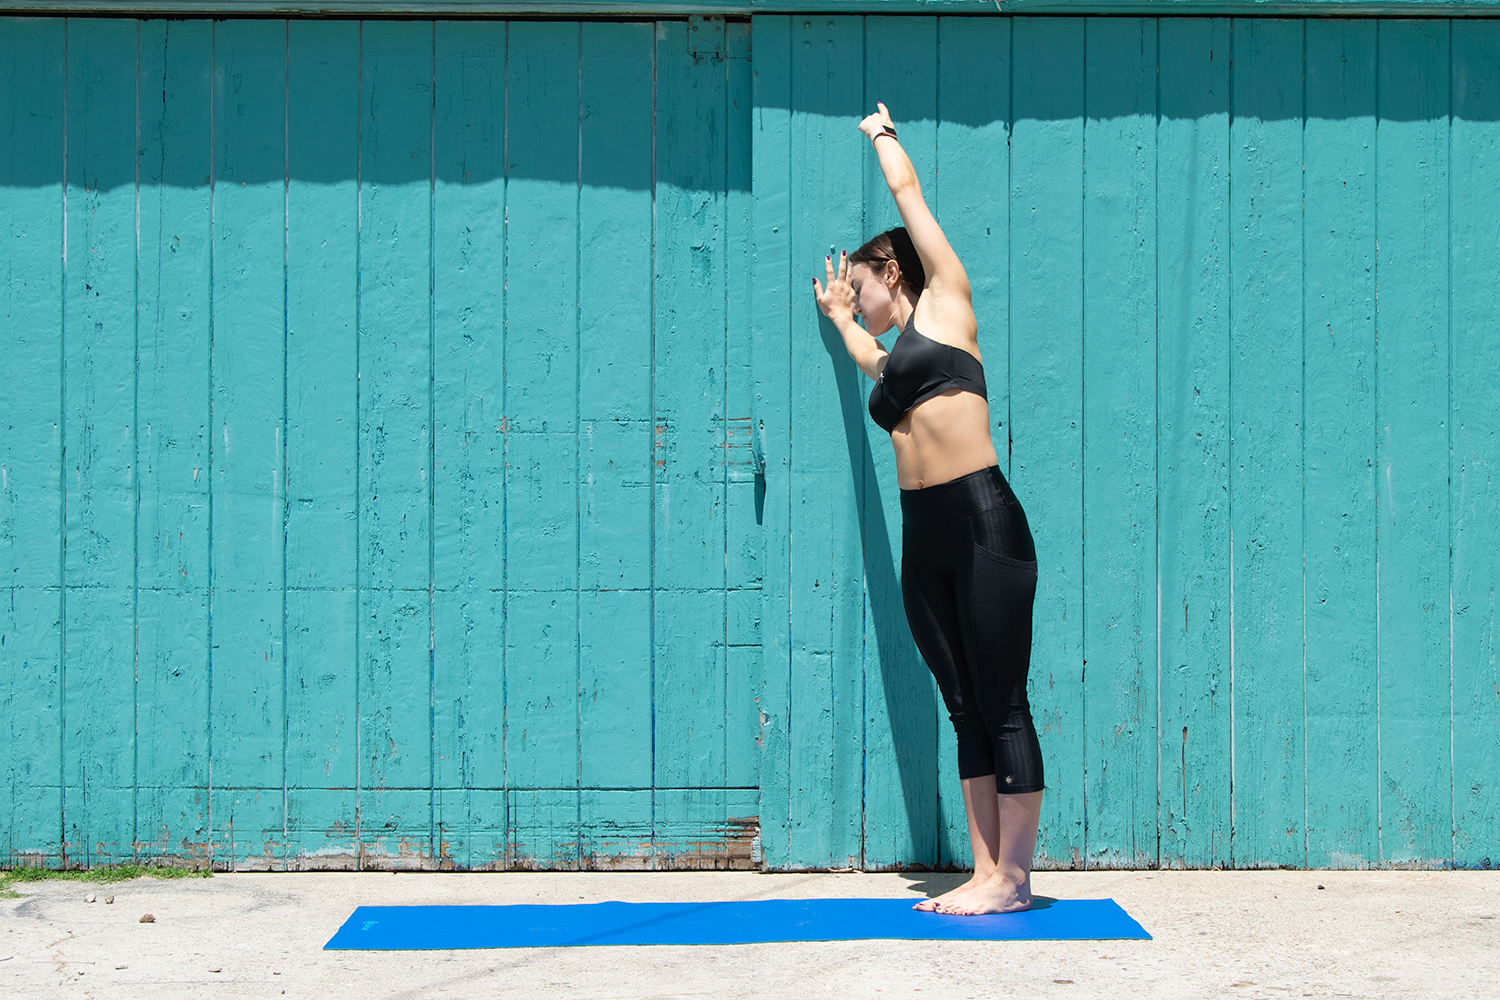
- Start standing. With or without a wall, lift through the top of your head and reach your arms overhead.
- Lean your upper body to the L while pressing your hips to the R. Breathe down the side of the R leg.
- If you’re using a wall, press against it to help you deepen the arch of your stretch. If you’re not using a wall, try interlacing your fingers to help you stretch through your ribs.
- Repeat on the other side.
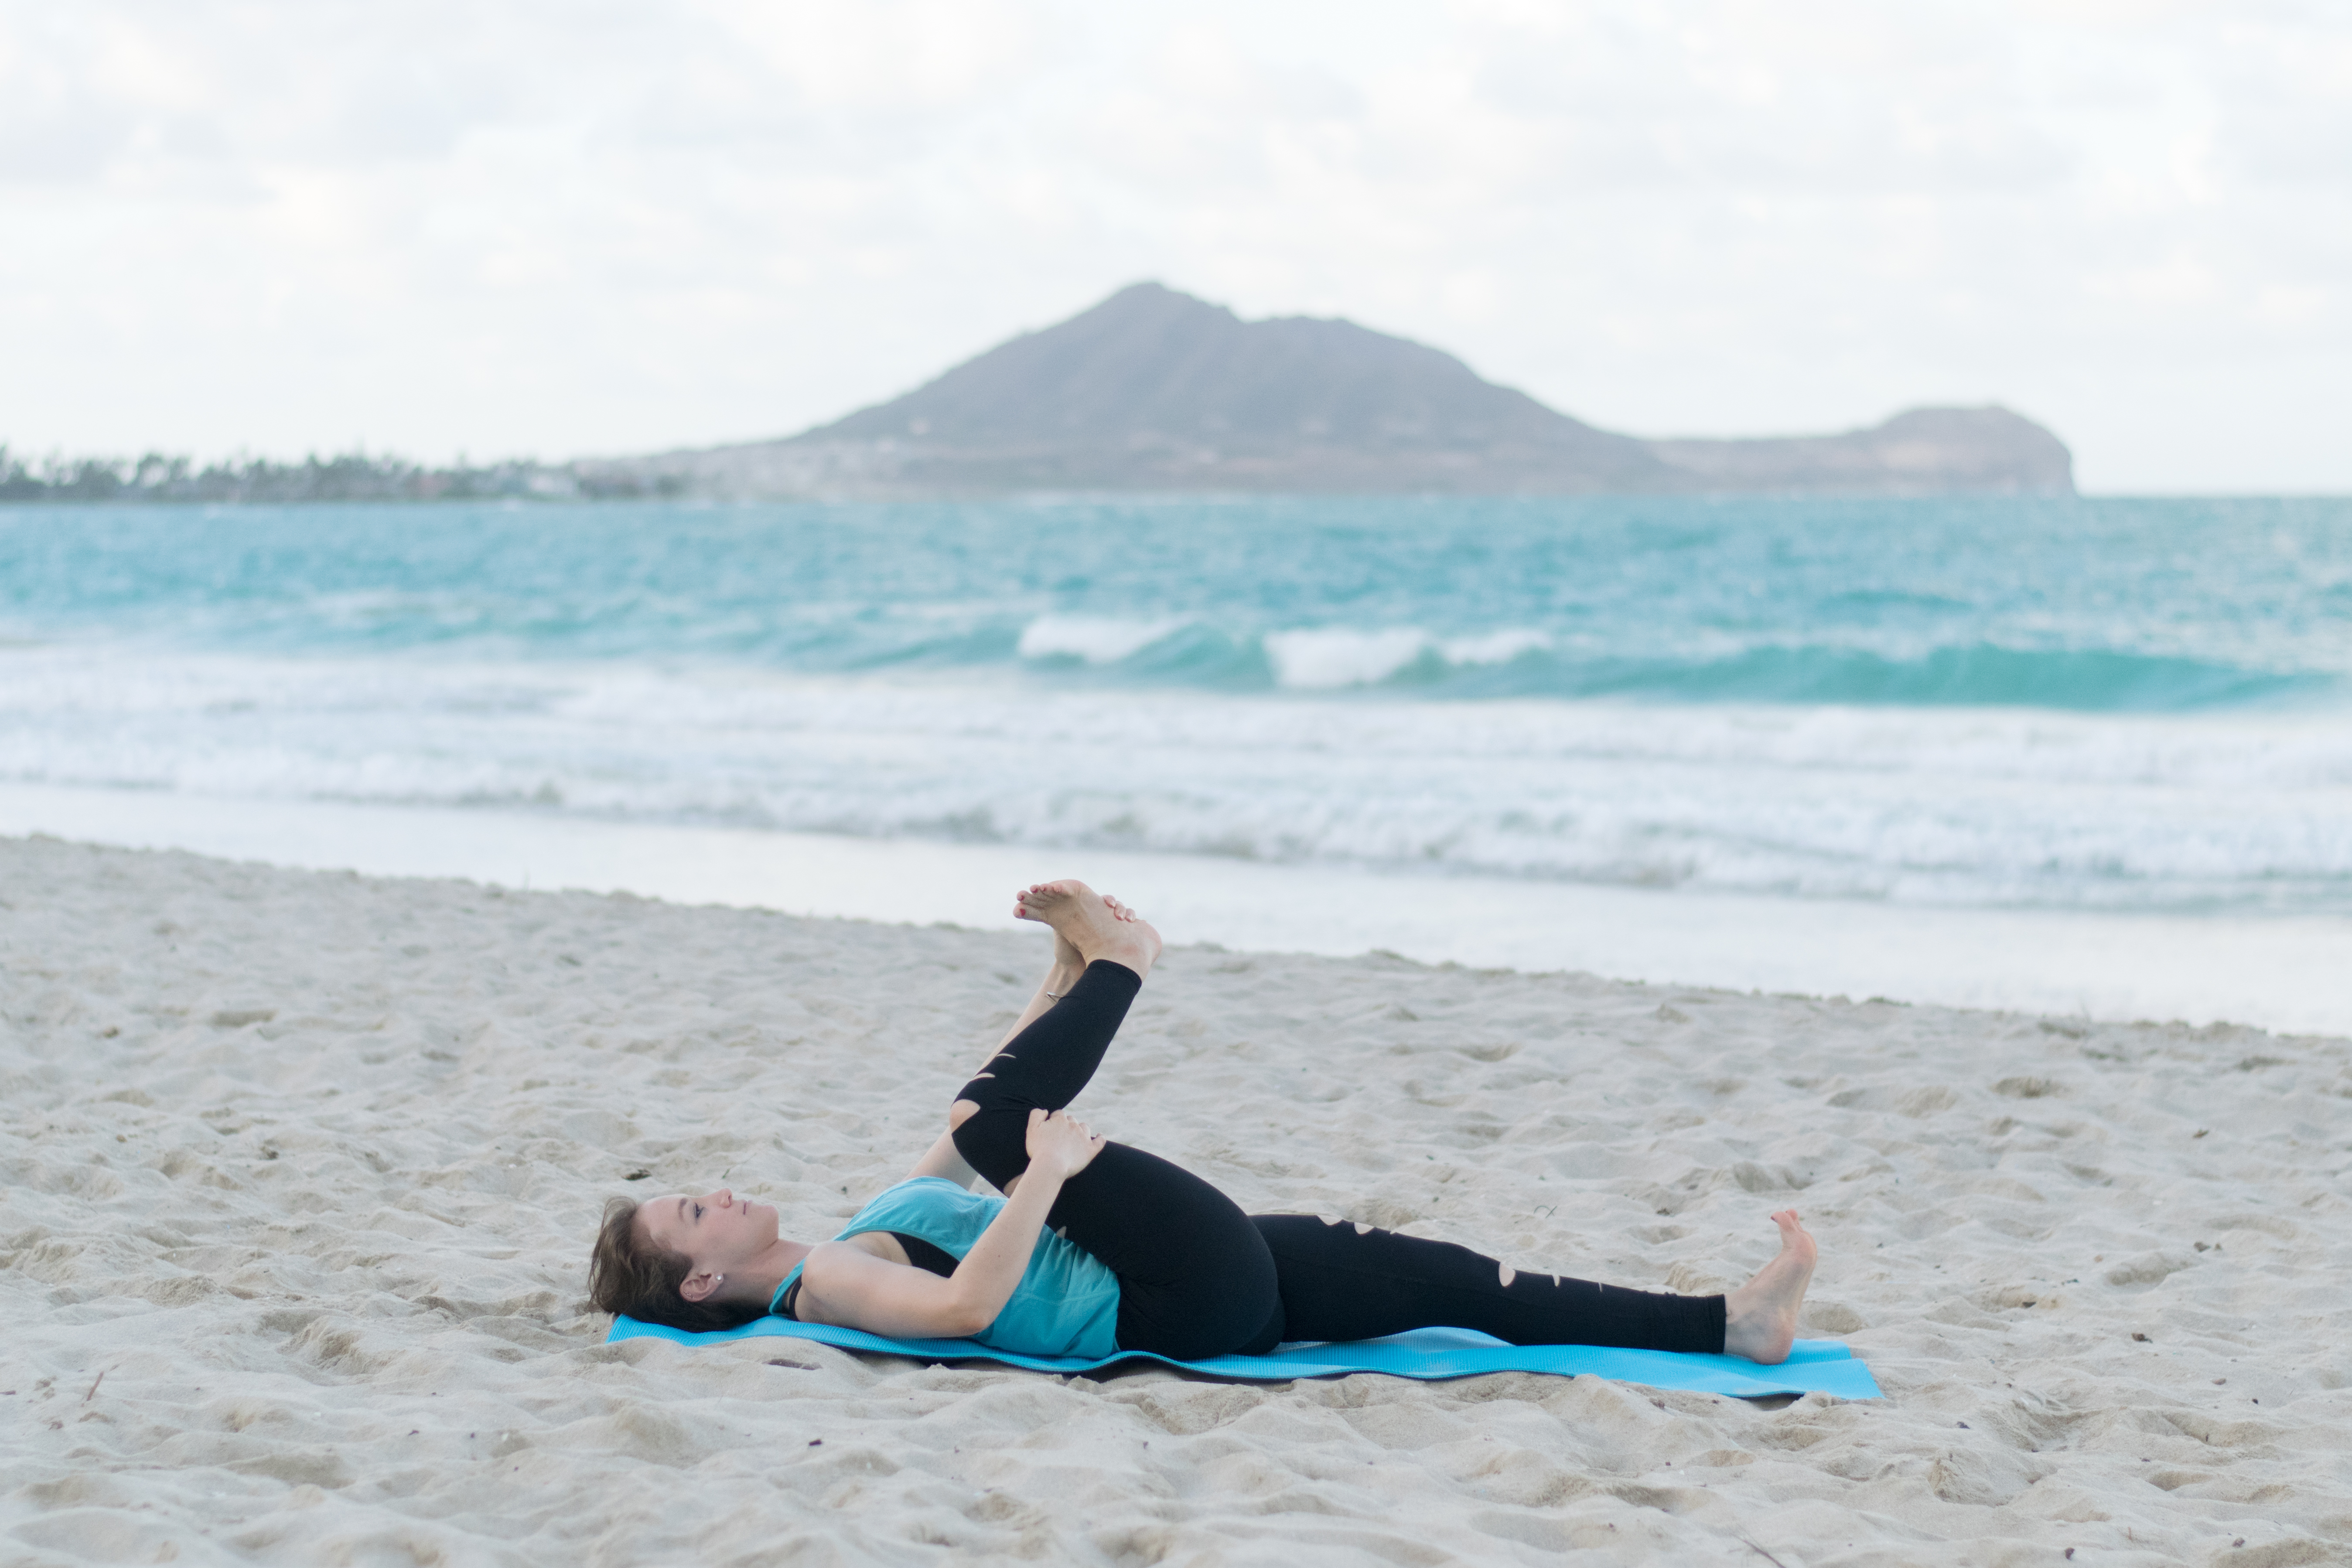
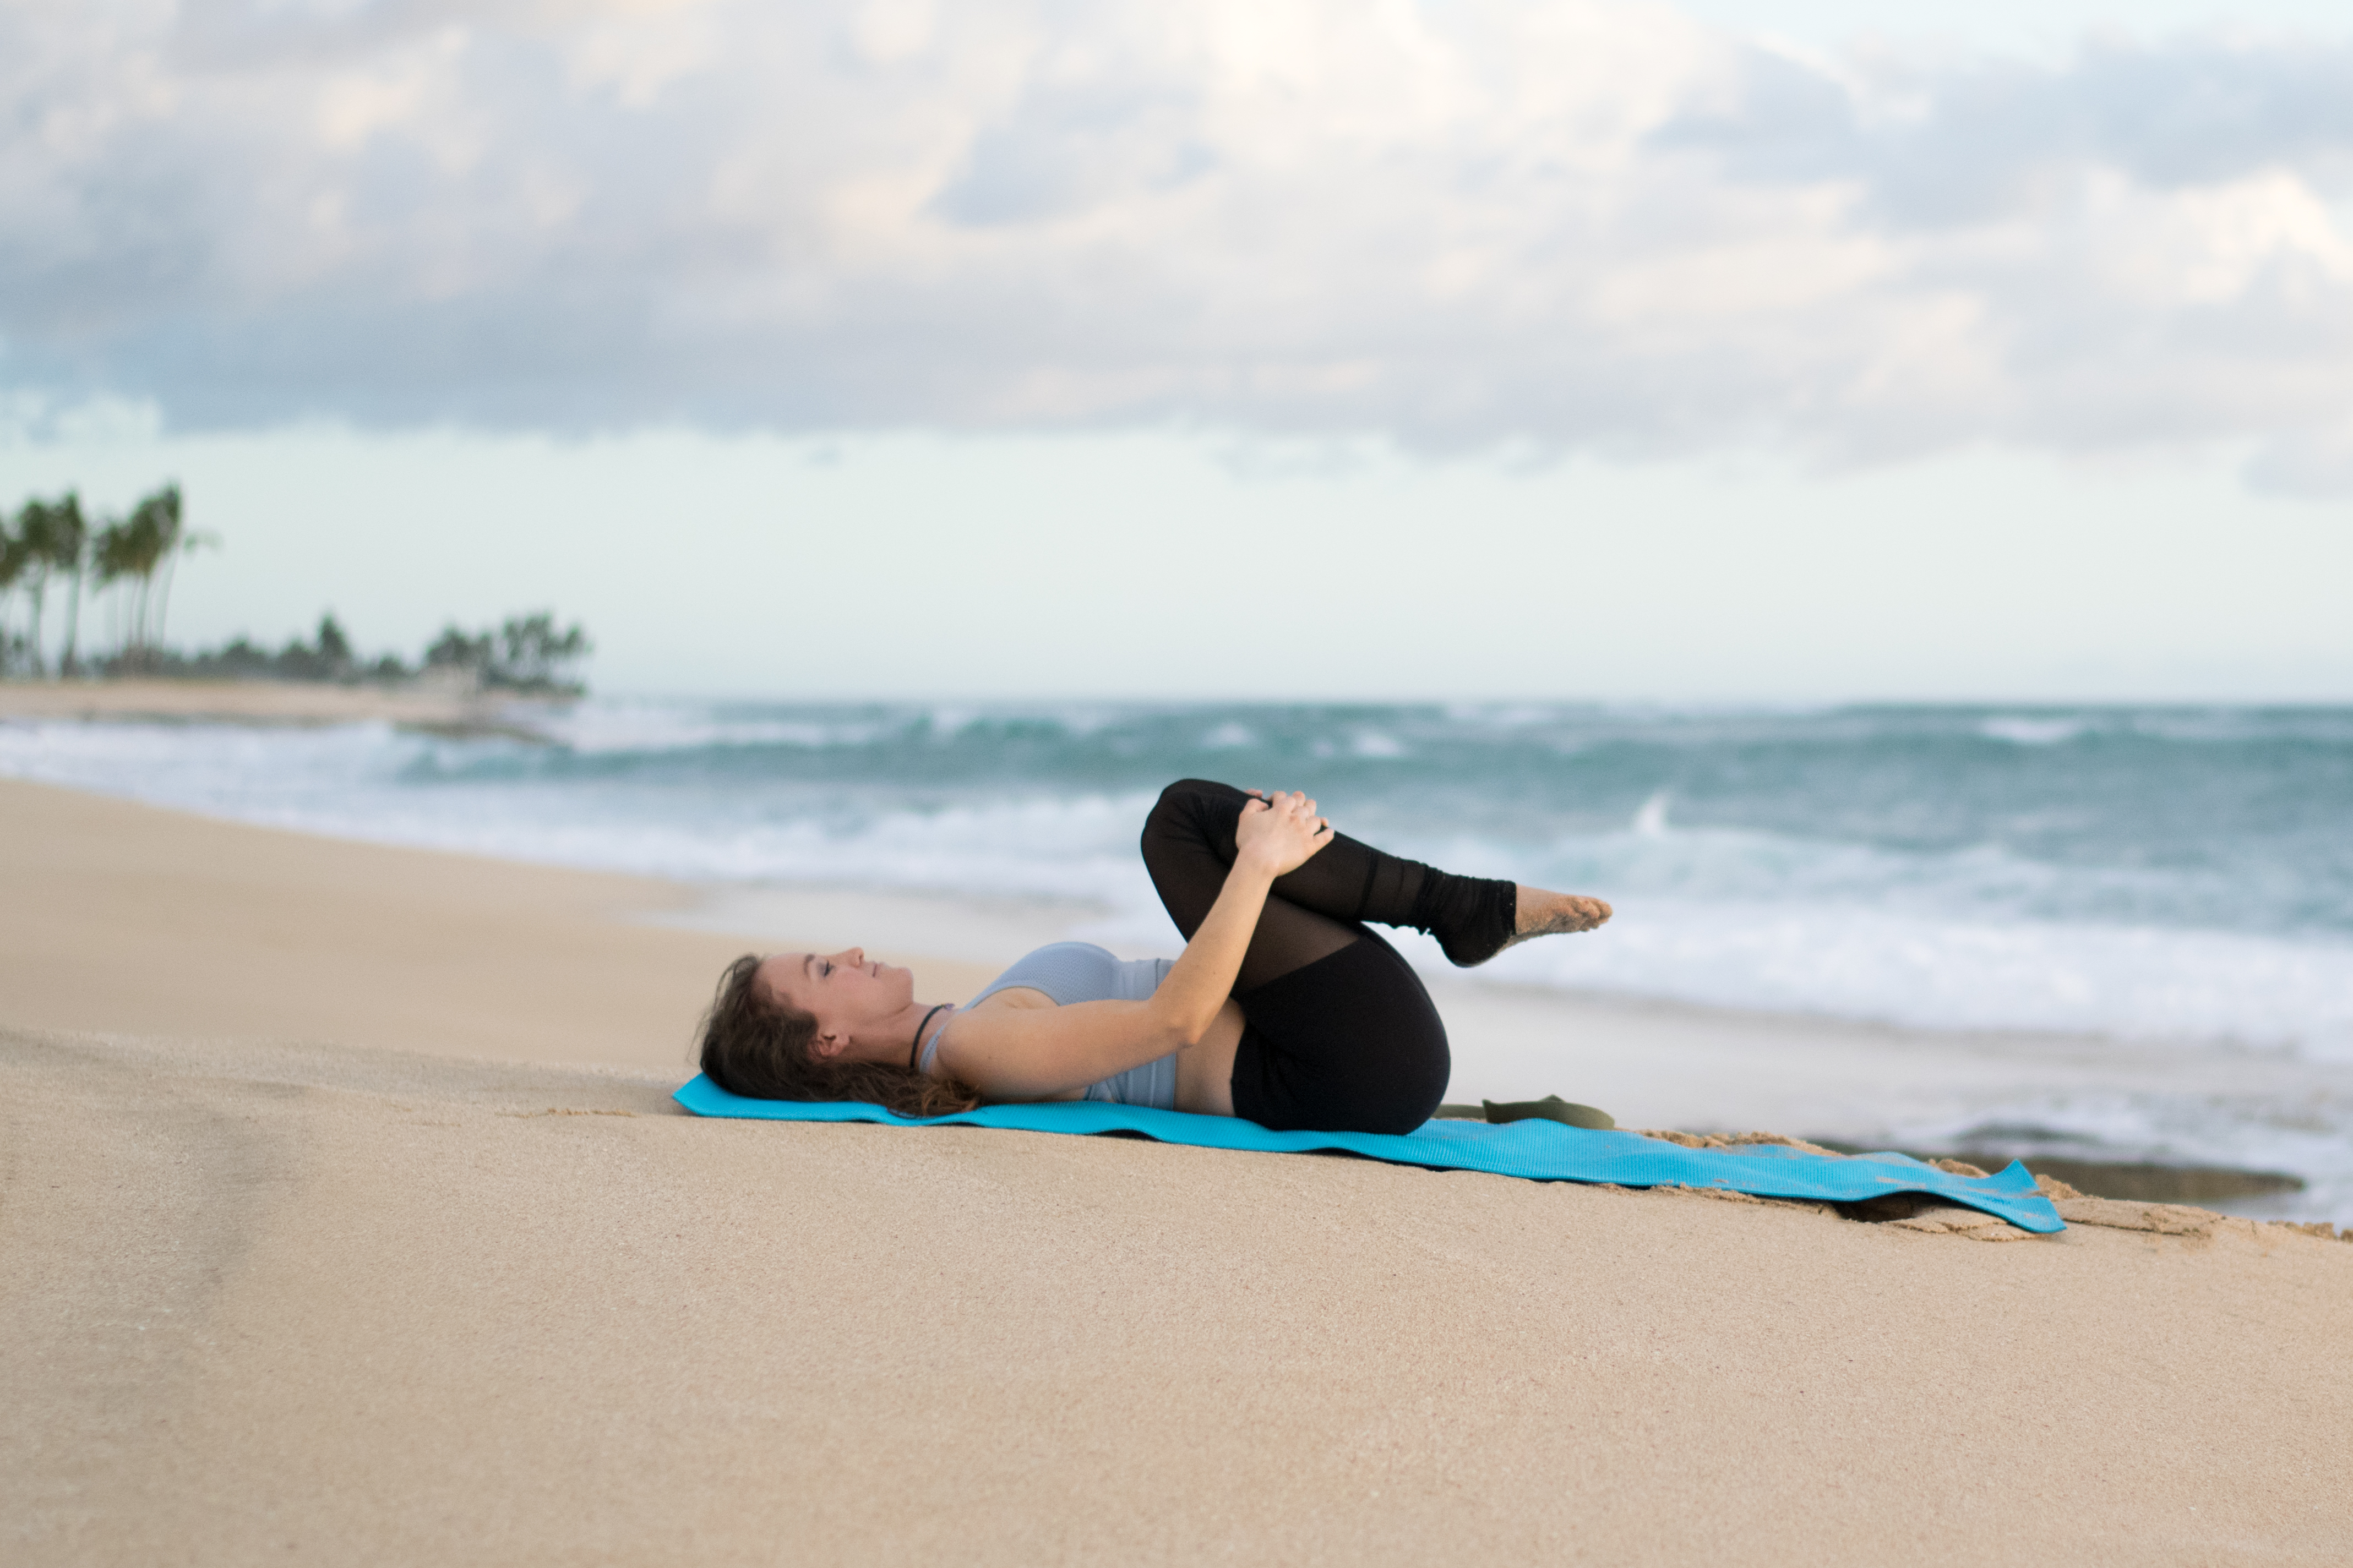
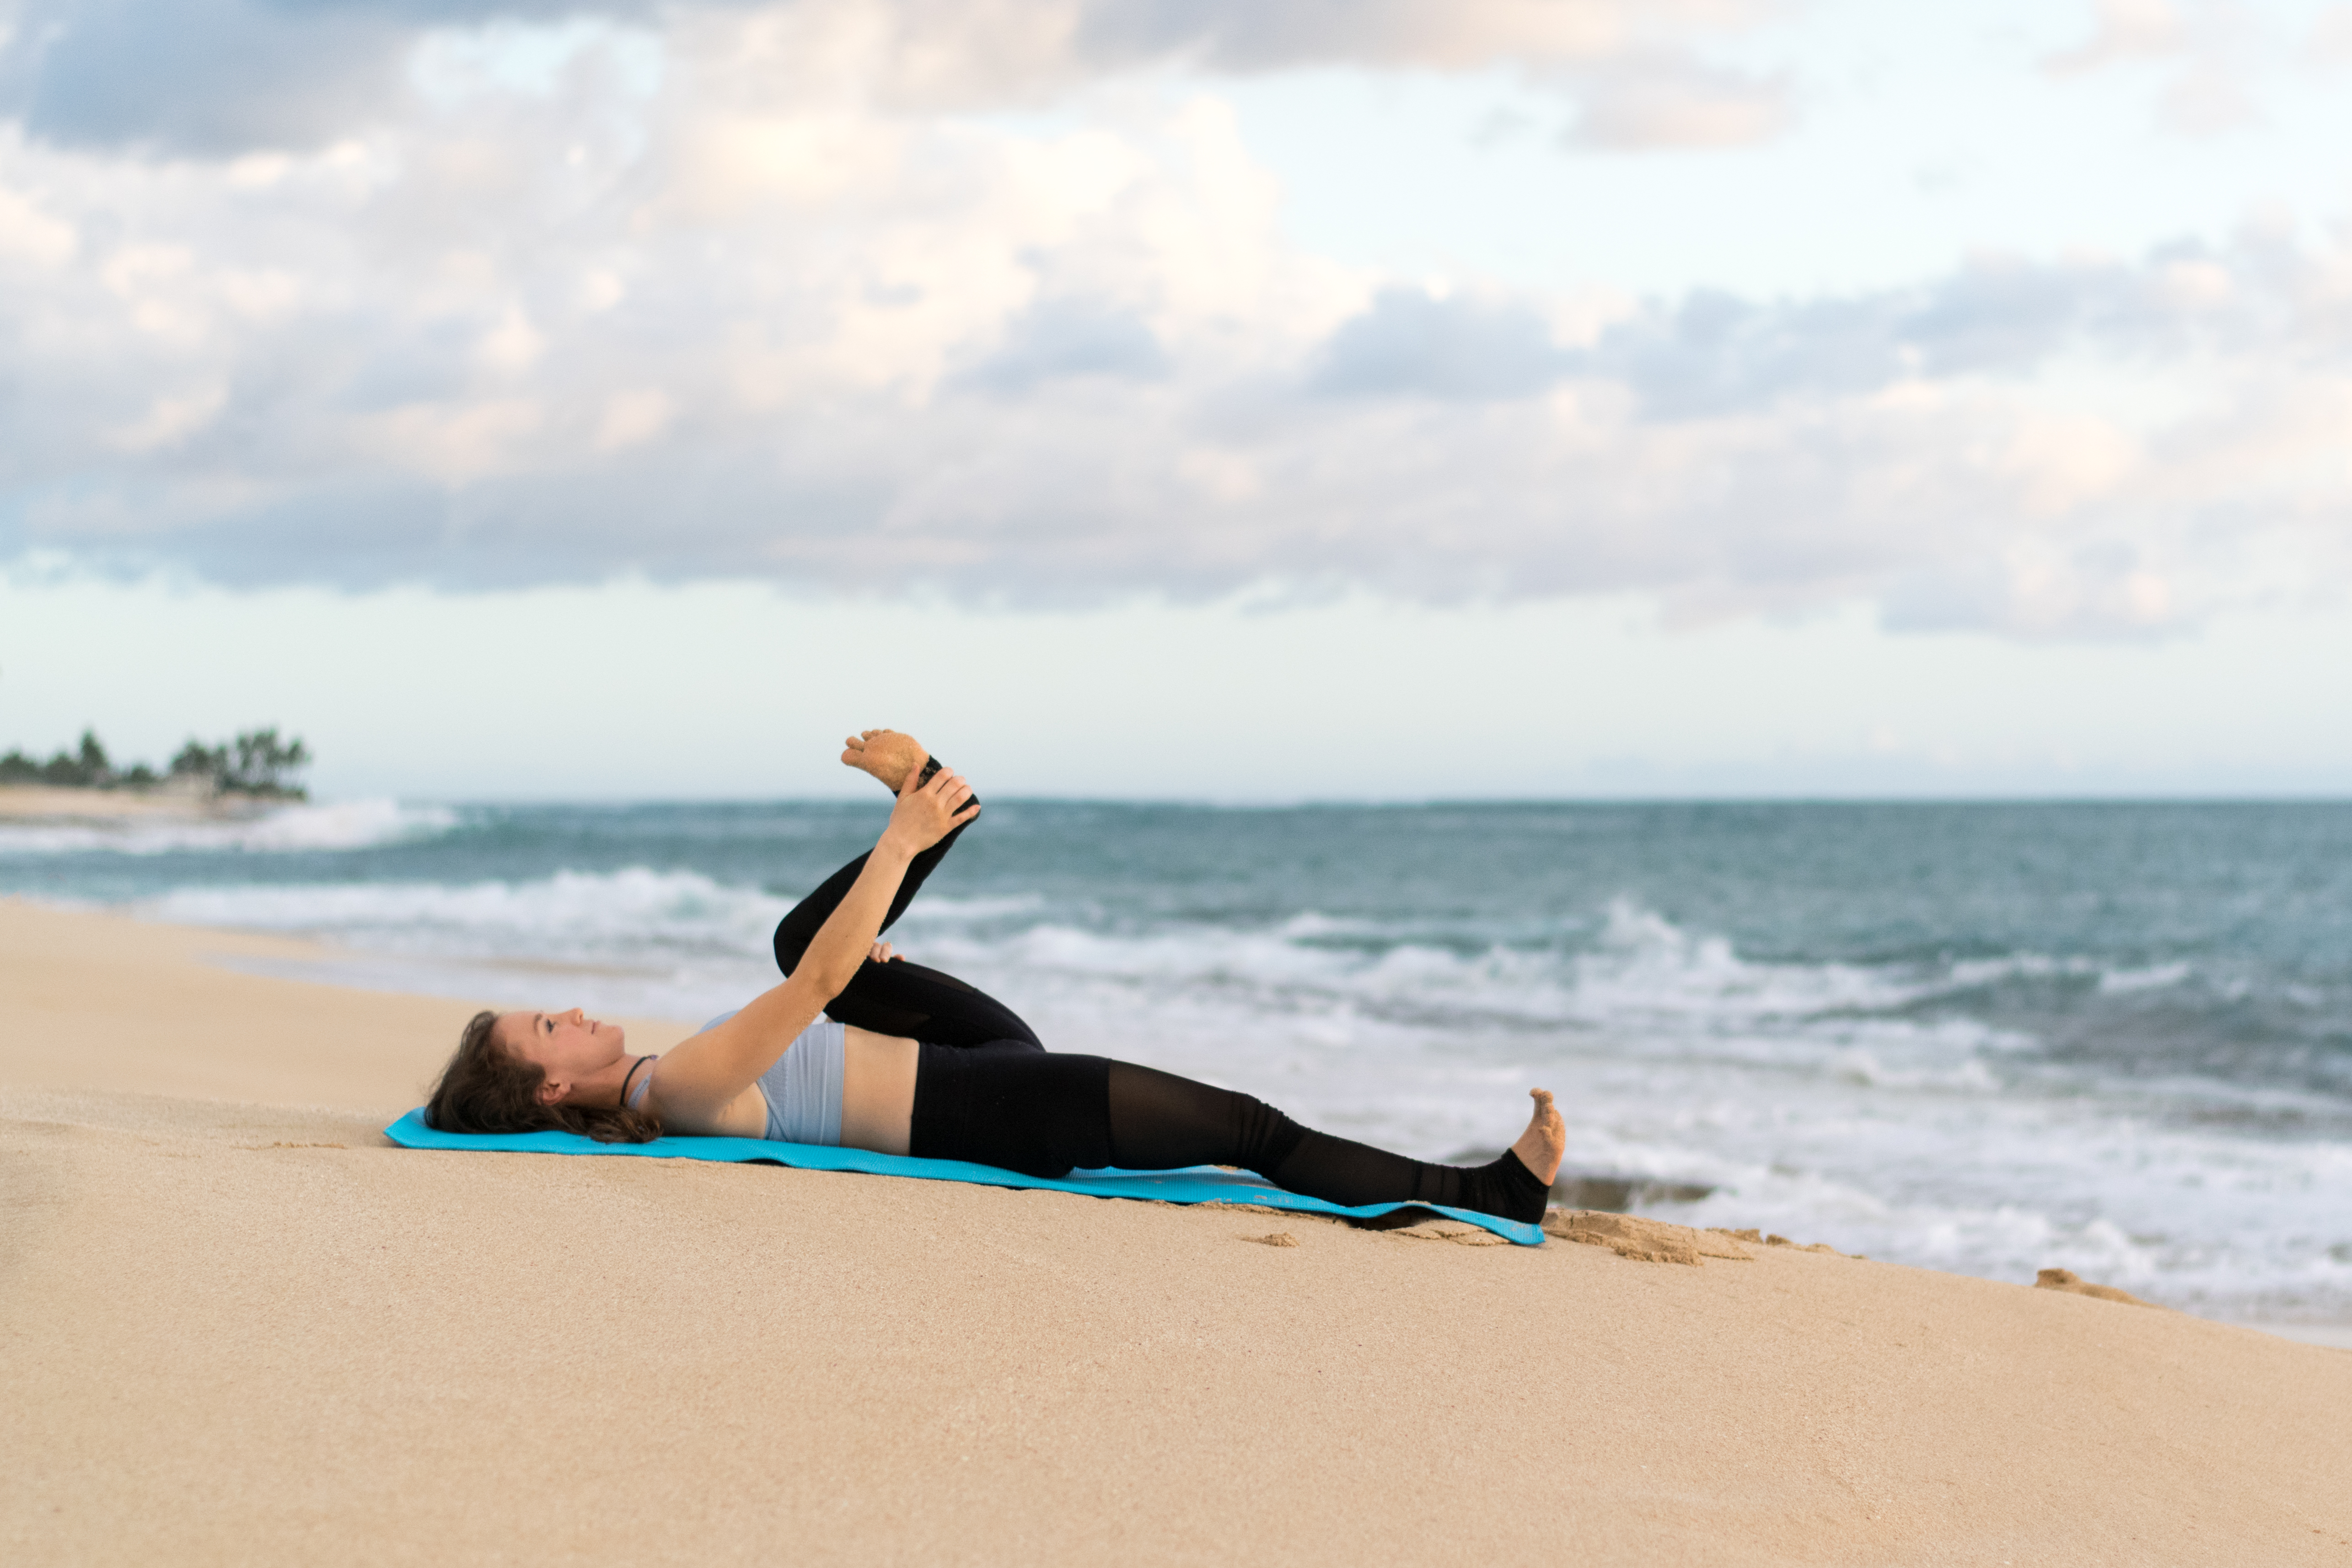
3 » Reclining Pigeon Pose, aka Supta Kapotasana
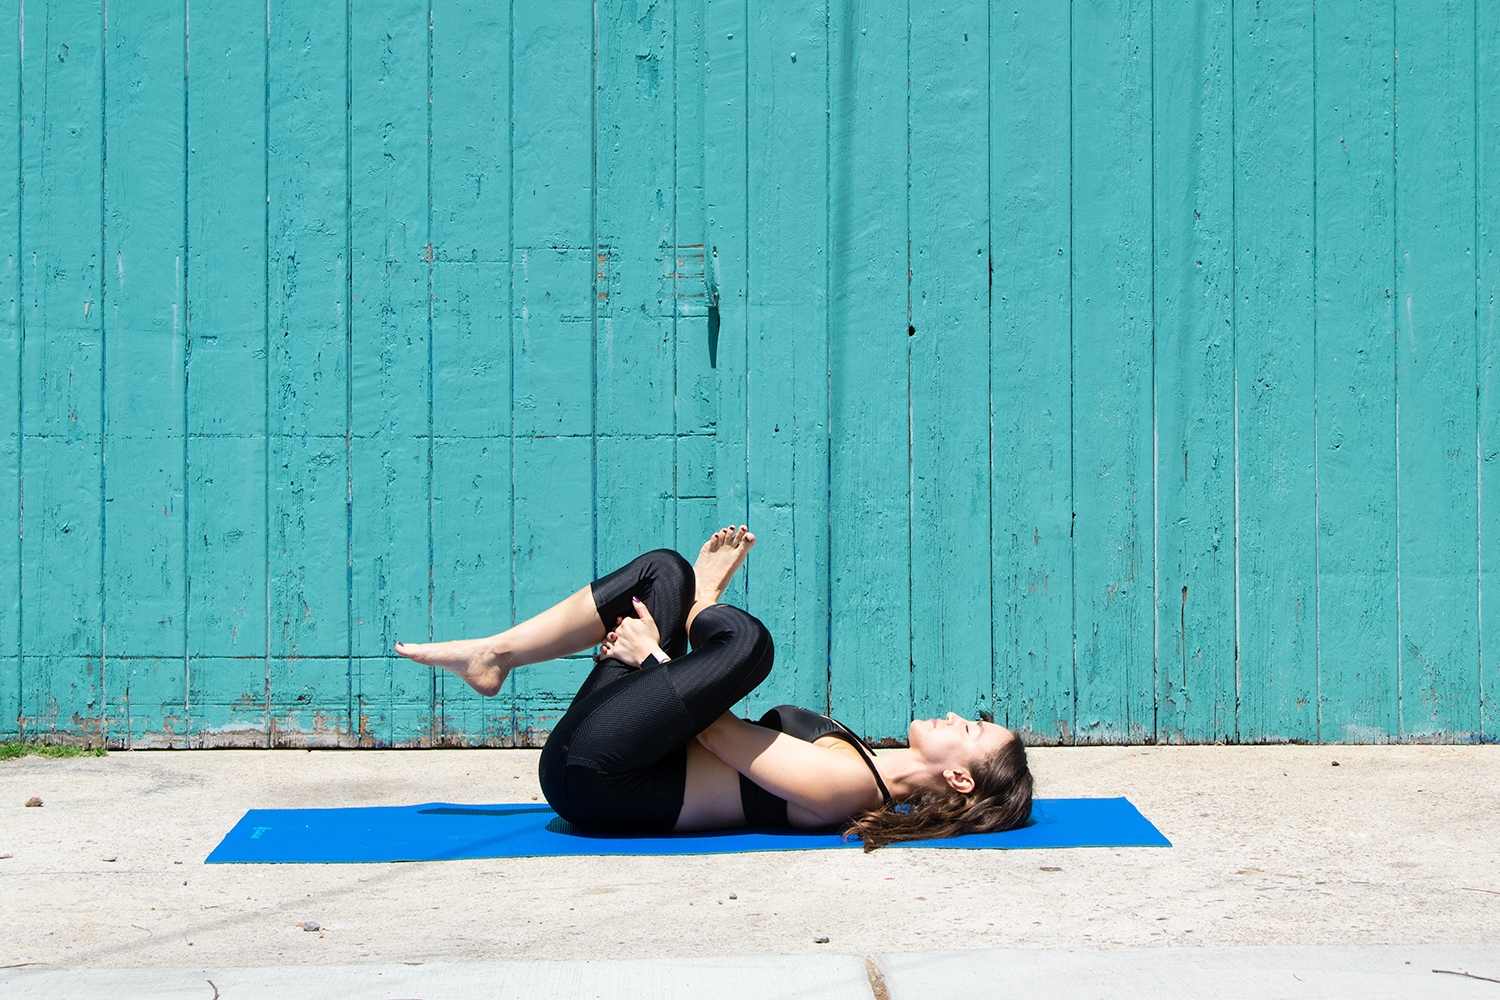
- Lie down and start with your legs bent, feet on the ground.
- Just like in Half Chair Pose, flex your R foot and cross your ankle over your L knee.
- If you want more intensity, thread your arms through and grab on behind your L hamstring or shin. Use your arms to draw your legs in closer.
- Keep your entire spine down on the ground, especially your tailbone. Relax your head and shoulders.
- You can use your R elbow to gently coax the R thigh bone further away from you, deepening the stretch.
- Repeat on the other side.
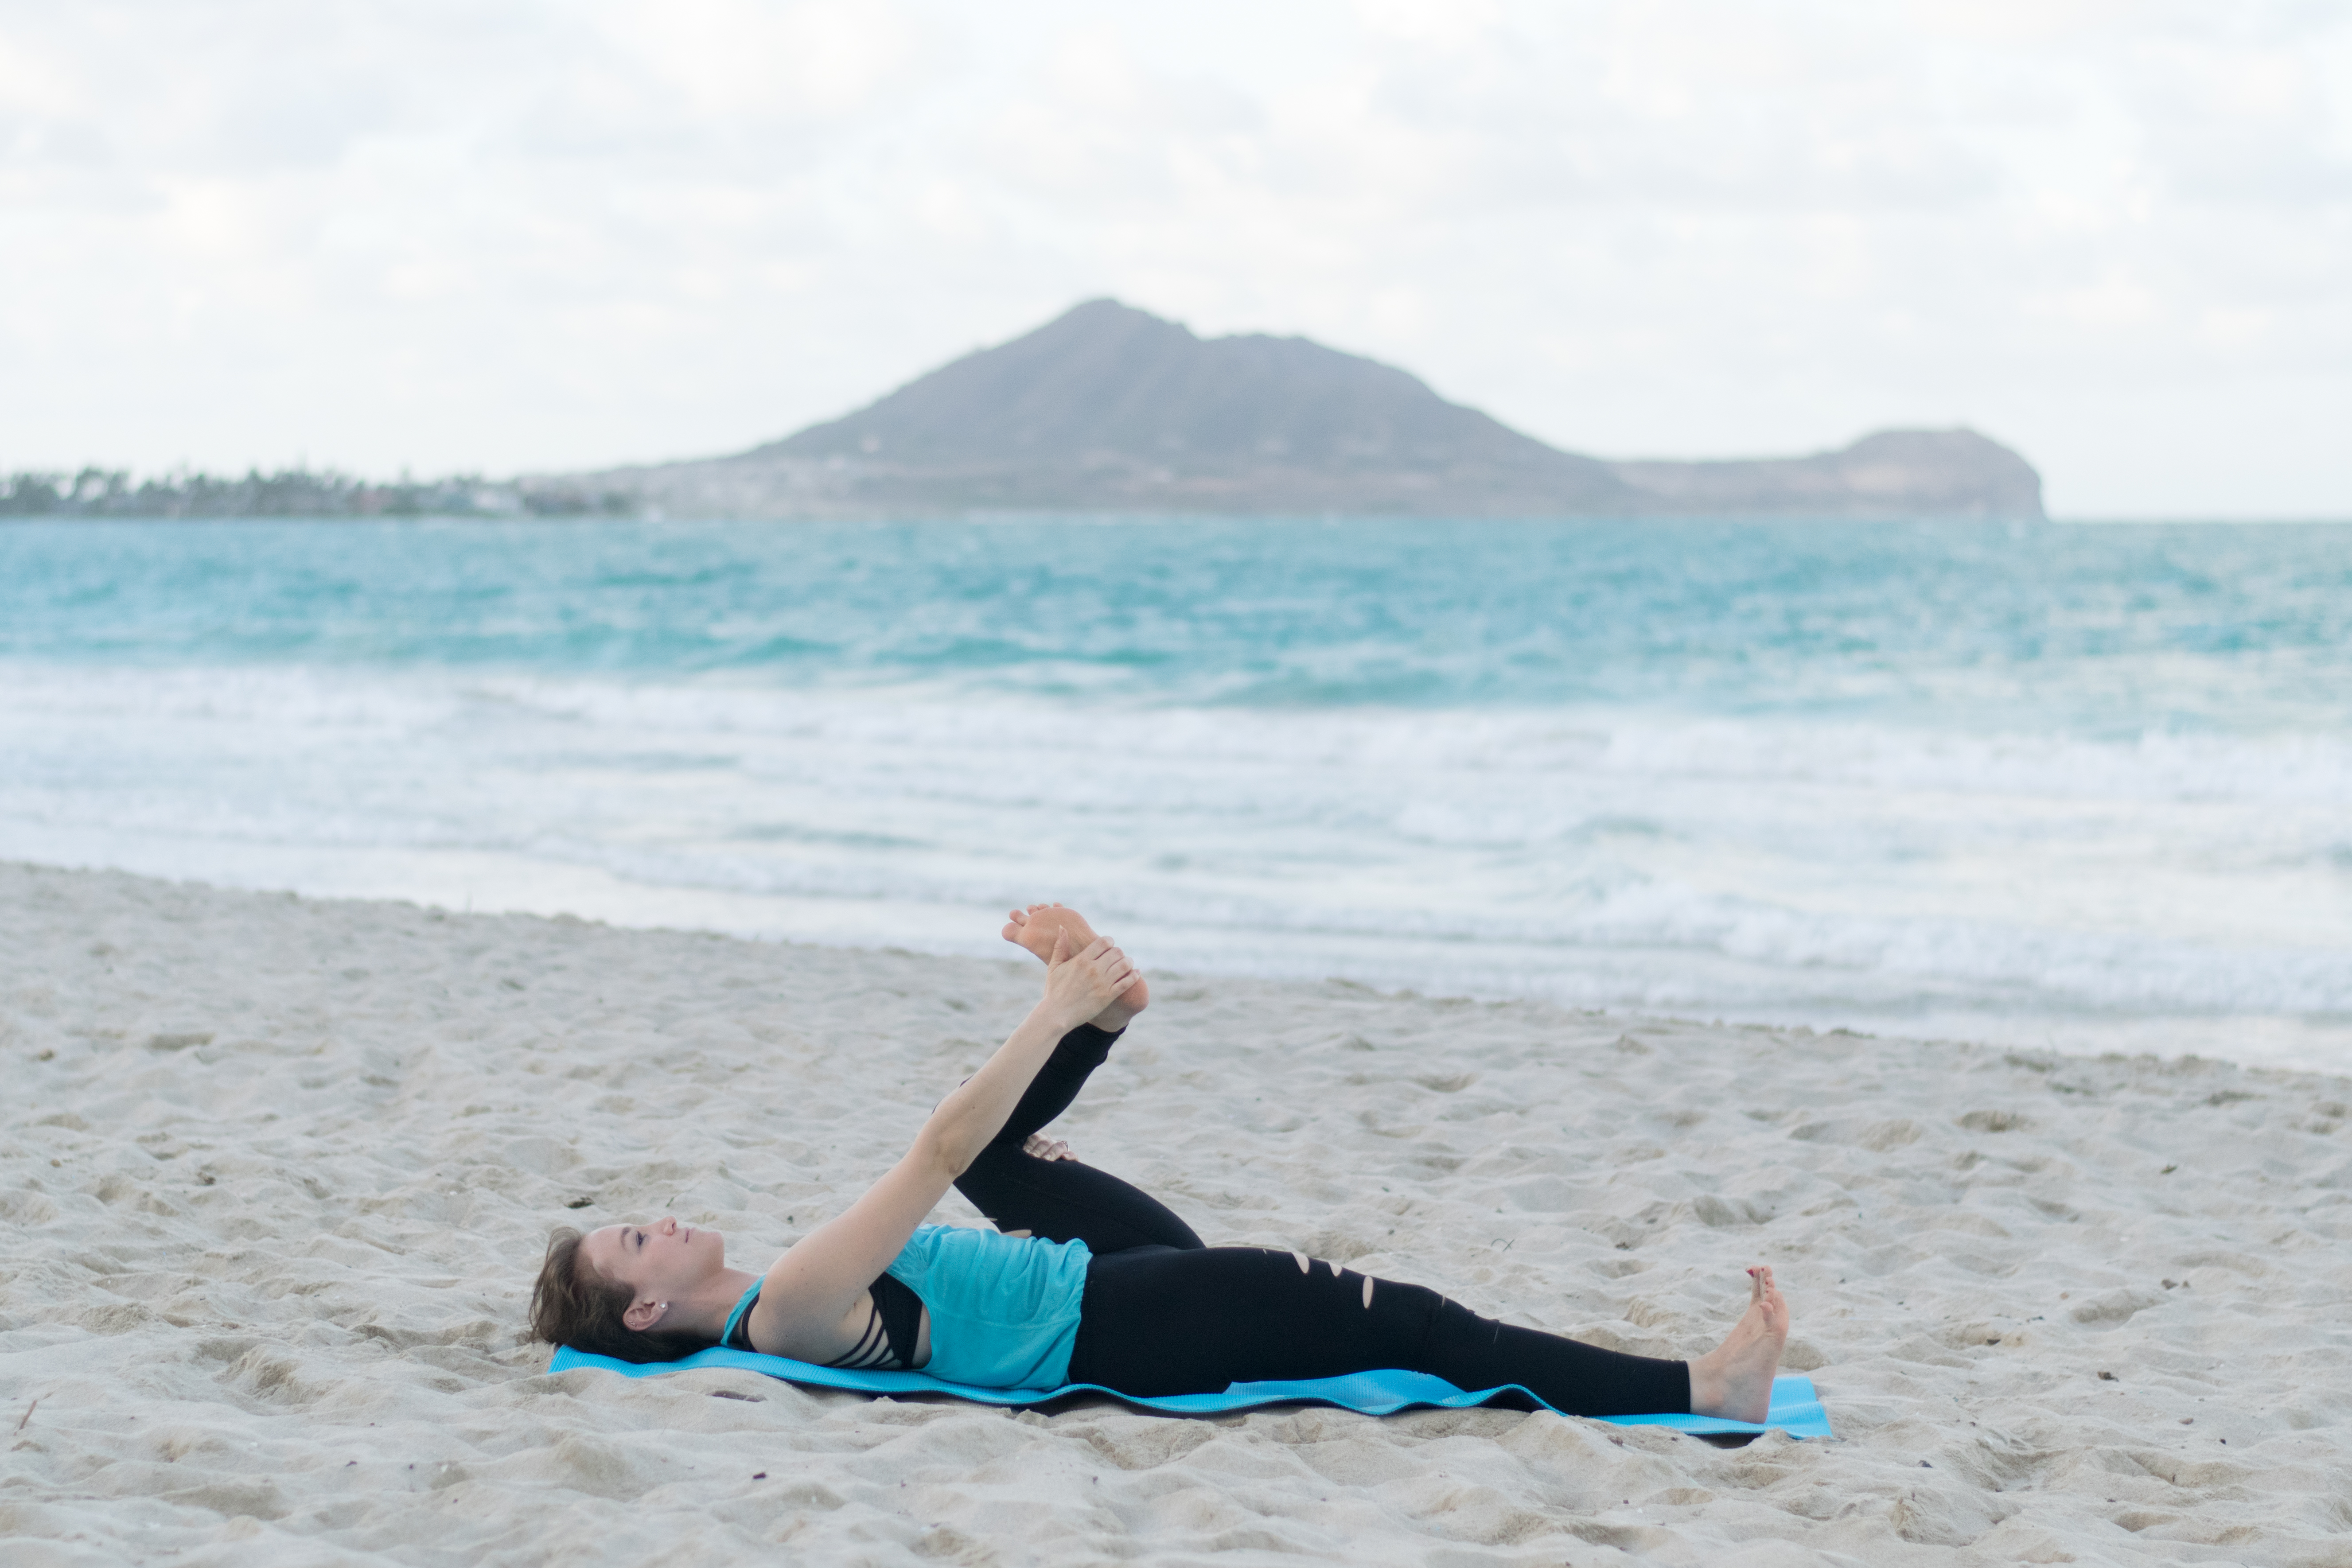
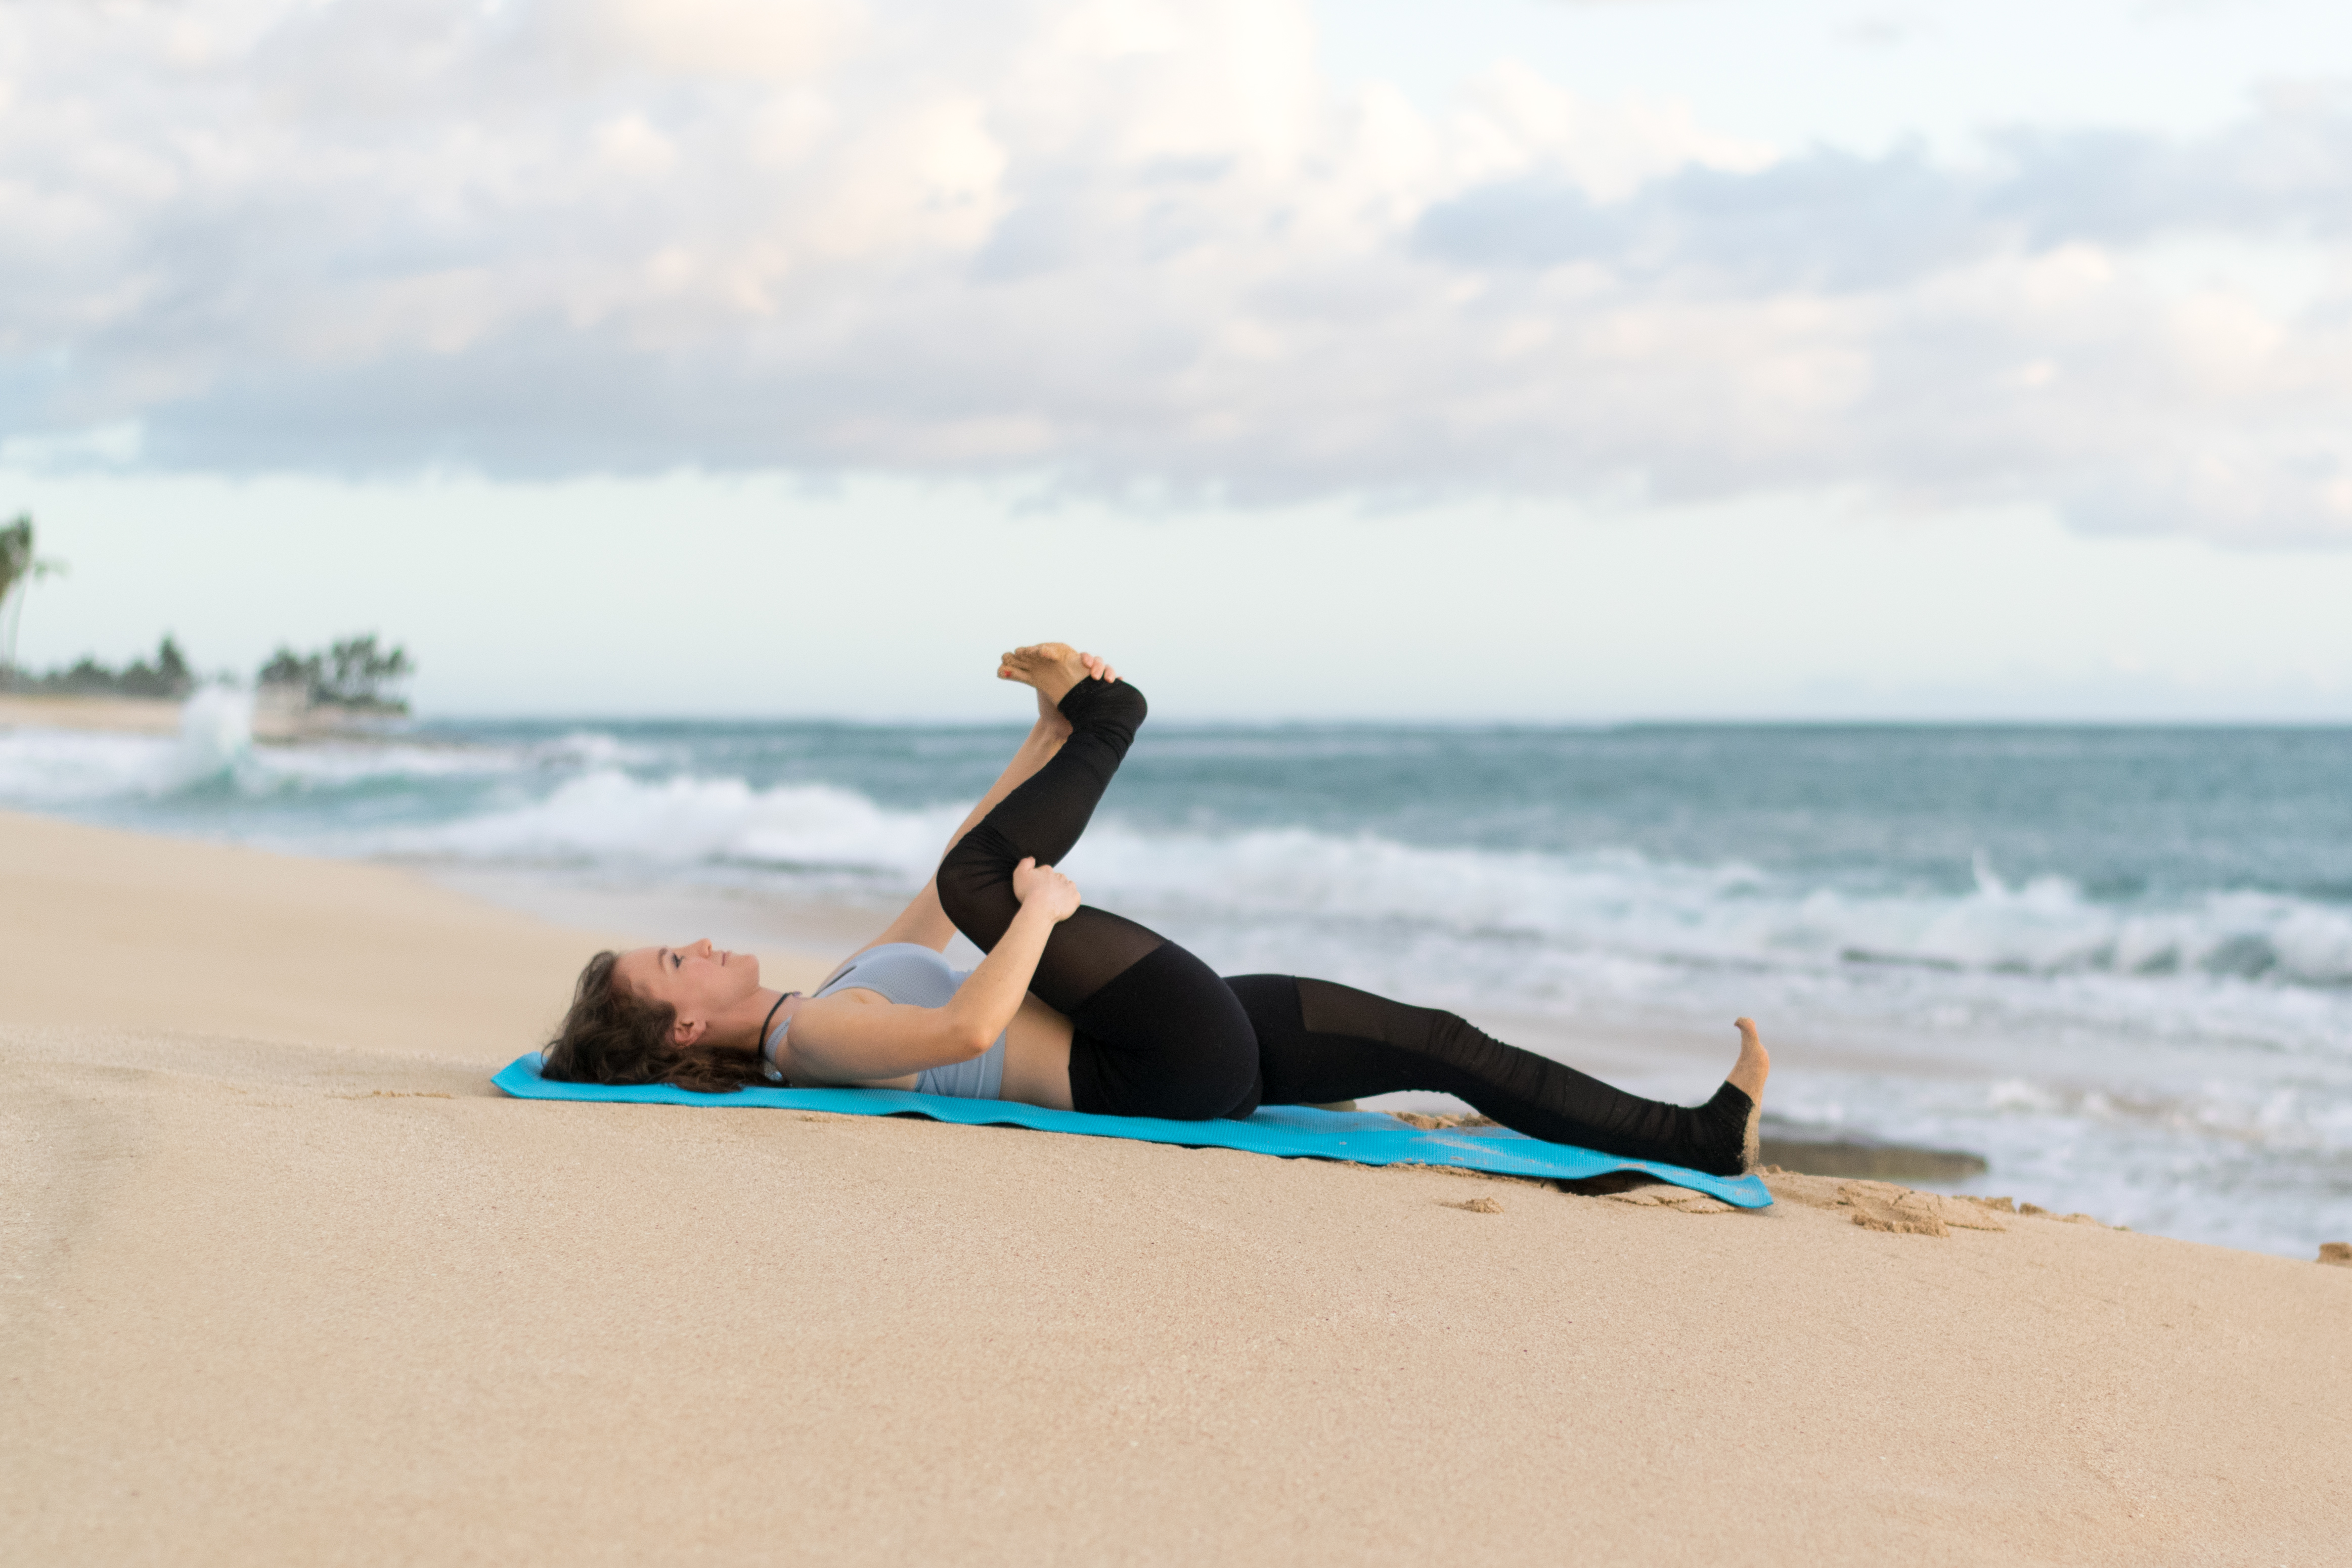
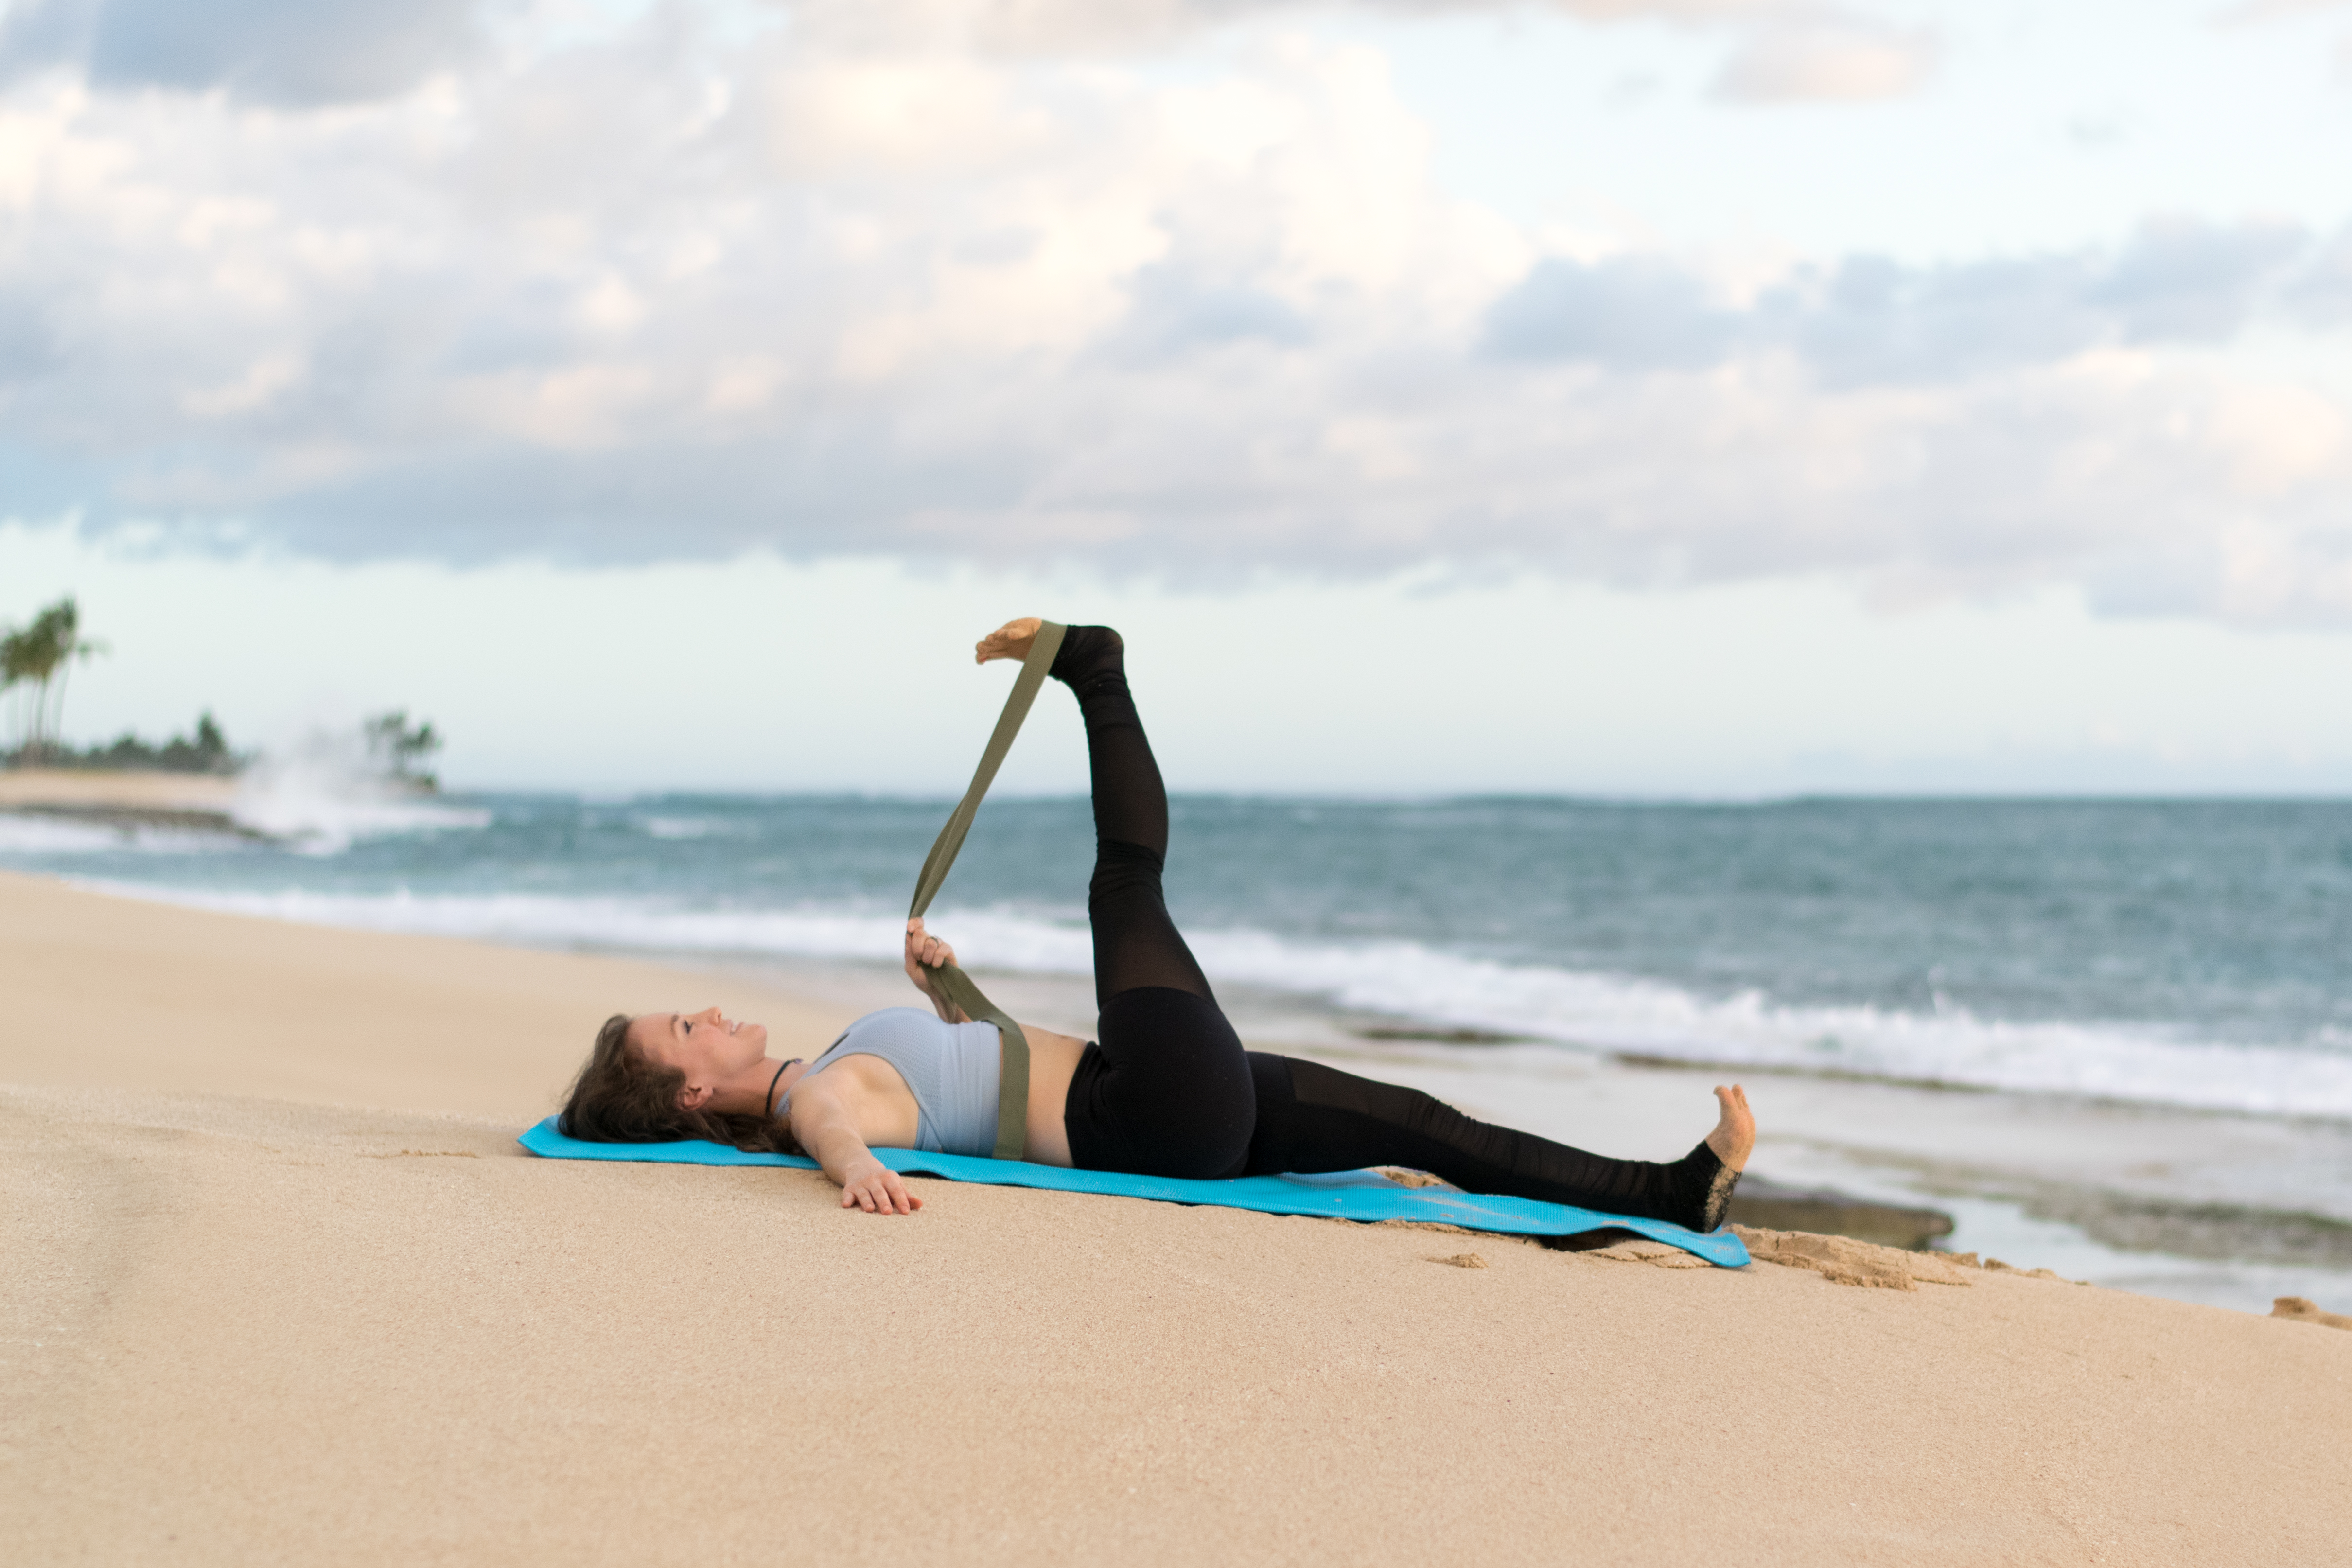
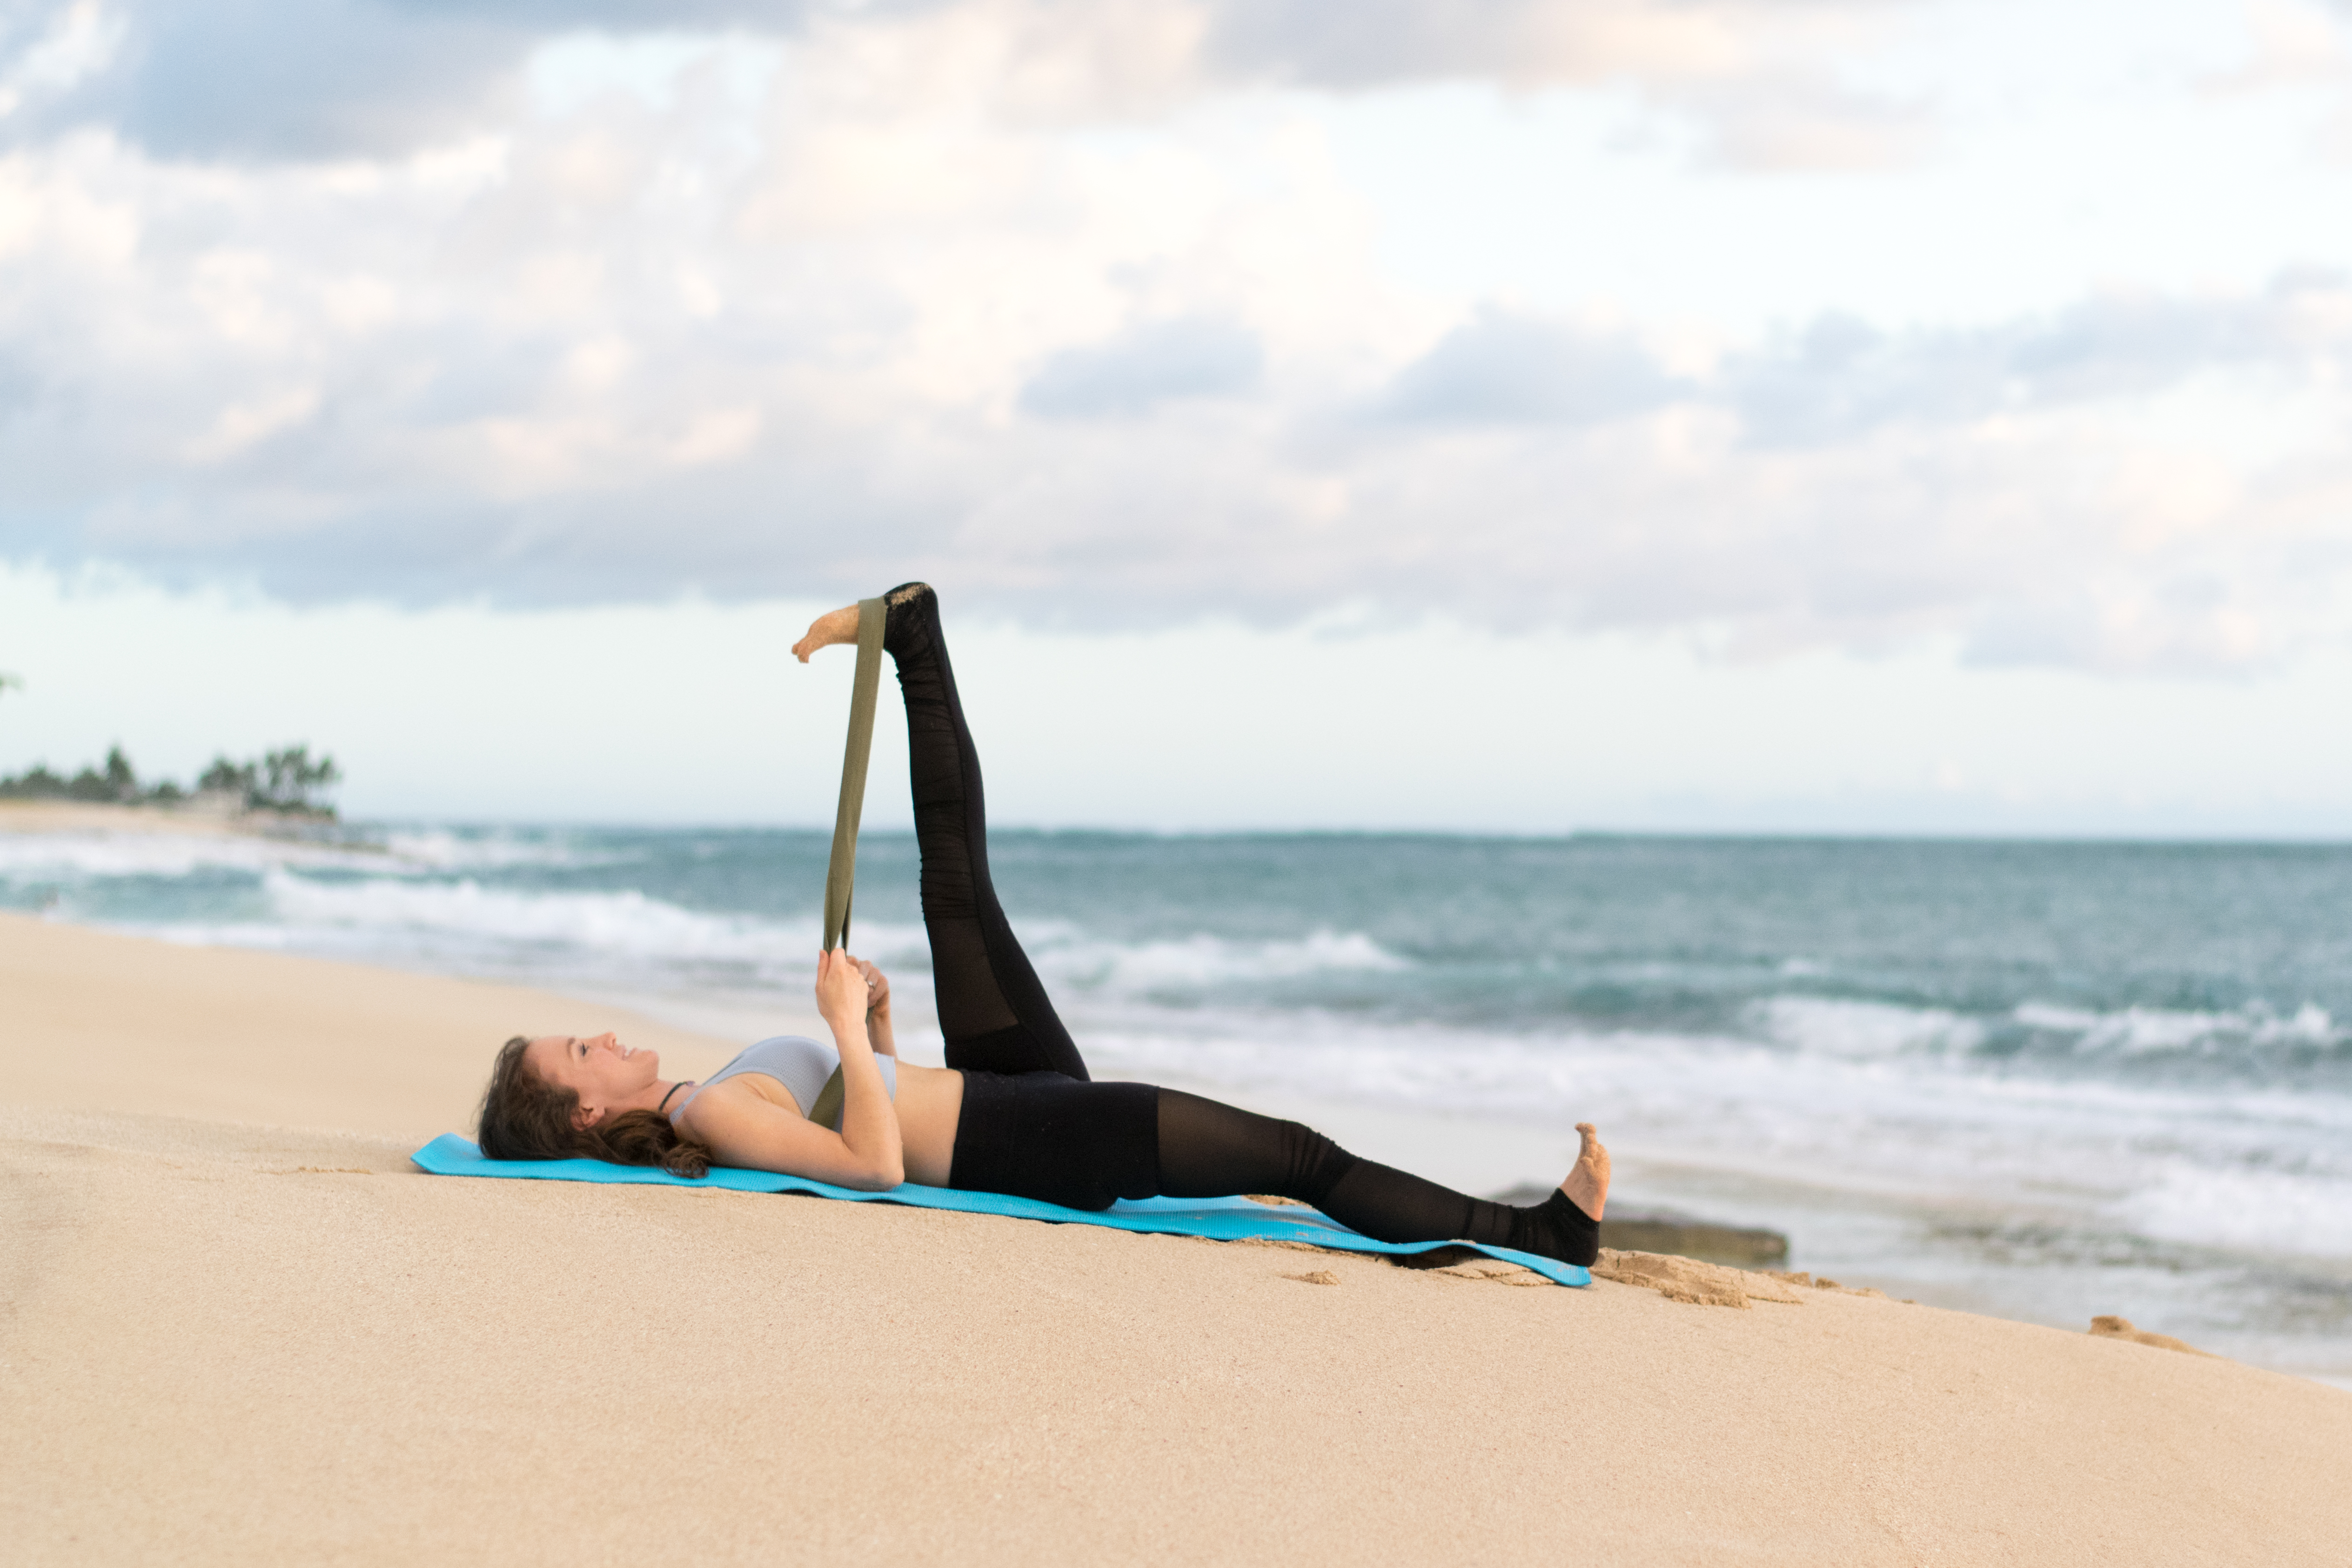
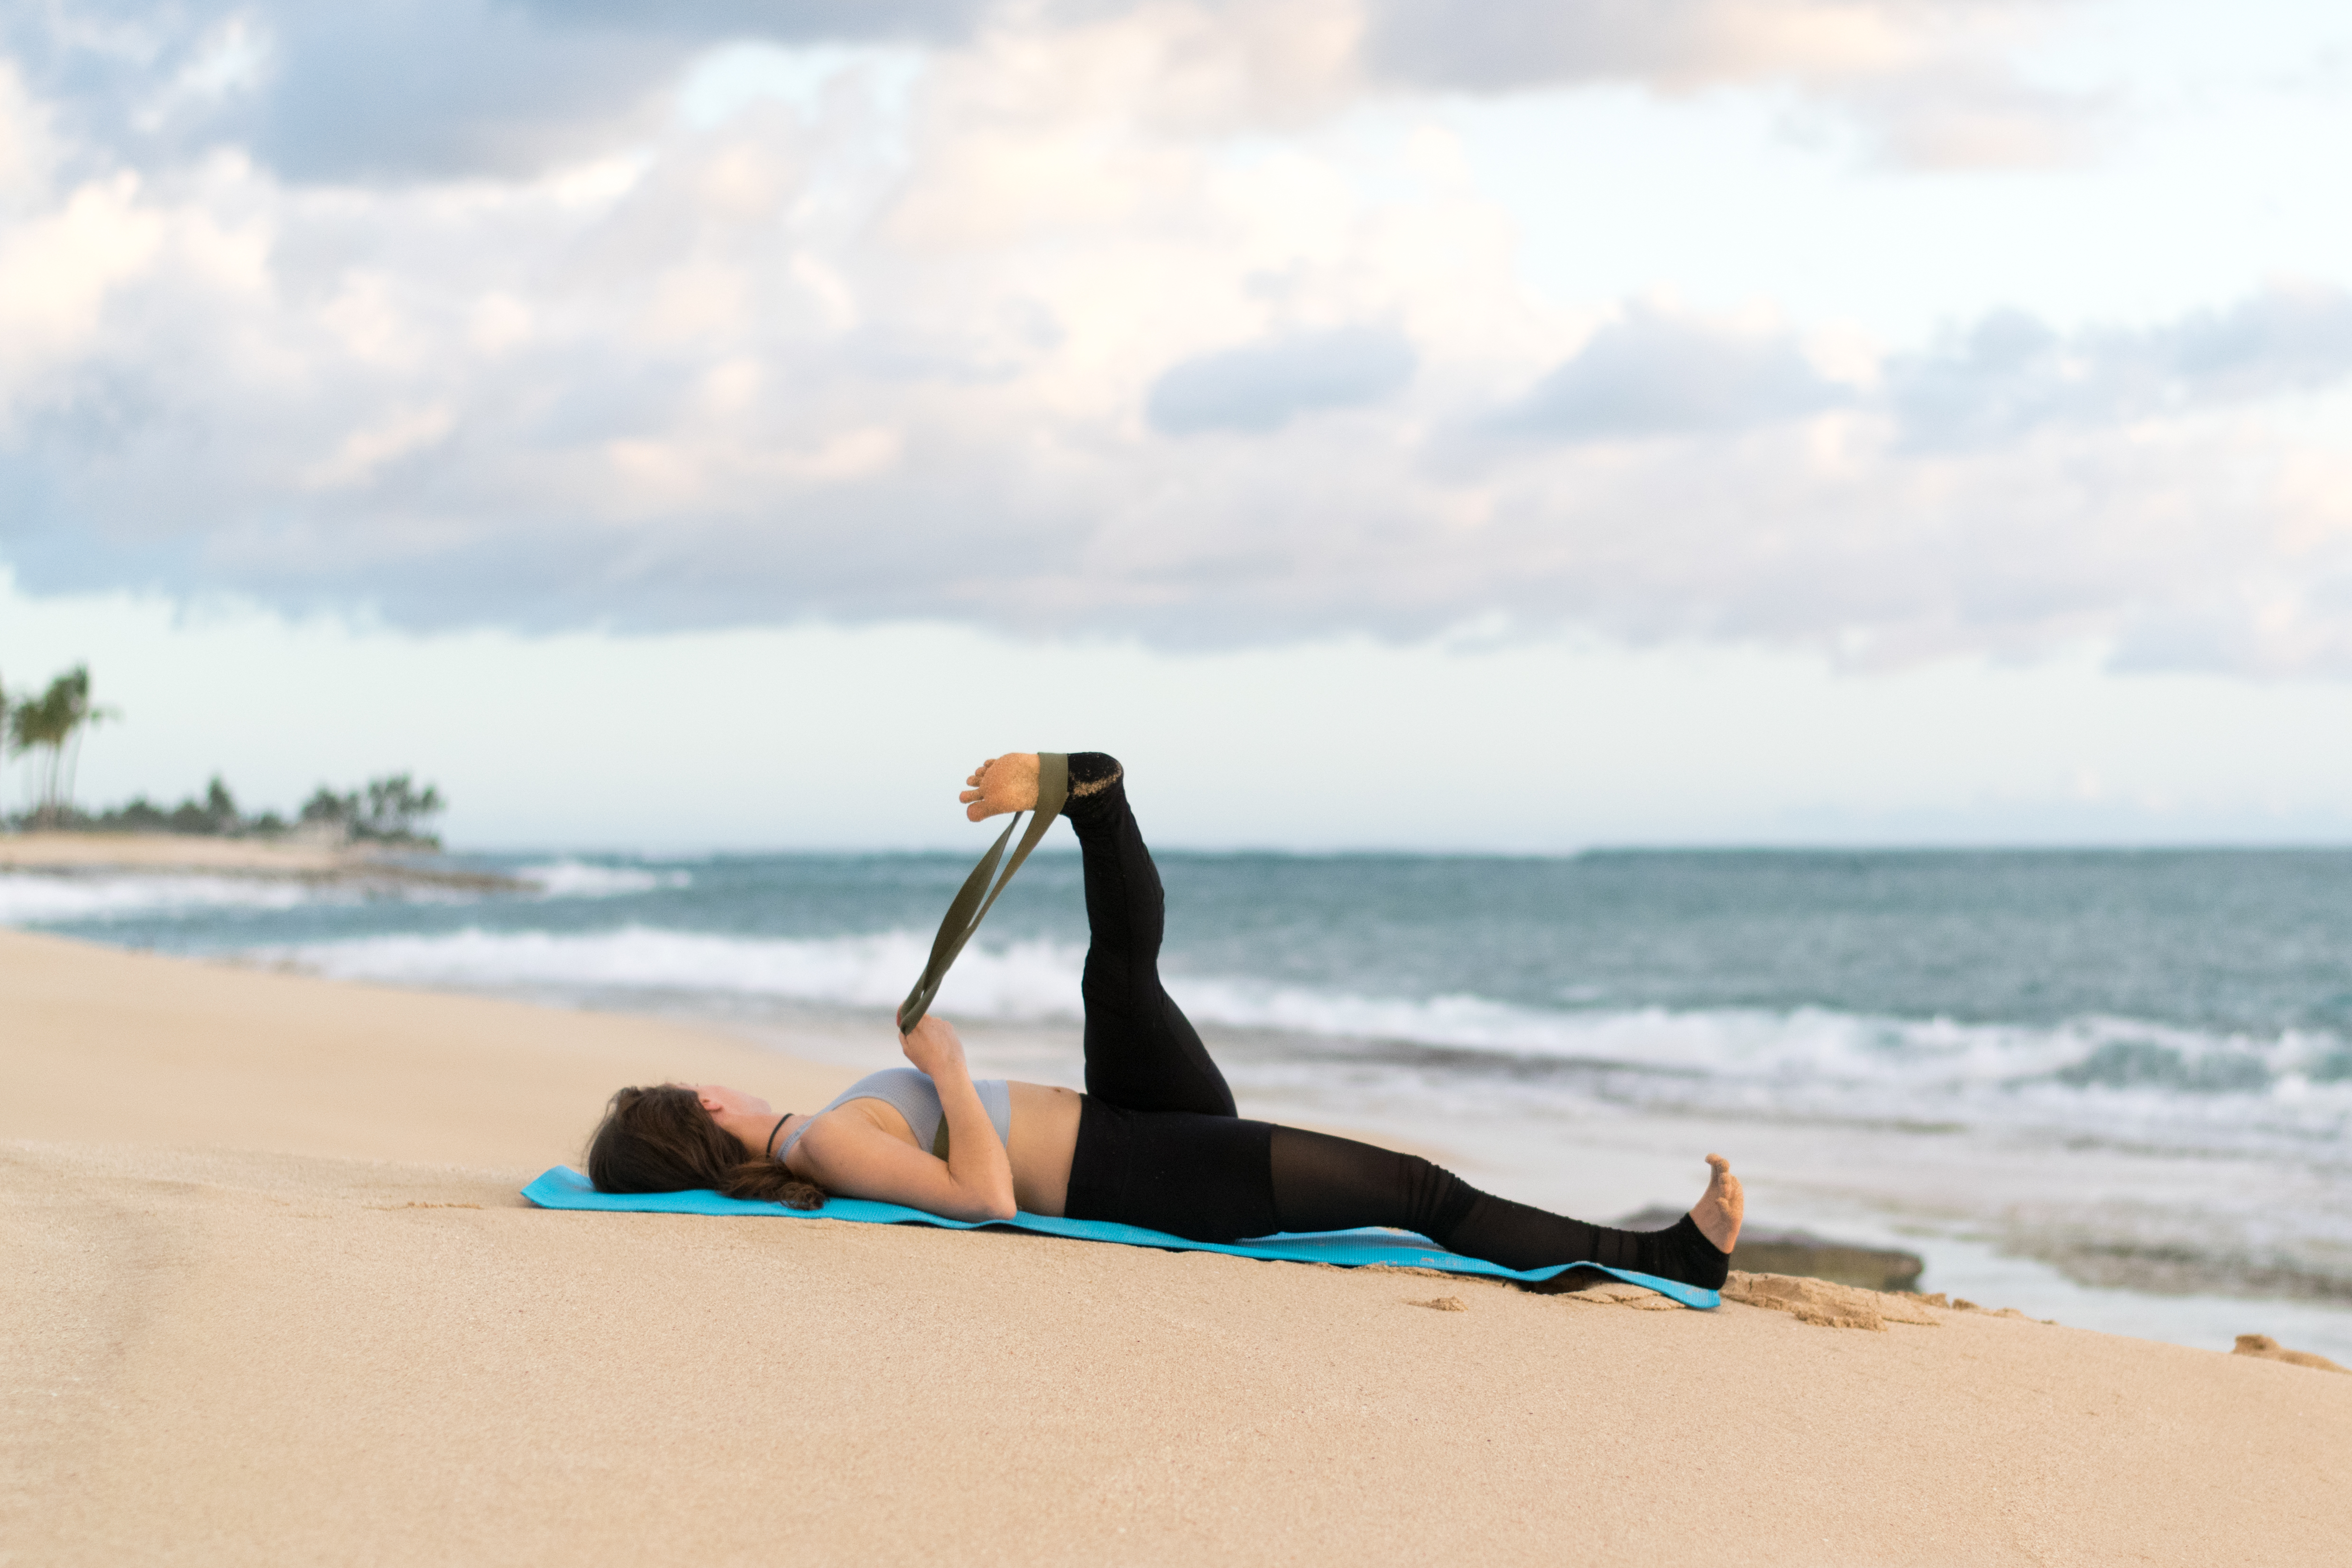
4 » Supine Spinal Twist, aka Supta Matsyendrasana
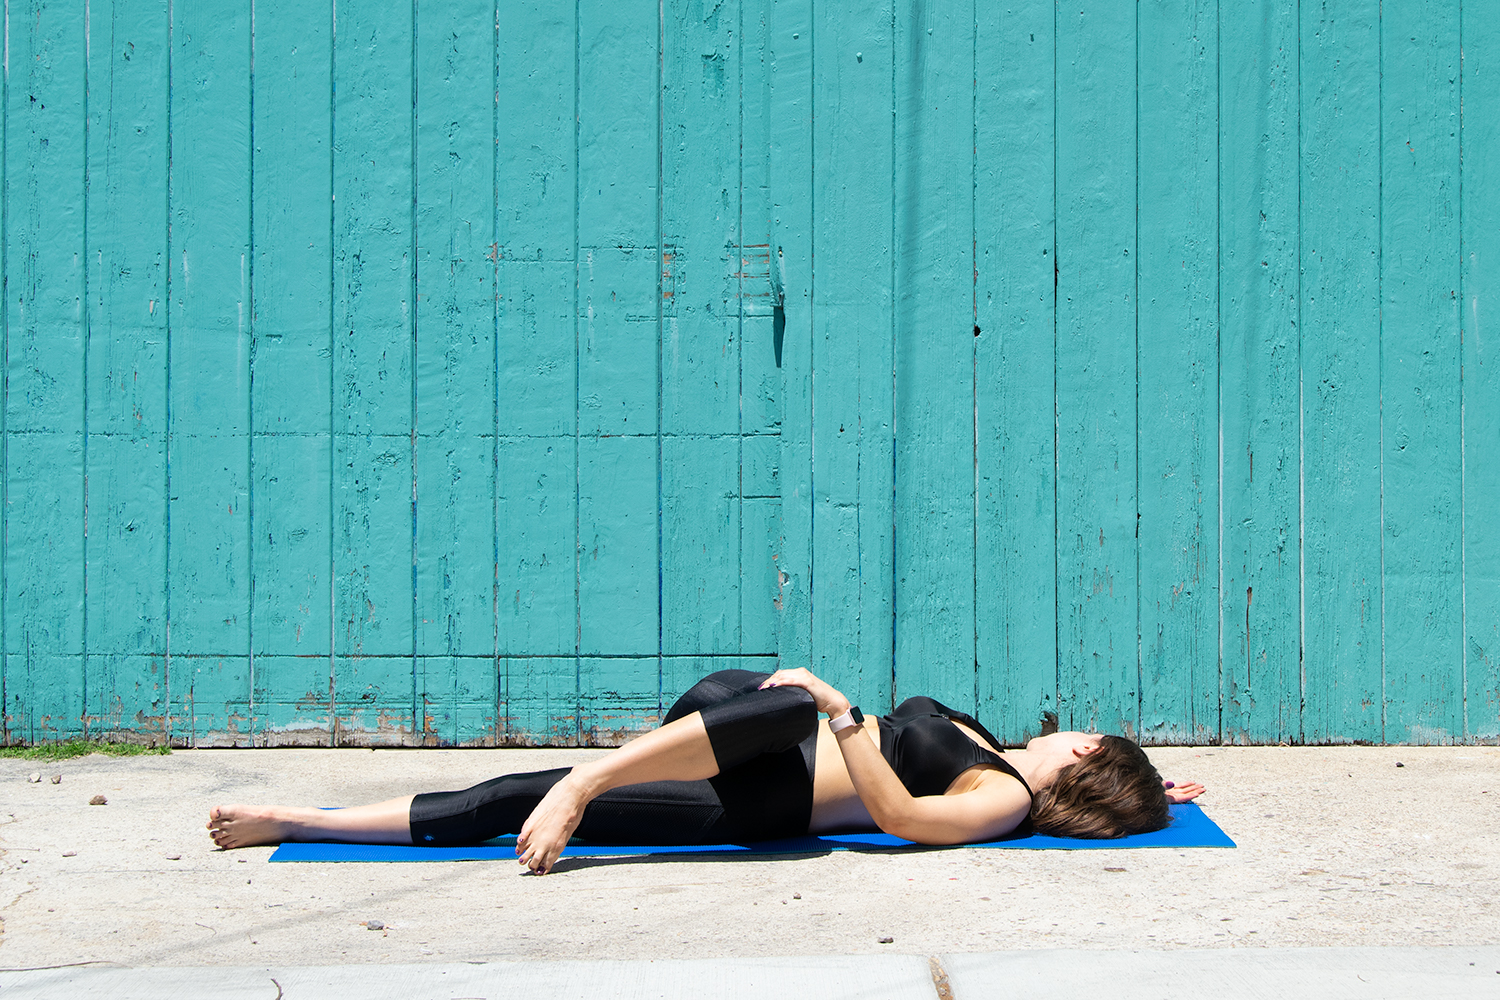
- Hug your R knee into your chest and extend your L leg so it’s straight and heavy on the ground.
- Check that your spine is in a neutral position, with that slight curve in your low back. You may need to not draw your R knee in so close.
- Reach your R arm out to the side like a T and use your L hand to guide your R knee up and over towards the L.
- Stop as soon as you feel your R shoulder try to lift up. Keep both shoulders down on the ground. If you’re lifting up, you’ve gone too far.
- You can keep your L hand on your knee or stretch it out to straighten that arm, as well.
- If it feels okay on your neck, turn your head to look to the R.
- If you need extra support, try placing a block underneath your knee.
- Repeat on the other side.
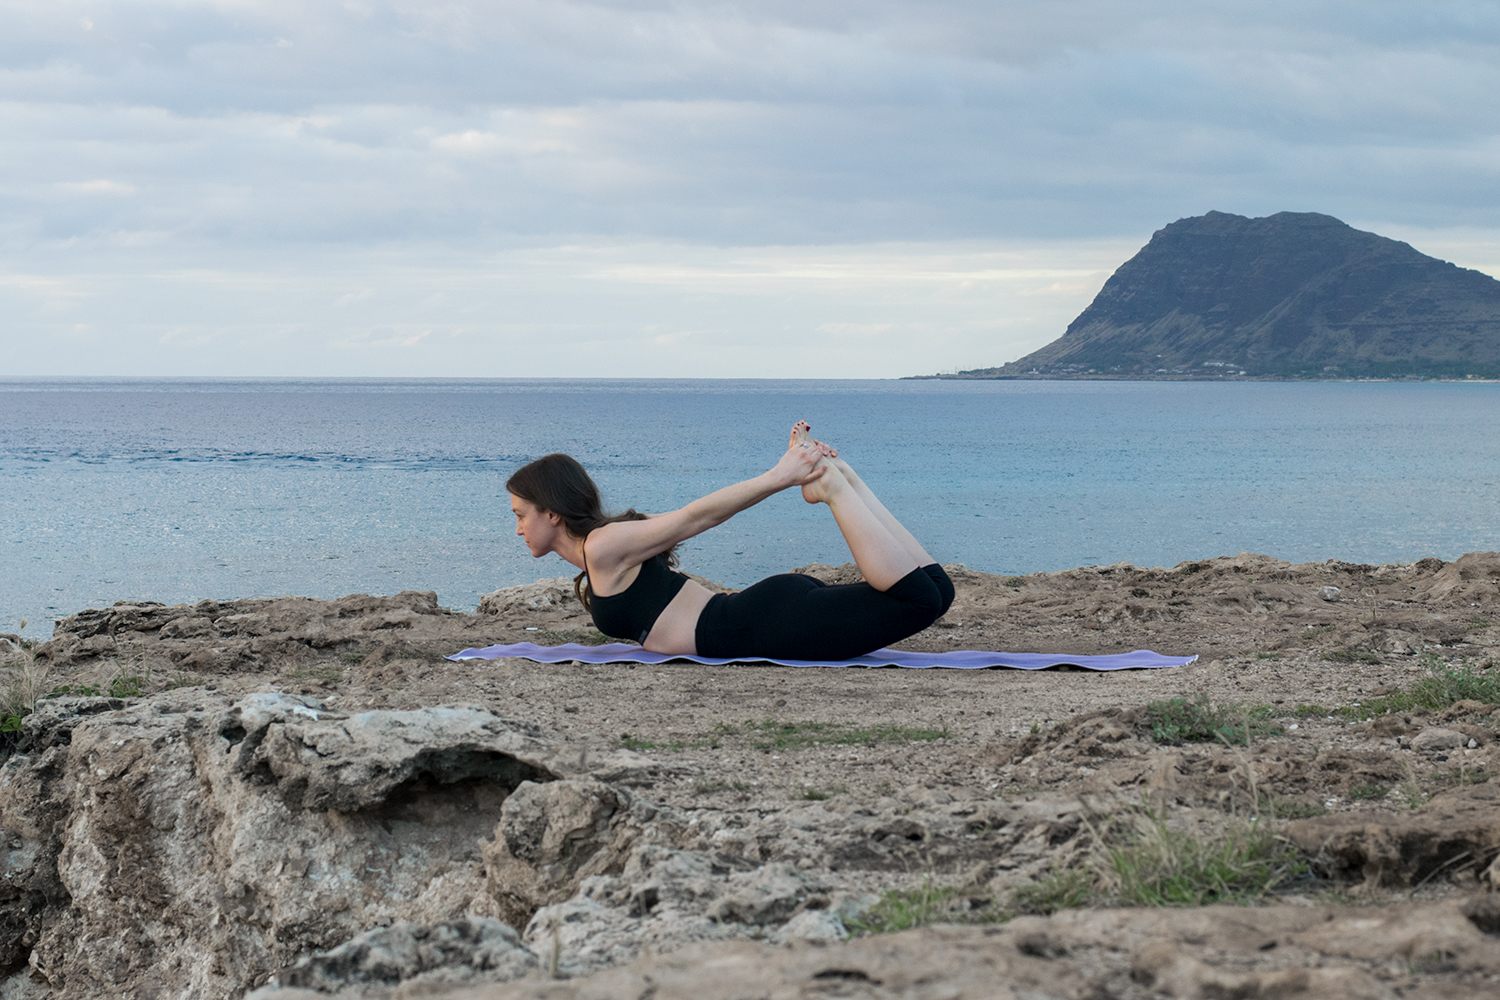
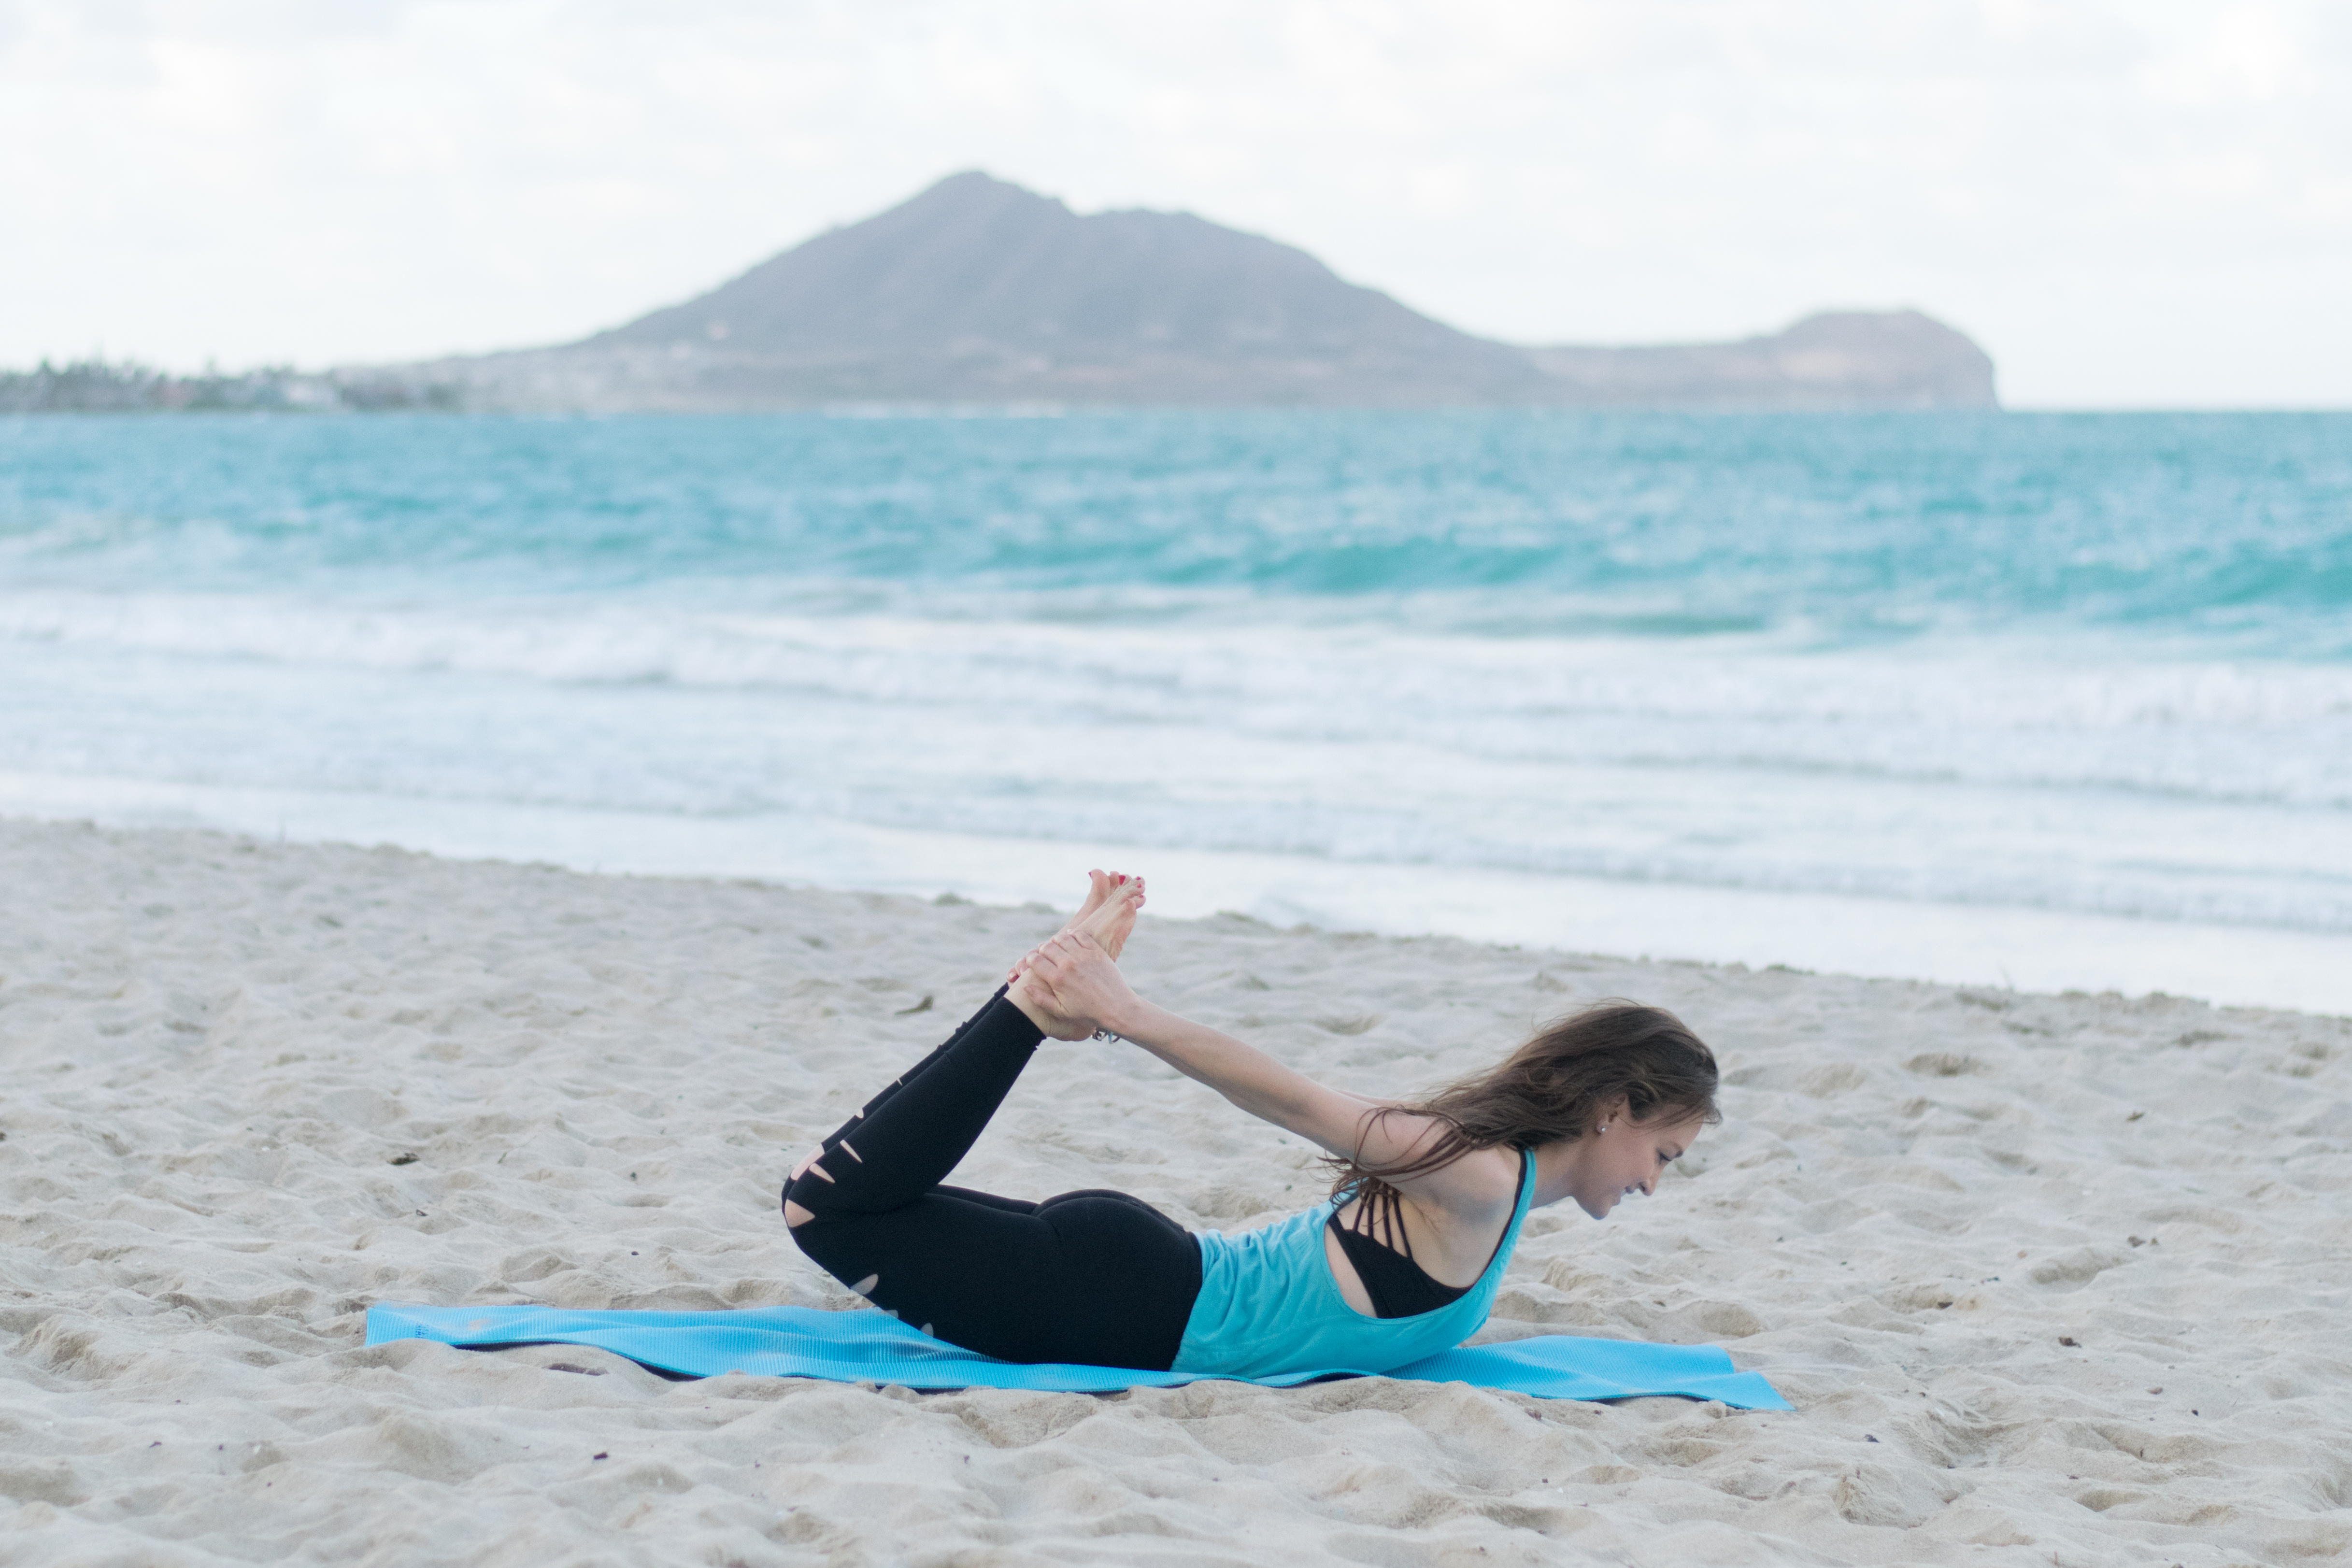
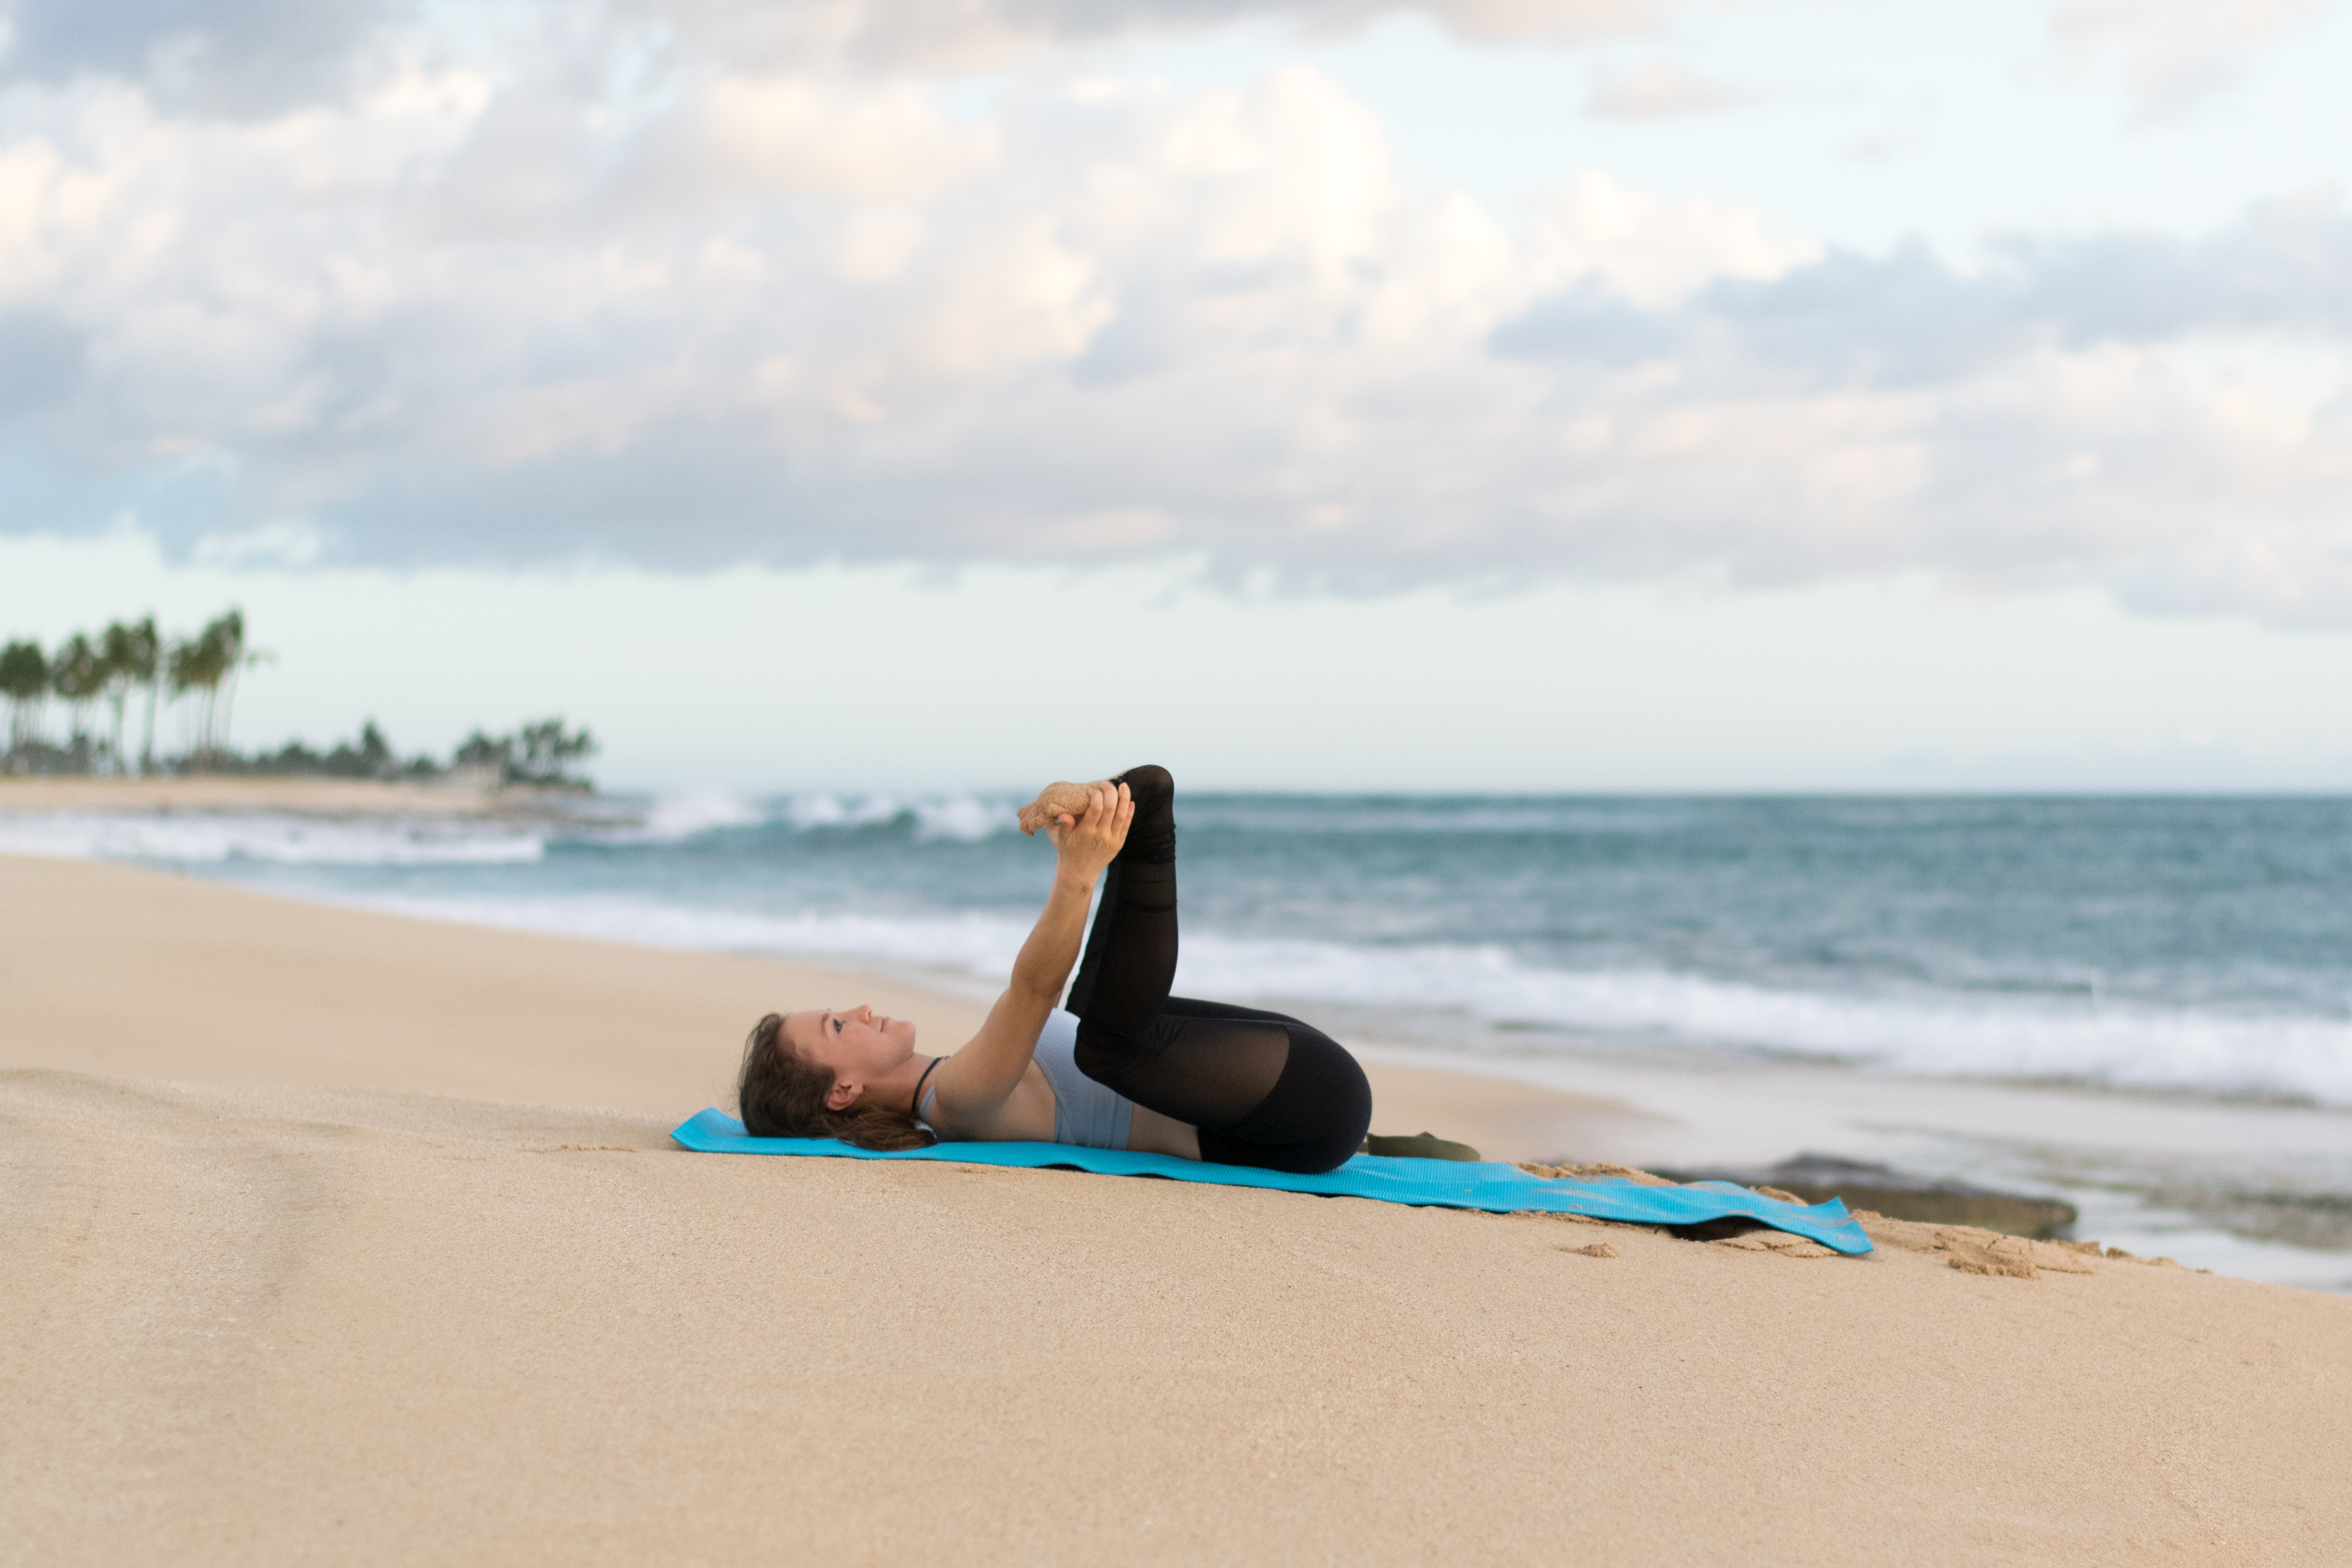
5 » Cow Face Pose, aka Gomukhasana
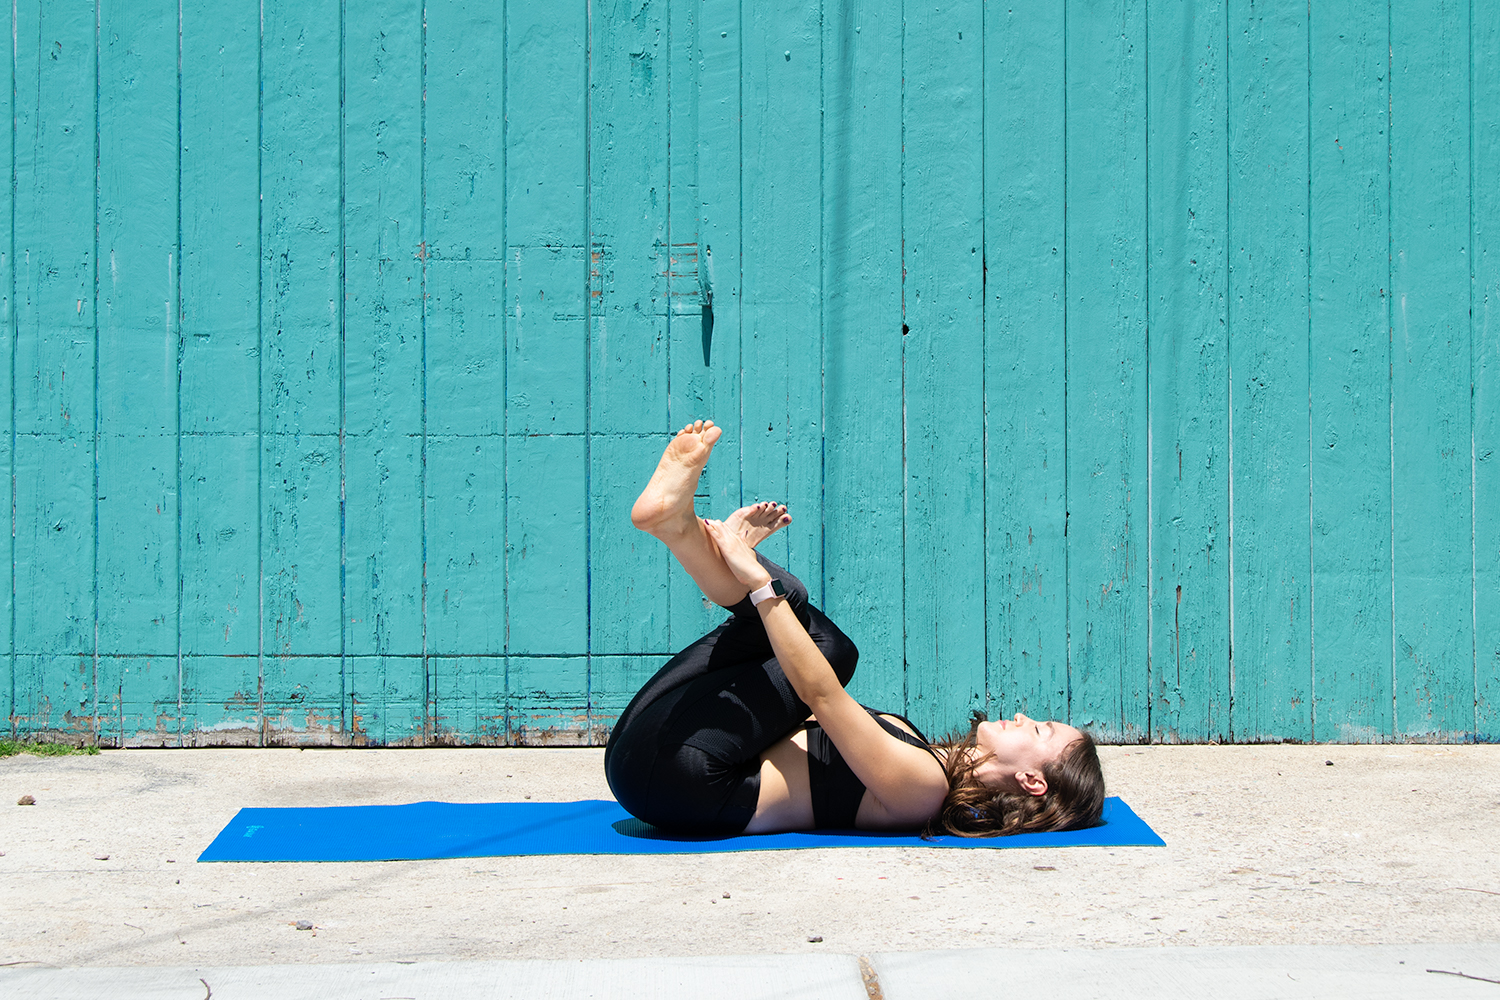
- Flex both of your feet and cross your R knee over your L. If this pose is inaccessible to you because your hips are too tight, you can do another round of Reclining Pigeon Pose or skip ahead to Pigeon.
- Use your hands to hold on to your ankles. Try to keep your shins level and guide your legs closer to your chest.
- Keep your entire spine down on the ground, especially your tailbone. Relax your head and shoulders.
- Repeat on the other side.
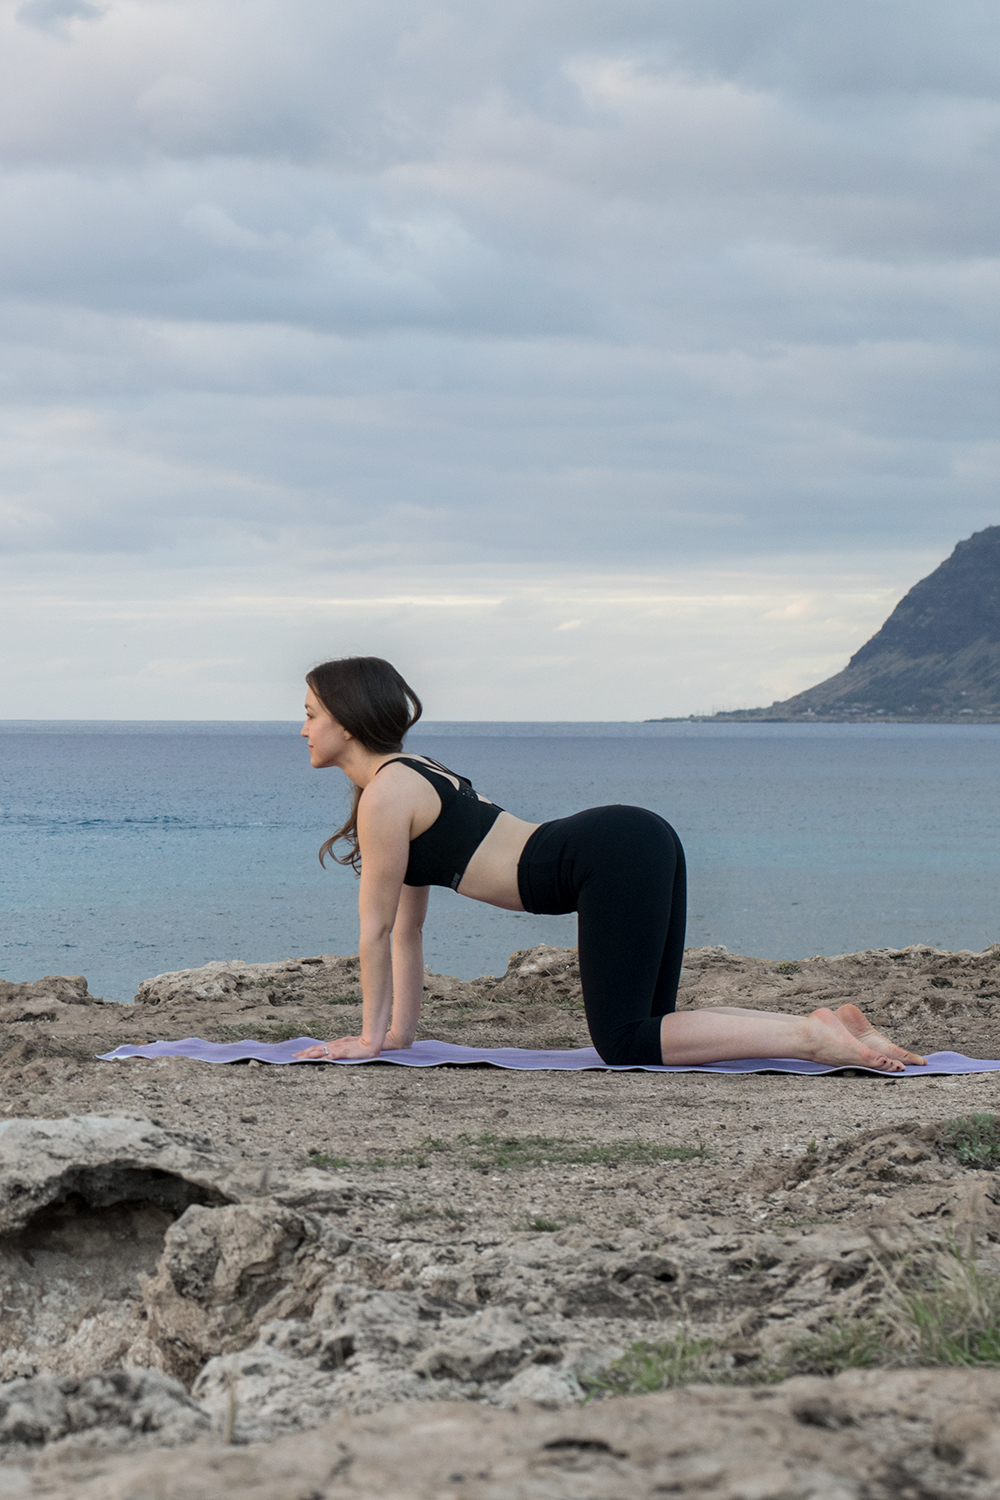
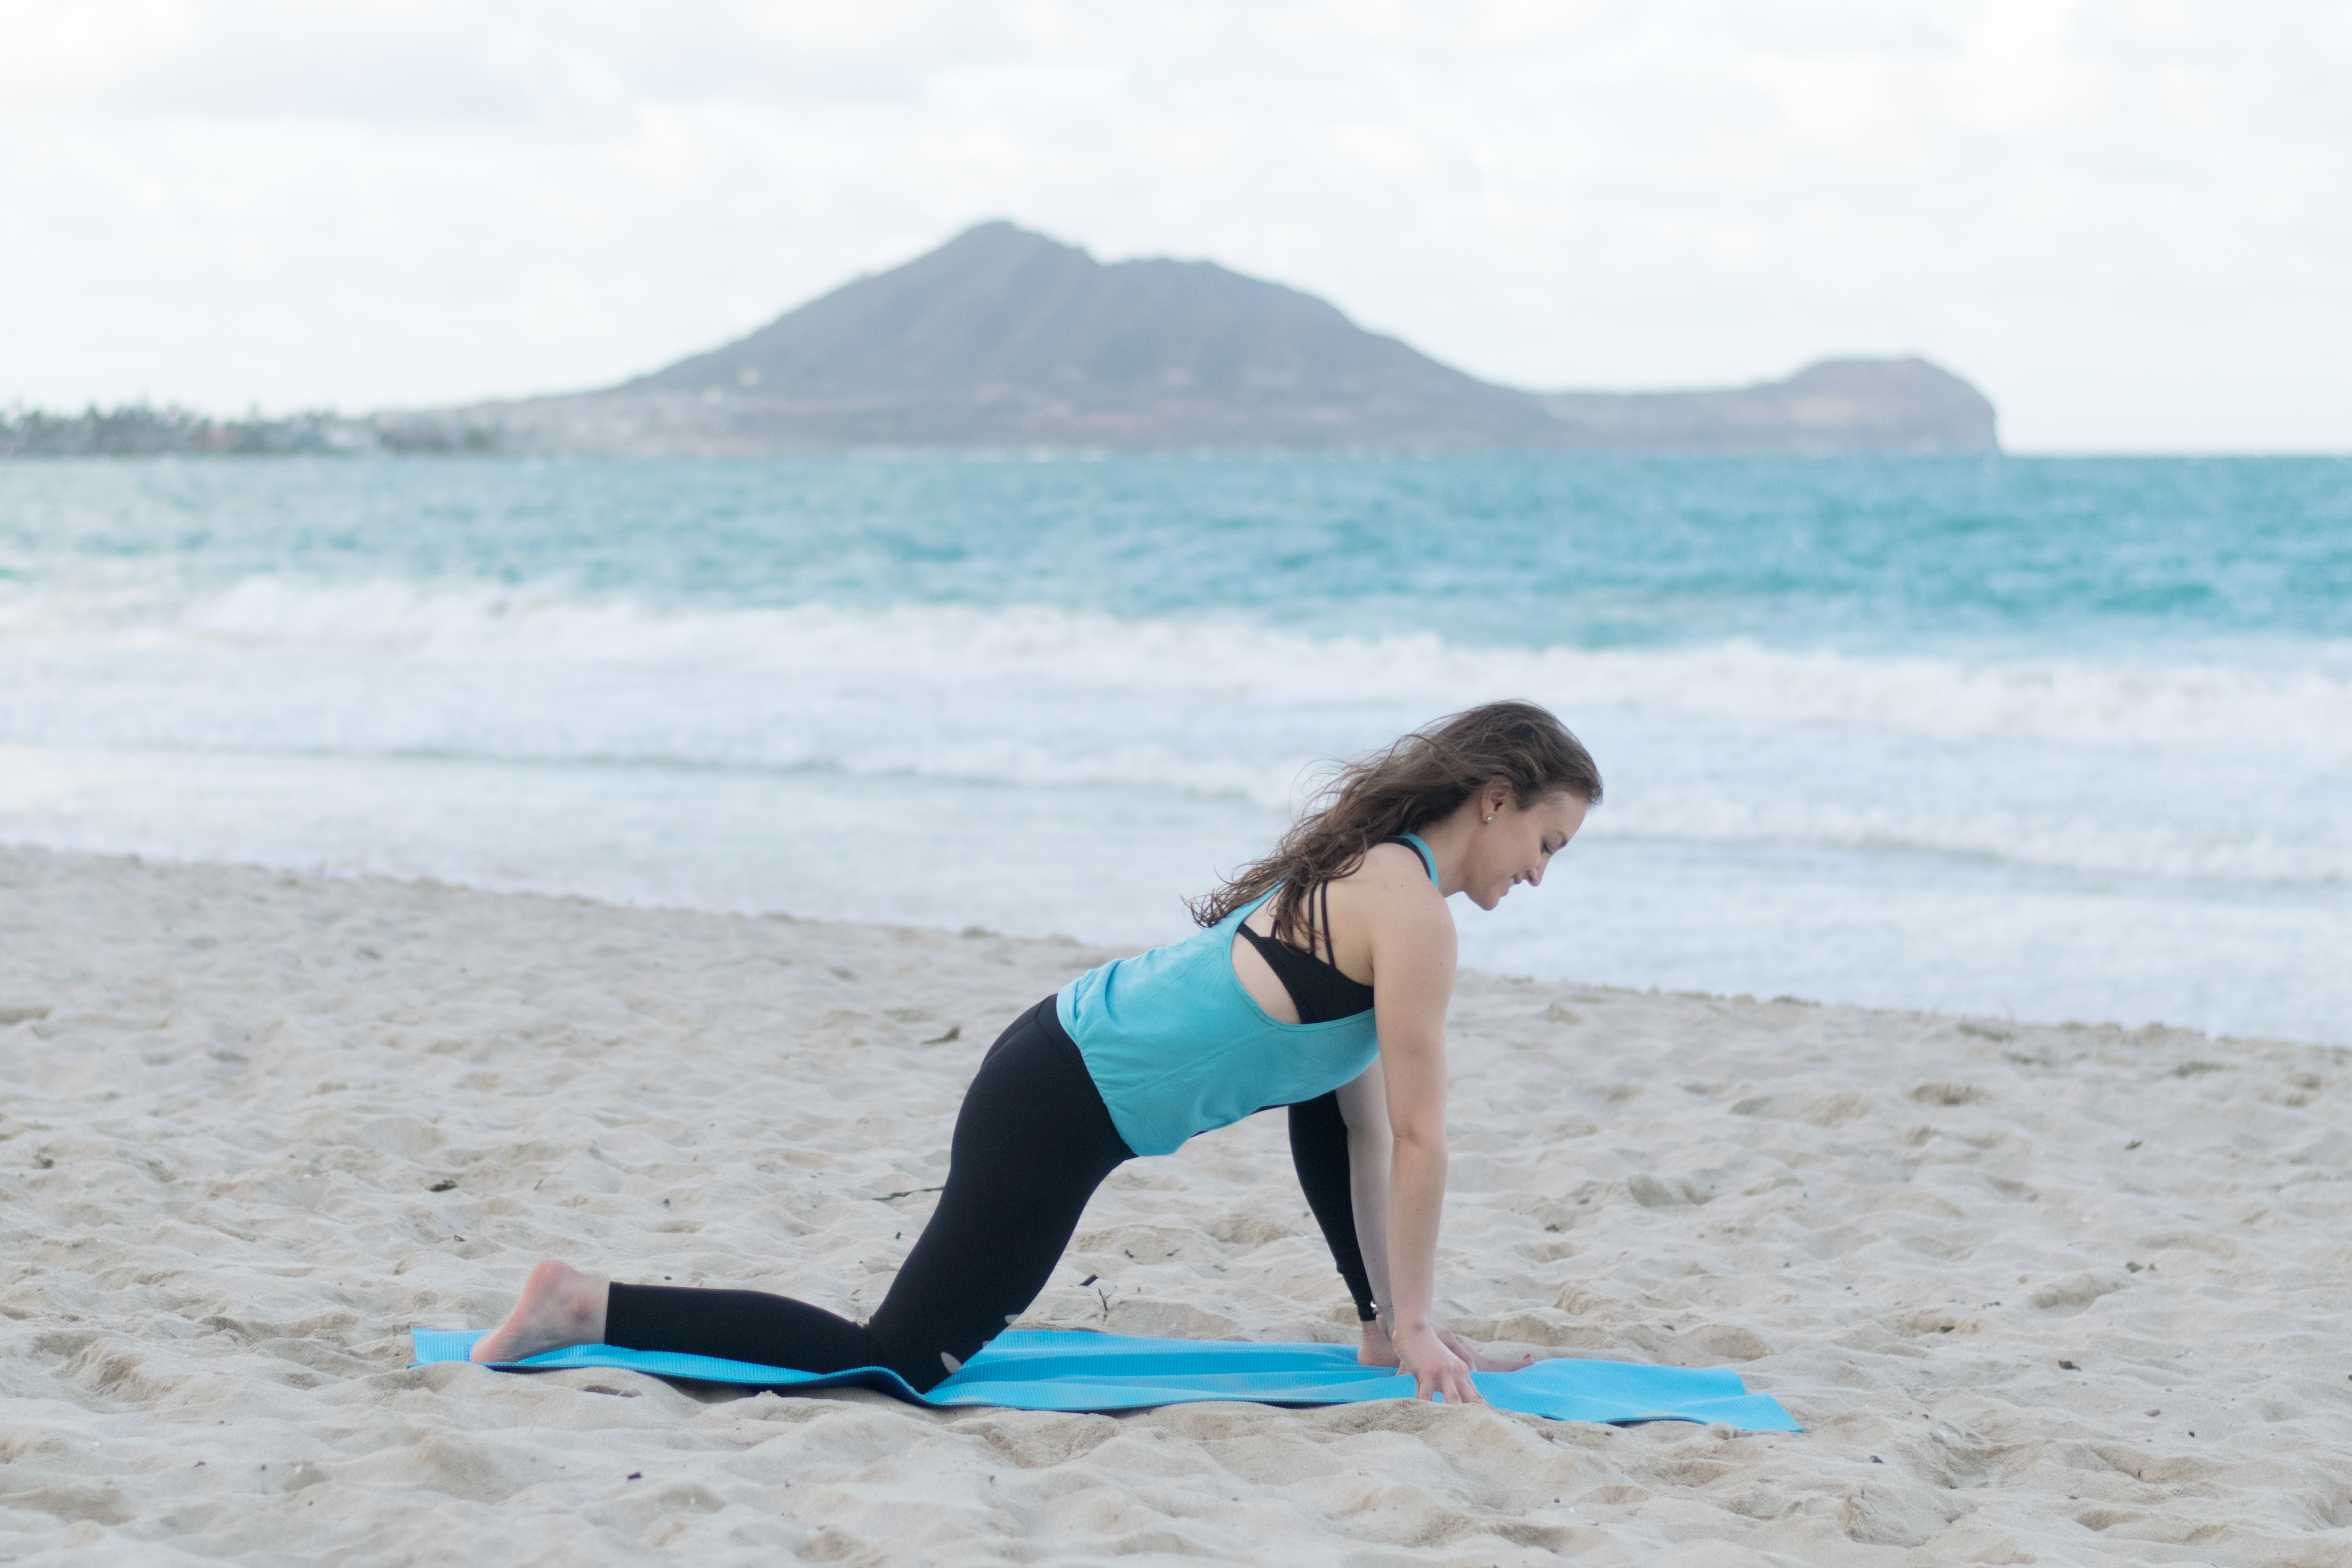
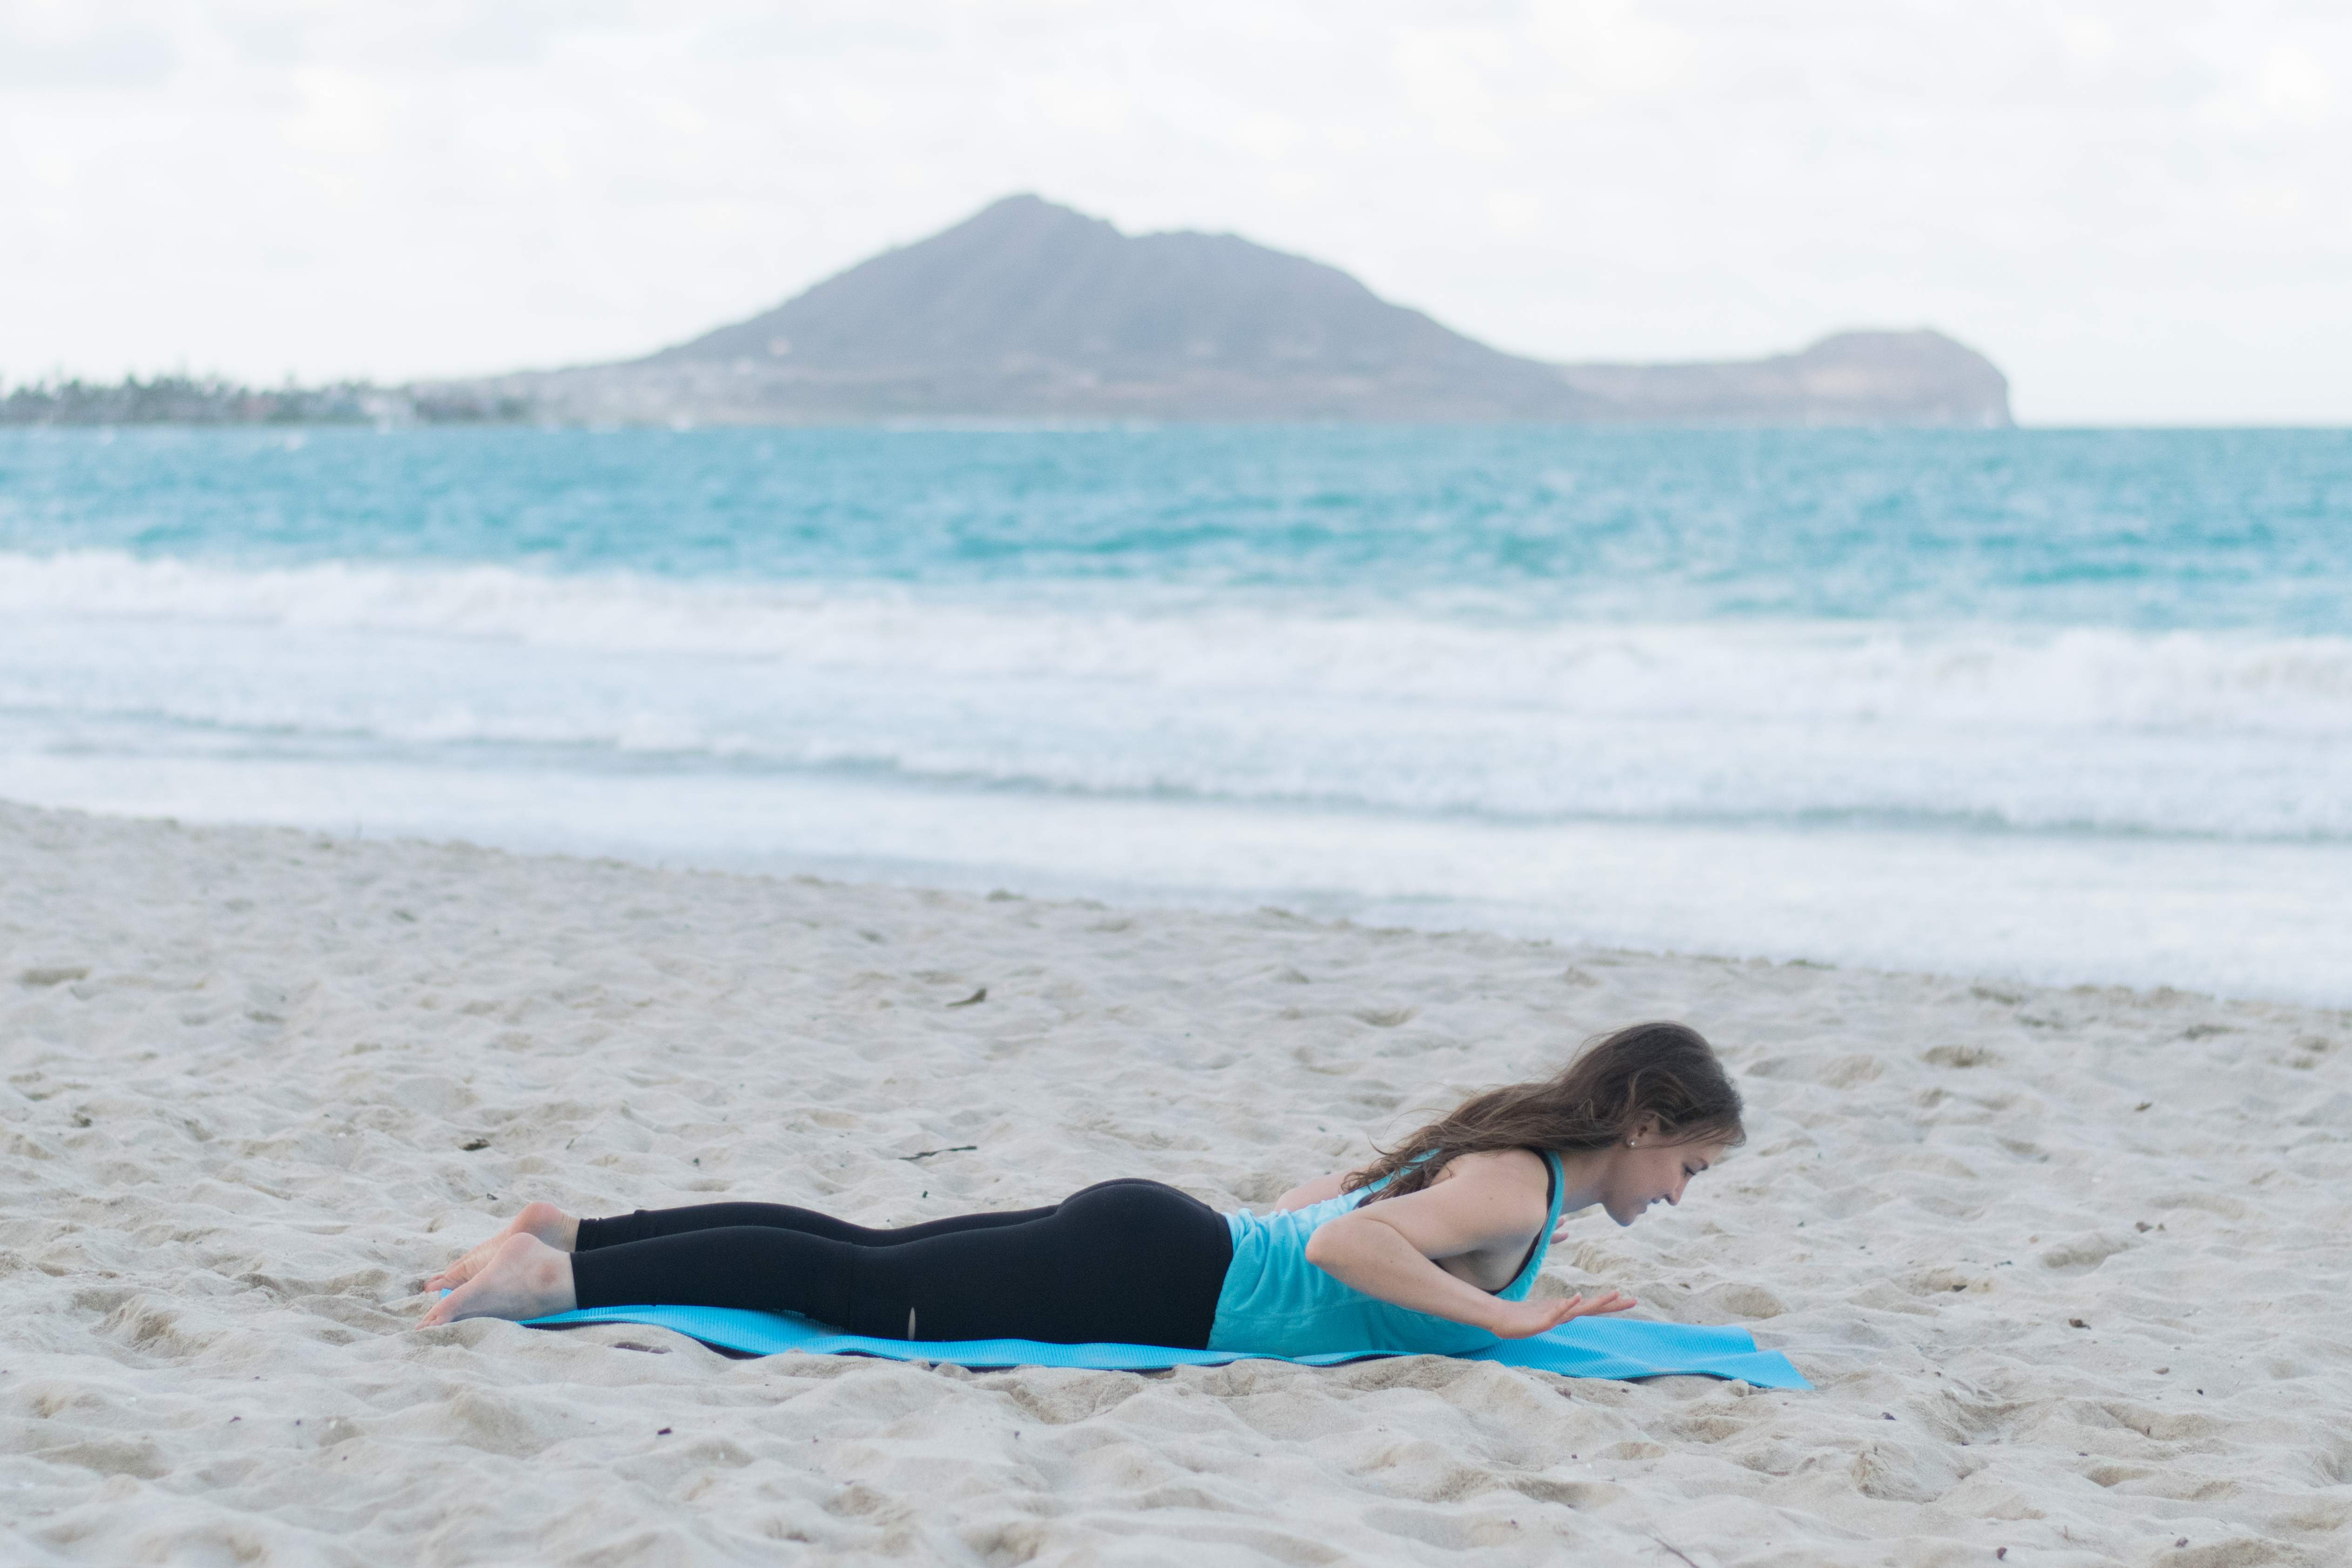
6 » Pigeon Pose, aka Eka Pada Rajakapotasana

- Roll up to all fours: hands under shoulders, knees under hips.
- Slide your R knee up to your R wrist.
- Extend your L leg straight back behind you. (Check over your shoulder to make sure it’s not twisted.)
- Keep your R foot flexed and start to lower your hips to the floor.
- If you can’t keep your hips level, slide a block under your R hip for extra support.
- Feel free to start to fold forward over your R leg, maybe lowering to your forearms or to the floor. Keep your spine long and straight.
- For more intensity, try sliding your R foot away from you to start to bring the leg to more of a 90° angle.
- Repeat on the other side.
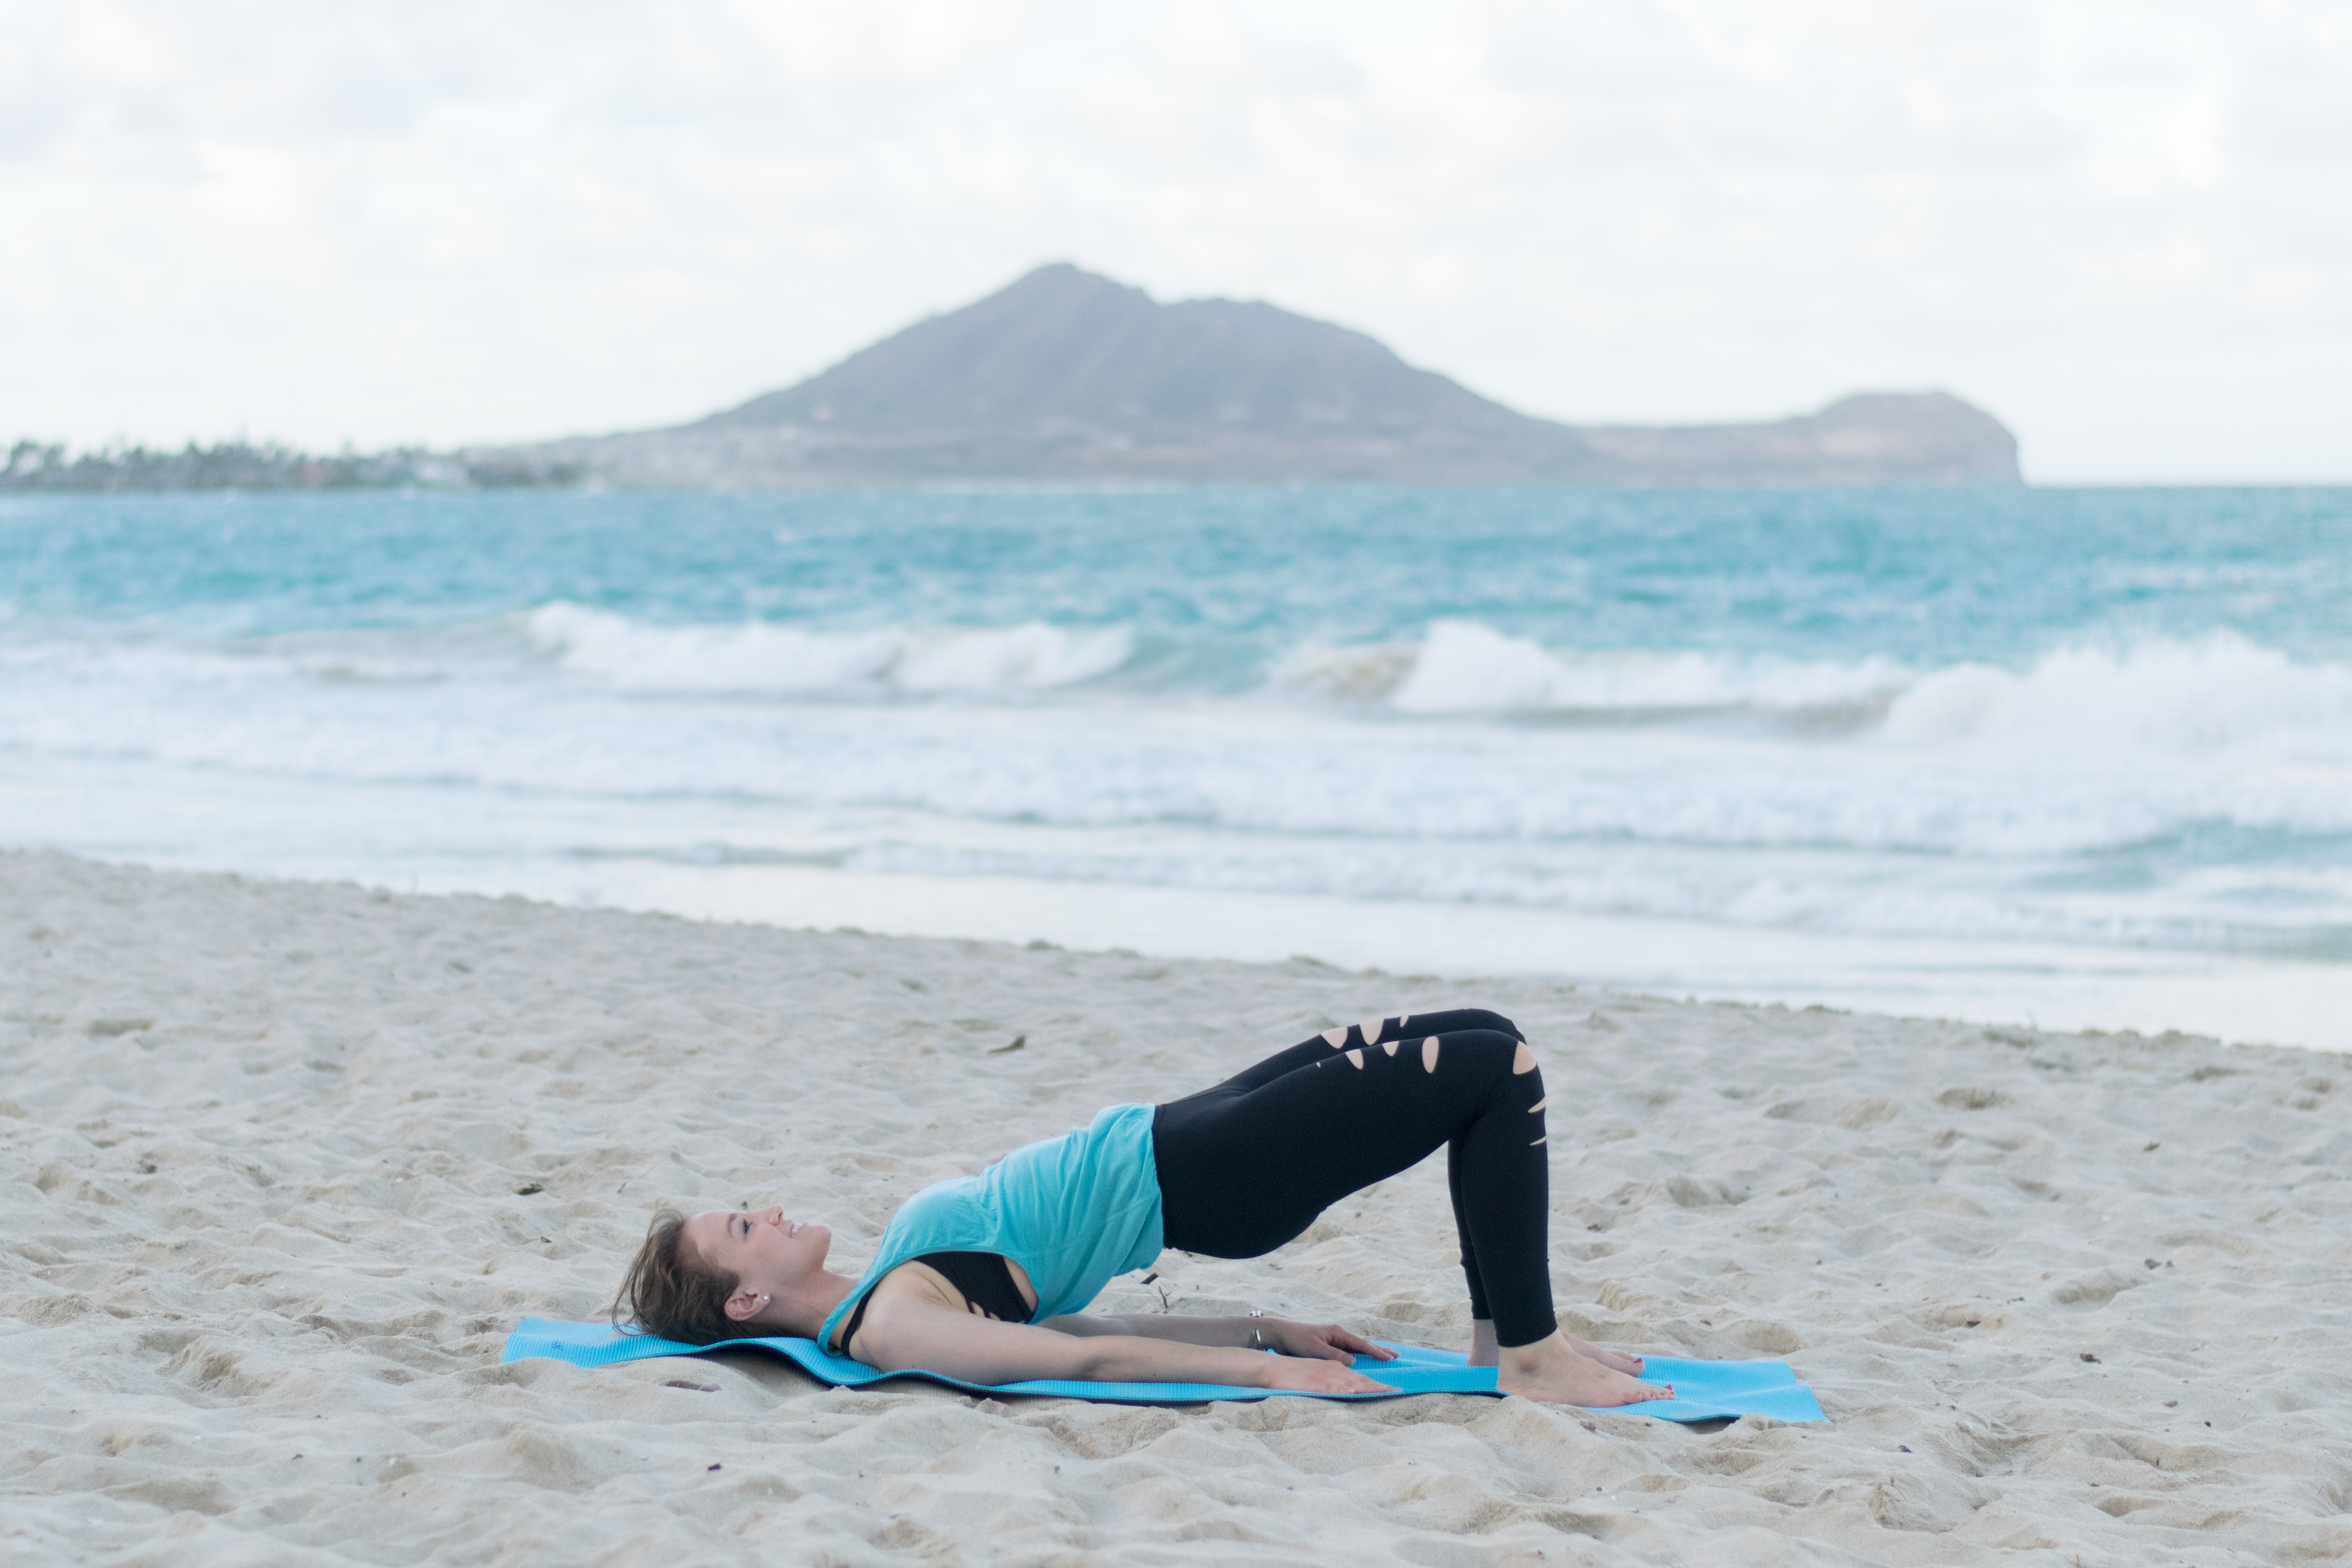
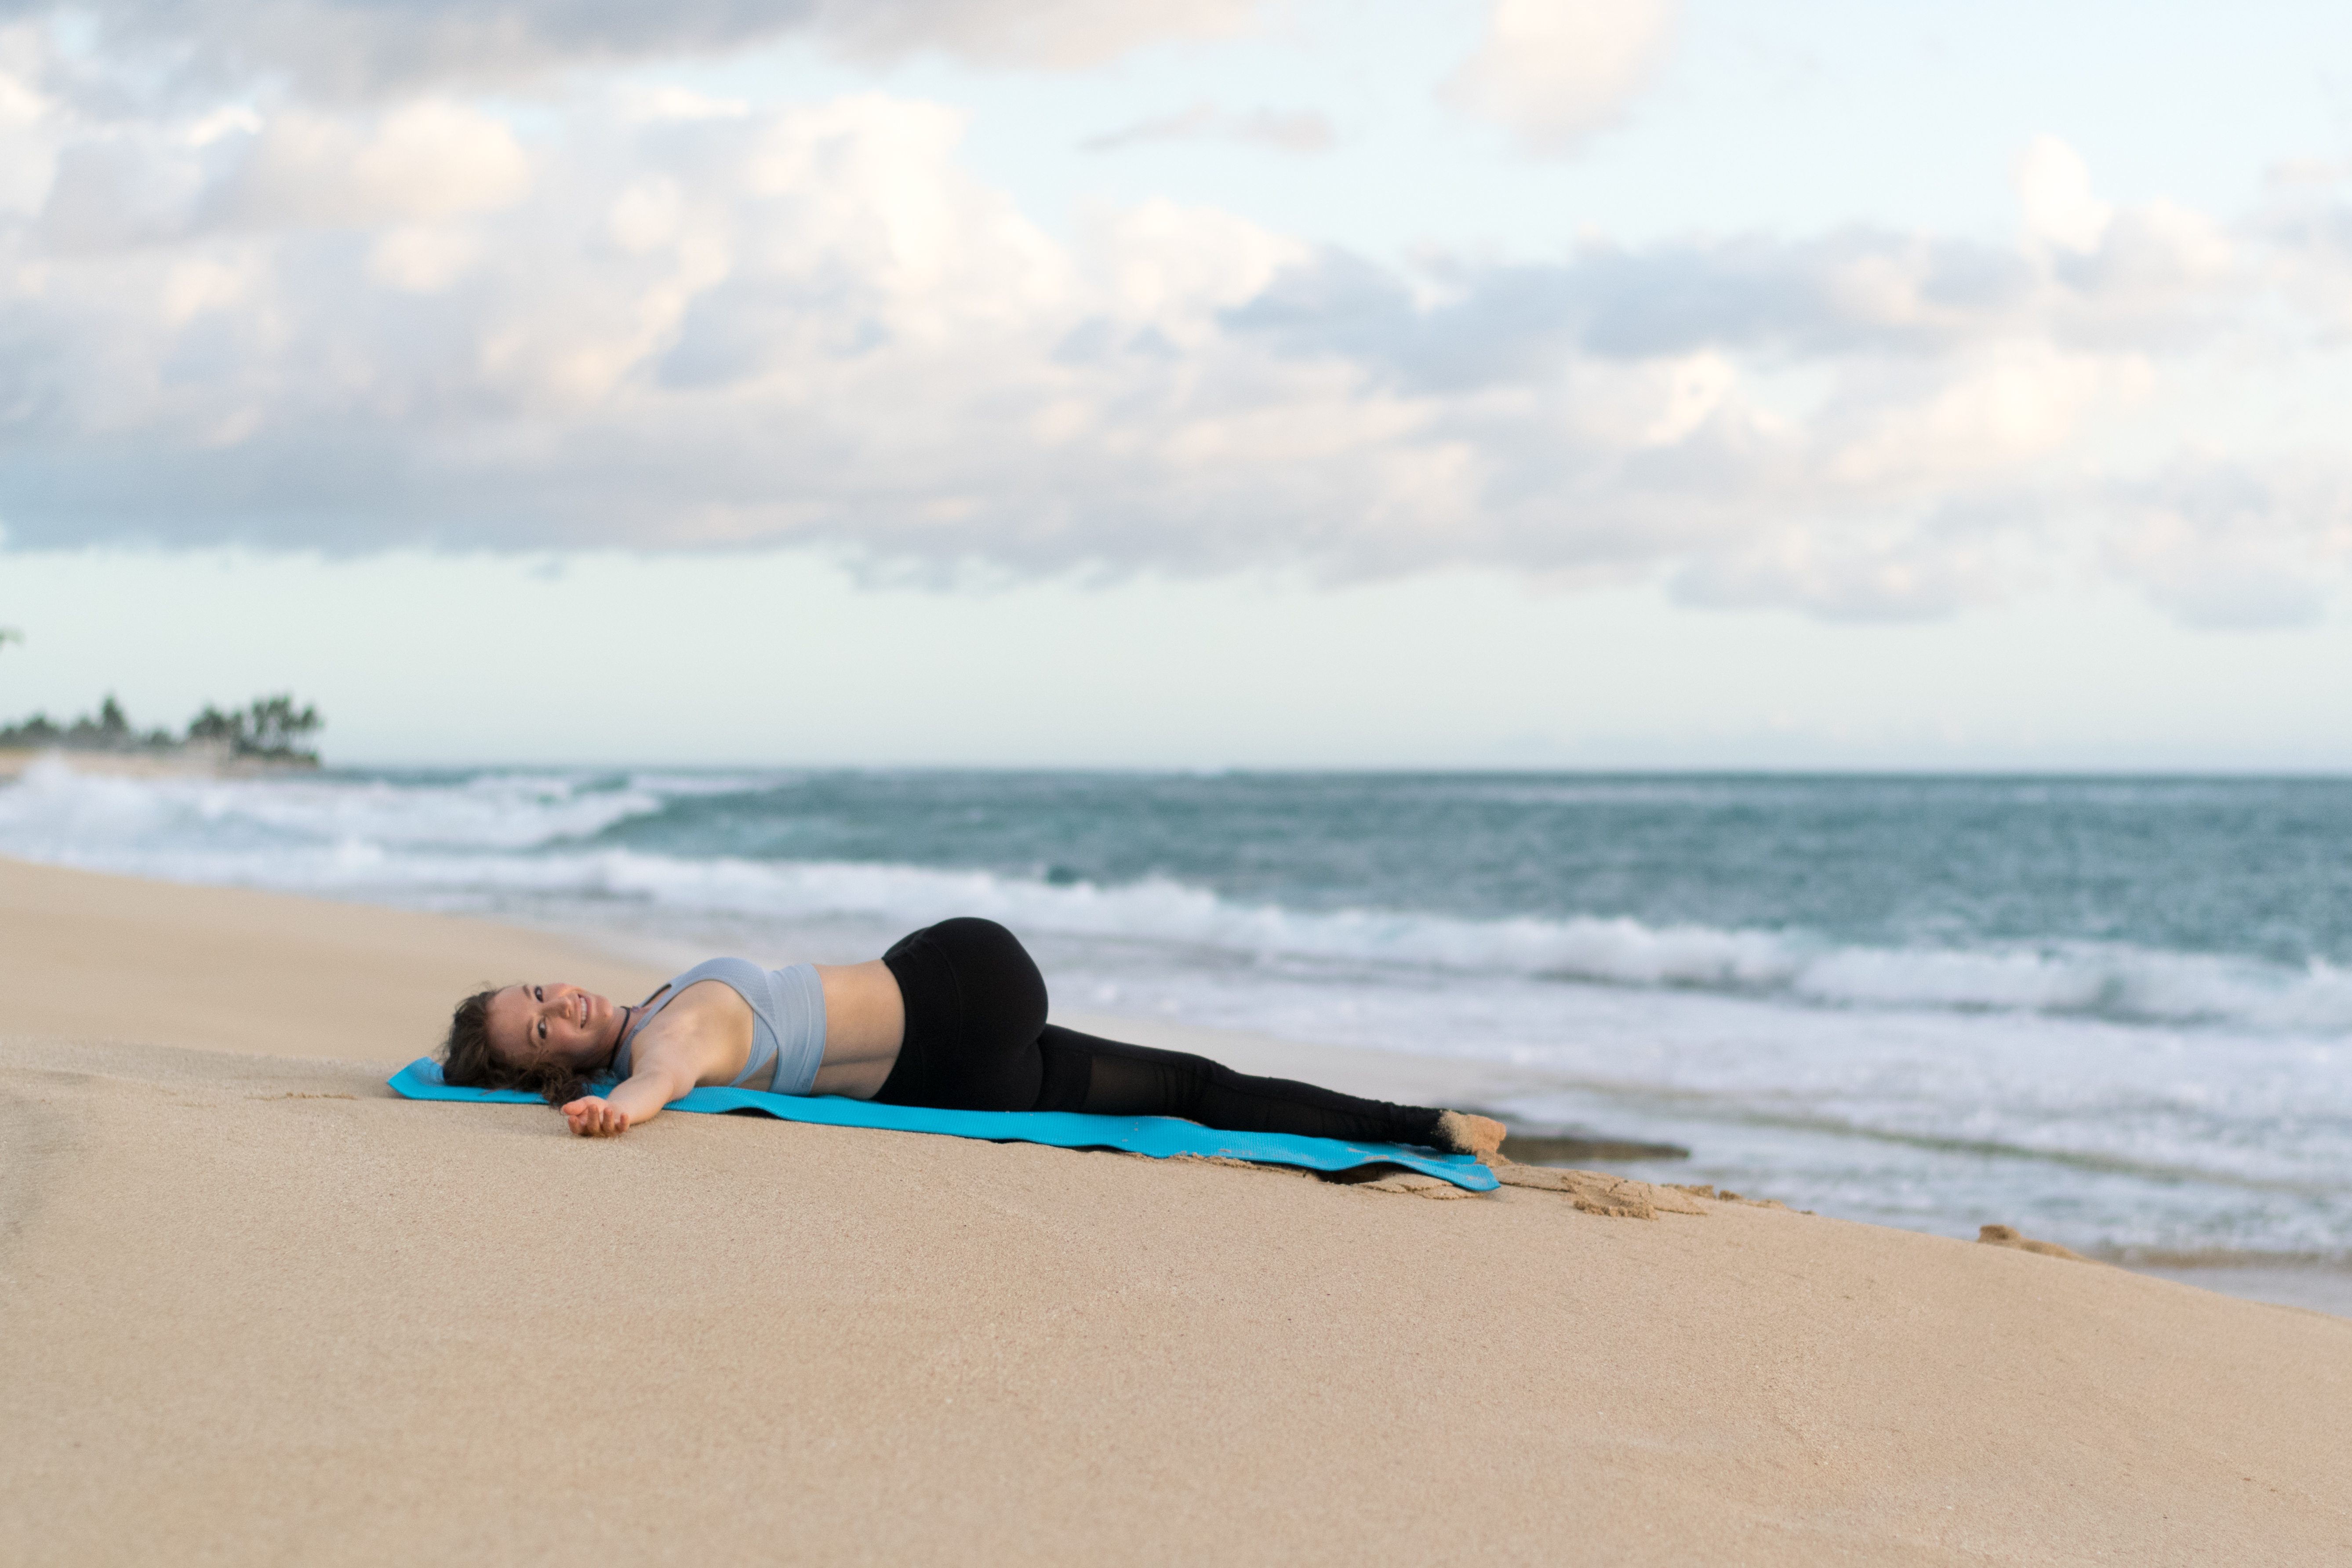
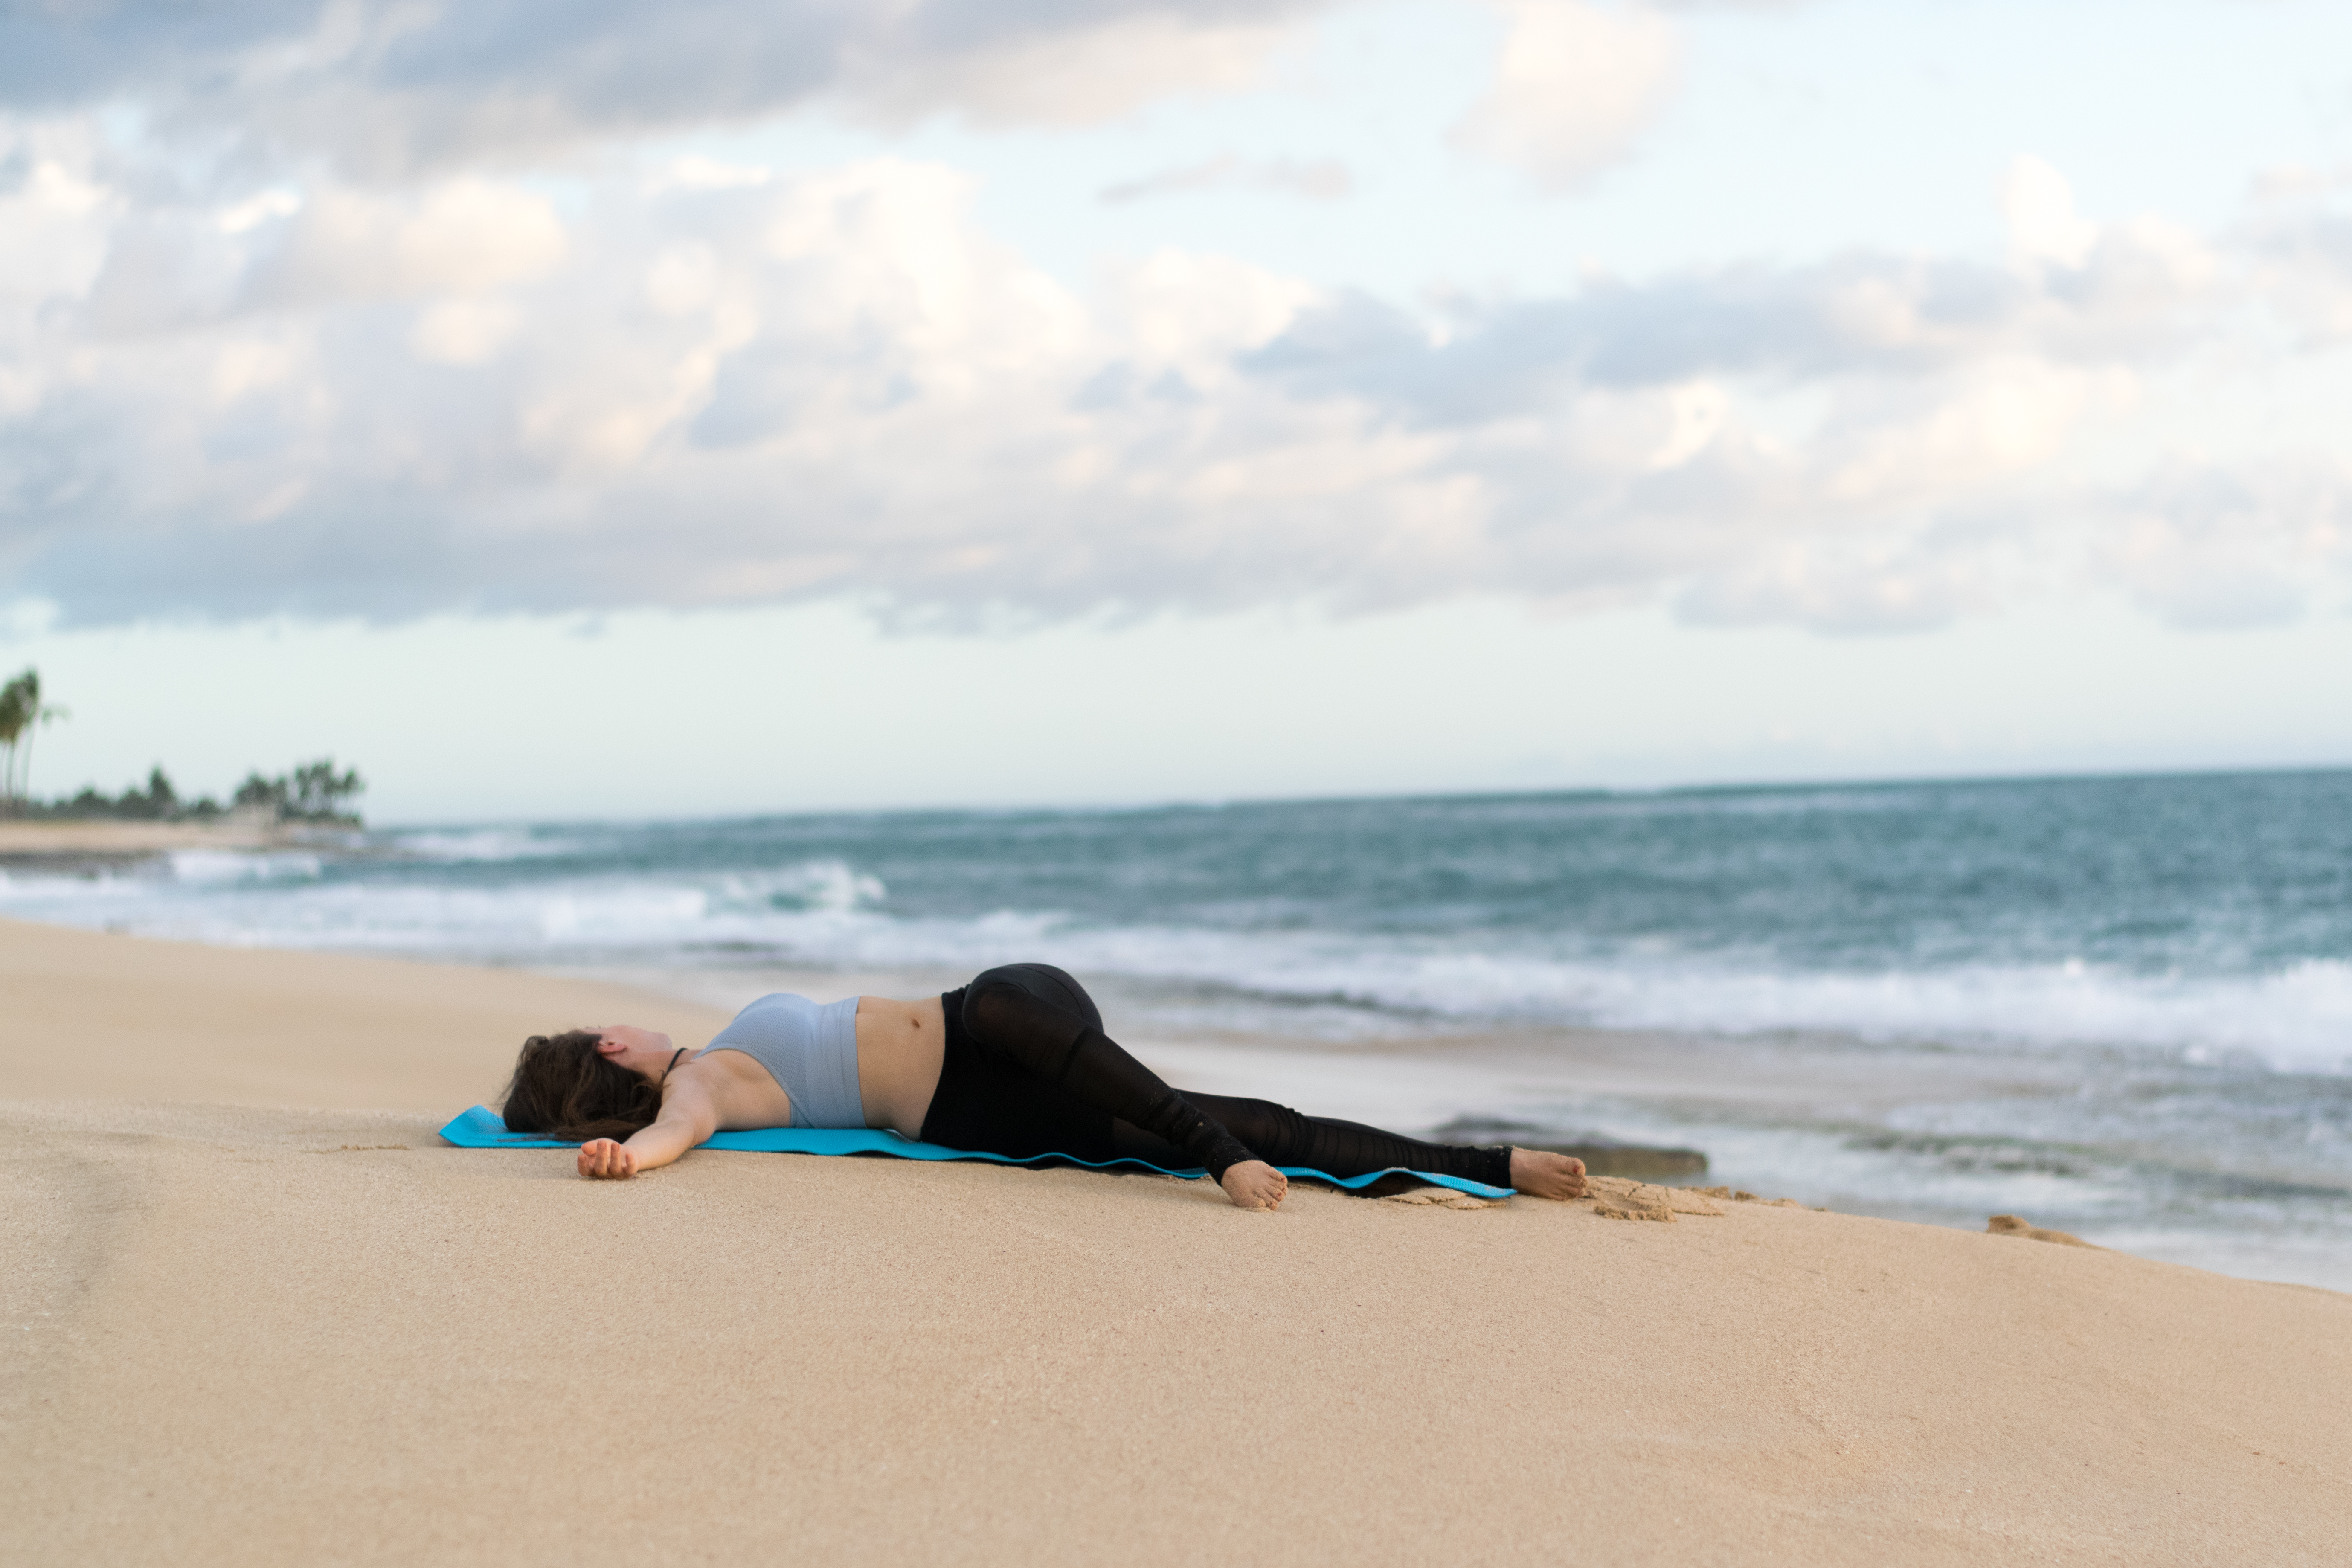
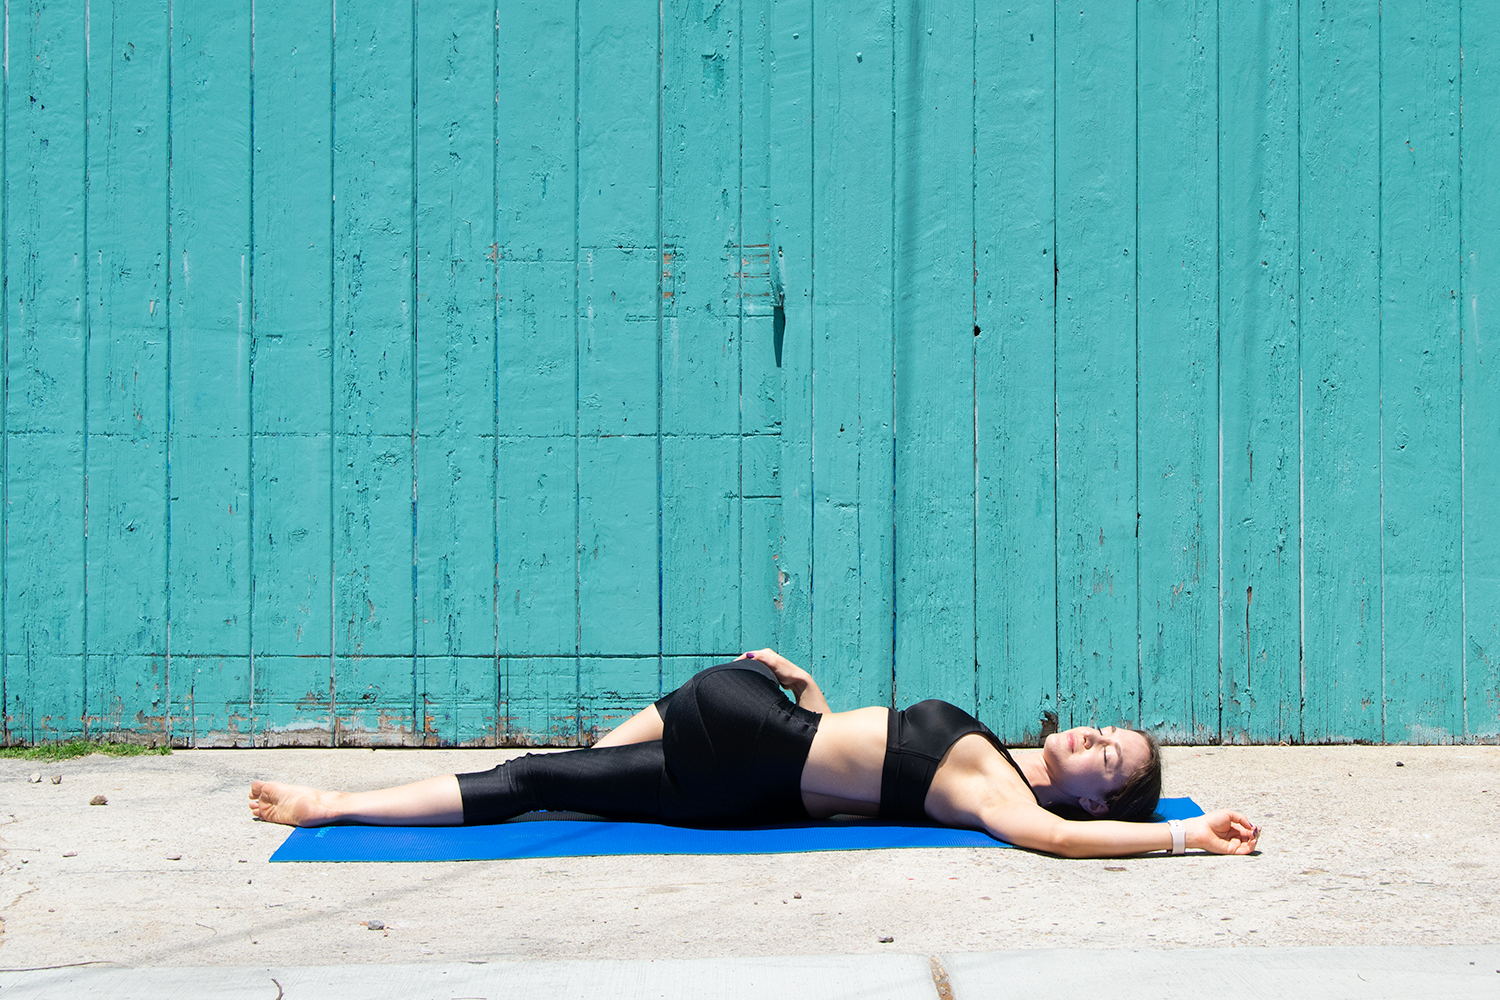
Bonus » End with Savasana for as long as you want!
Lie down, take some deep breaths, and allow your hips to sink down into the ground as you relax.
I hope this sequence has your outer hips feeling mobile, strong, and restored. Remember that with flexibility, consistency over a long period of time is key to get results, so be sure to practice these poses daily, even if just for a moment.